
Are you watching this instruction on your phone?
Please make sure your rotate function is active and watch it in the 'landscape' orientation.
When ready, please start the presentation!
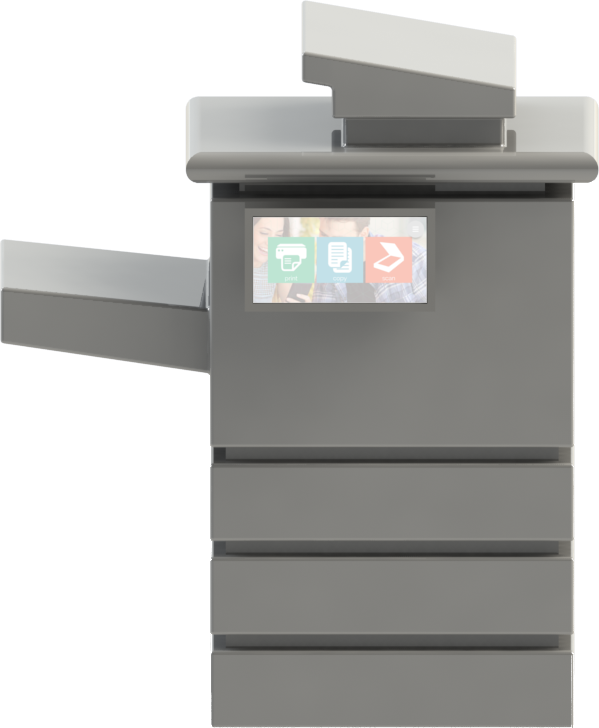
A comprehensive instruction on the functions of KUARIO Kiosk
You should now be able to use KUARIO KIOSK
-clip440711400.png)
This is the main screen. The menu has been clicked open.
The menu can be opened in many screens, but it is explained here, in this screen only.
Use the 'back' button to go back to the main screen.
Back
Click one of the
options to learn more
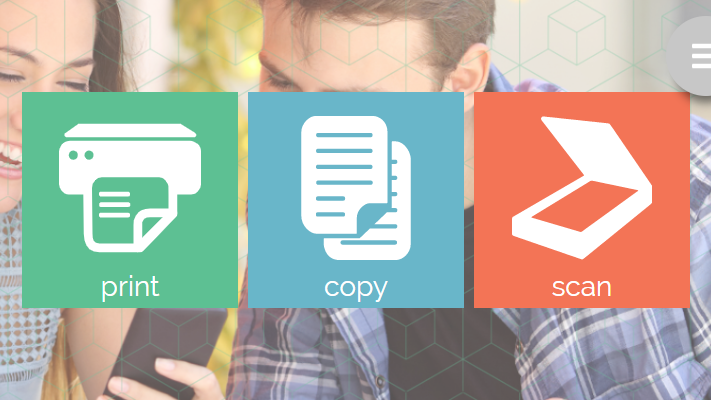
This is the main screen. All the actions start here.
In the shown configuration you can Print, Copy and Scan.
In the upper right corner the menu can be found.
Click an action button to learn more about that action.
Clickable areas in this tutorial have a yellow border.
Available here: print, copy, scan and menu.
%20(3)-clip440711400.png)
My KUARIO email address
My KUARIO password
This is the KUARIO login screen.
You are able to log in using your KUARIO credentials or;
you can log in by scanning the QR with the KUARIO app.
Available actions: sign in, scan QR code and close.
%20(1)-clip440711400.png)
This is the language selection box.
Here the language in KUARIO Kiosk can be selected.
The number of available languages may differ in configuration or region.
Click the language selection box to return.
%20(2)-clip440711400.png)
This is the info screen.
Here you can find information about the application, like the version number.
Click the close button to return.
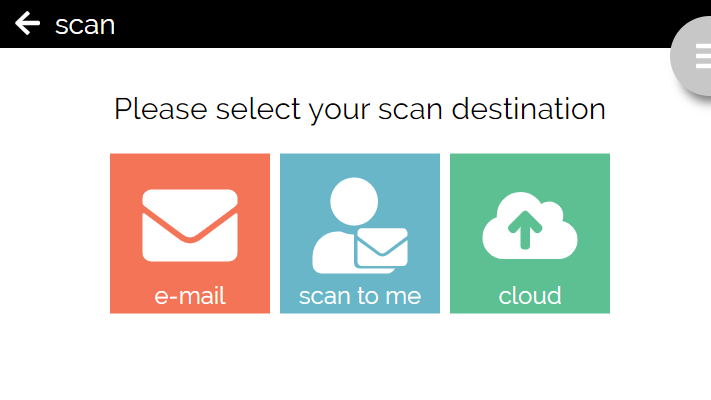
Click an action button to learn more about that action.
Available: e-mail, scan to me, cloud, menu and back.
This is the scan destination screen.
In the shown configuration you can scan to an email address, to your known email address or to a cloud drive.
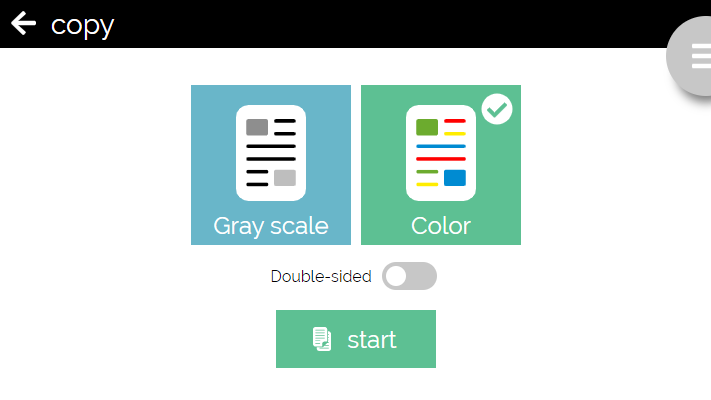
Click start to continue.
Available: start, menu and back.
This is the copy screen.
You can adjust the copy settings and create copies.
Click start to create a copy. That copy will be collected in the shopping basket.
-clip440711400.png)
Click smartphone or KUARIO Print to continue.
Available: smartphone, KUARIO Print, menu and back.
This is the print screen.
You can select the source of your print documents.
Smartphone
Select smartphone to upload and print documents anonymously from your smartphone.
KUARIO Print
Select KUARIO Print when you have printed to your KUARIO account from your PC, Chromebook or laptop.
-clip440711400.png)
<Destination e-mail address @ e-mail provider>
Click start to continue.
Available: start, gray scale, ... more, double-sided, menu and back.
This is the scan-to-email screen.
You can adjust the scan settings and sent the scans to an email address of your choosing.
-clip440711400.png)
Click start to continue.
Available: start, gray scale, ... more, double-sided, menu and back.
This is the scan-to-me screen.
You can adjust the scan settings and sent the scans to the email address linked to your KUARIO account.
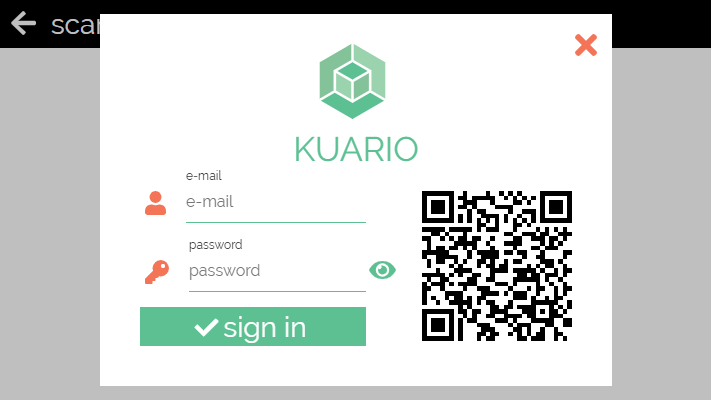
My KUARIO email address
My KUARIO password
Click sign in or the QR code to continue.
Available: sign in, QR and close.
This is the scan-to-me sign-in screen.
You must sign in so KUARIO knows to where to send your scan.
%20(1)-clip440711400.png)
Click the QR code to continue.
We will assume you uploaded a document named 'My word document' that was scanned as a normal PDF.
In the next screen click KUARIO Print to print it out.
Available: QR, menu and back.
This is the print-to-mobile screen.
You can scan the QR code with any QR code on your mobile phone and upload a document to print.
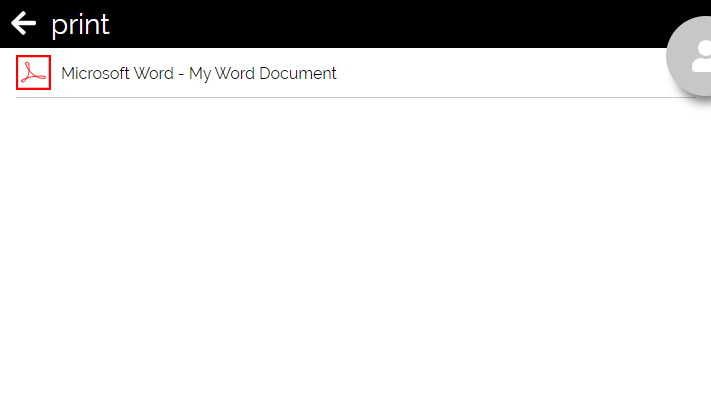
This is the print job screen.
Click on the jobs you would like to print. You can adjust the job properties or even cancel the job in a later step.
Click on the document to continue.
Available: document, menu and back.
My KUARIO email address
My KUARIO password
Click sign in or the QR code to continue.
Available: sign in, QR code and close.
This is the scan-to-cloud sign in screen.
You need to sign in to your KUARIO account so KUARIO can see access your cloud drives.
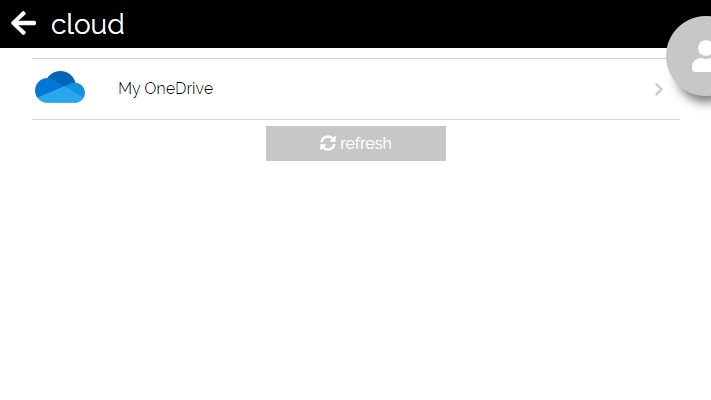
Click a cloud drive to continue.
Available: cloud drive, menu and back.
This is the scan-to-cloud selection screen.
You can select one of your cloud drives to store your scan on.
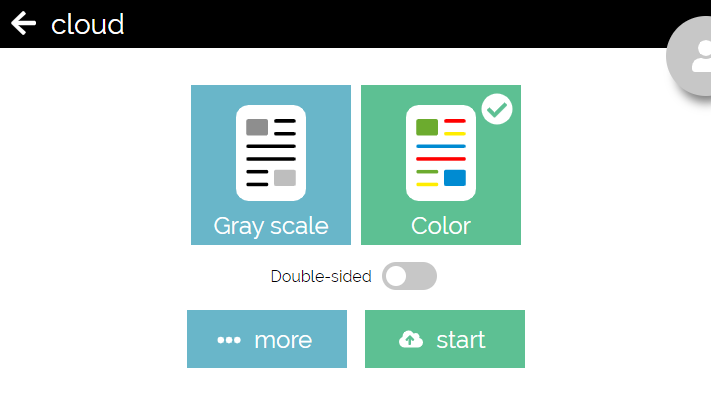
This is the scan-to-cloud screen.
You can adjust the scan settings and sent the scans to a cloud-based storage.
Click start to continue.
Available: start, gray scale, ... more, double-sided, menu and back.
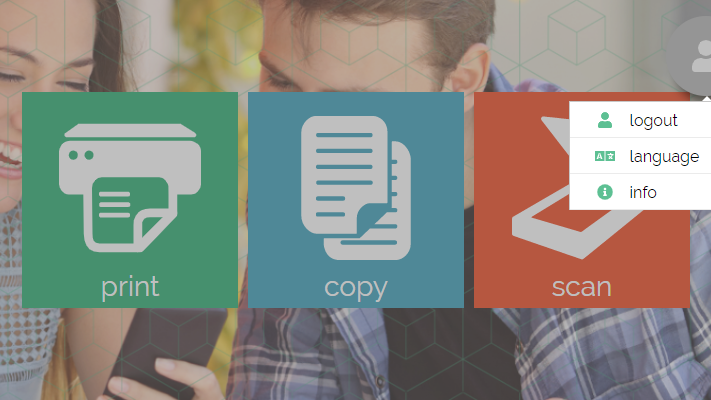
The menu now has these three options:
The menu and menu icon have changed, you are now logged in!
Back
%20(8)-clip440711400.png)
Click the shopping basket to continue.
Available: shopping basket, menu and back.
This is the scan-to-me screen.
Now you have made a scan, the shopping basket is shown, it contains your scan (and possible other products). You can open it to see your 'shopping list'.
Once you pay for them, they will be sent.
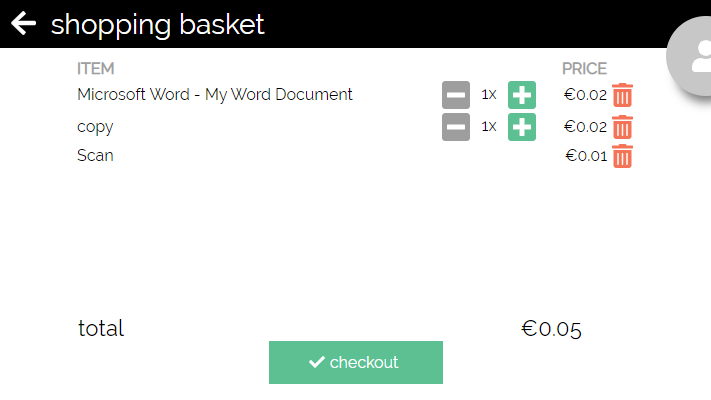
This is the shopping basket screen.
All your products (scans, copies, print jobs or faxes) will be shown here. They will be delivered at checkout.
You can edit the number of the selected print jobs and/or copies.
Click checkout to continue.
Available: checkout, menu and back.
%20(5)-clip440711400.png)
Click on the white proces box to continue.
Available: white proces box.
This is the processing screen.
At has a list of processes (like scanning, copying, faxing or printing.
At each process you will see the circle of dots rotating untill that process has been finished. Then a green check mark will show that it has.
%20(22)-clip440711400.png)
<Destination e-mail address@e-mail provider>
Click the shopping basket to continue.
Available: shopping basket, menu and back.
This is the scan-to-email screen.
Now you have made a scan, the shopping basket is shown, it contains your scan (and possible other products). You can open it to see your 'shopping list'.
Once you pay for them, they will be sent.
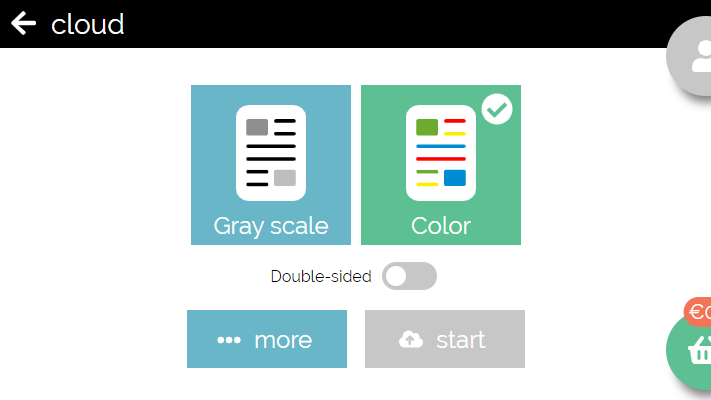
Click the shopping basket to continue.
Available: shopping basket, menu and back.
This is the scan-to-cloud screen.
Now you have made a scan, the shopping basket is shown, it contains your scan (and possible other products). You can open it to see your 'shopping list'.
Once you pay for them, they will be sent to your cloud drive.

%20(12)-clip440711400.png)
Click on the paper size dialog box to continue.
Available: paper size dialog box.
This is the copy adjust your paper size screen.
You must select the correct paper size, put the original document on the MFP and start the copy process again.
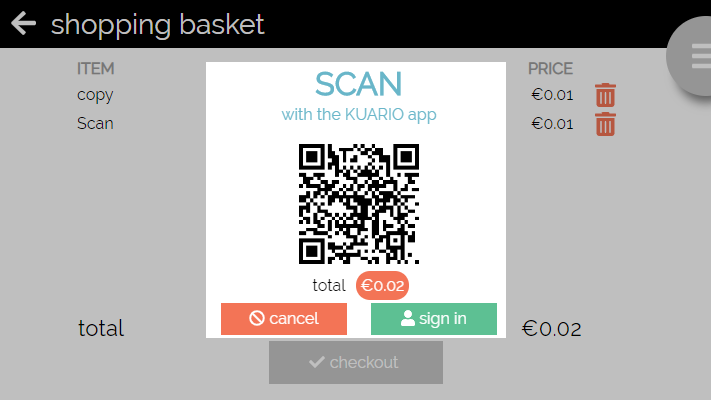
Click sign in to continue or present a user card or click the QR code.
Available: present a card, QR code, cancel and sign in.
This is the shopping basket sign in screen.
You can sign in with the card reader, by scanning the QR code or by manually signing in. You must sign in at this step to be able to pay.
%20(14)-clip440711400.png)
My KUARIO email address
My KUARIO password
Click sign in to continue or click the QR code.
Available: sign in and QR code.
This is the copy sign in screen.
You can sign in with your KUARIO credentials or by scanning the QR code with the KUARIO User App..
%20(15)-clip440711400.png)
Click white process box.
Available: white proces box.
This is the processing screen.
At has a list of processes (like scanning, copying, faxing or printing.
At each process you will see the circle of dots rotating untill that process has been finished. Then a green check mark will show that it has.

Click start to continue.
Available: start, menu and back.
This is the copy screen.
You can adjust the copy settings and create copies.
Click start to create a copy. That copy will be collected in the shopping basket.
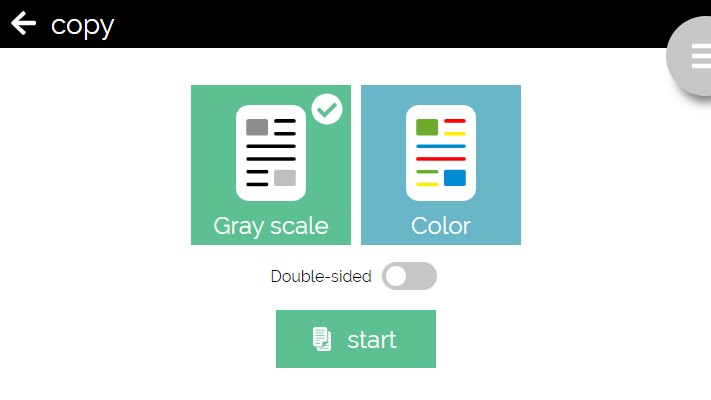
Click start to continue.
Available: start, menu and back.
This is the copy screen.
You can adjust the copy settings and create copies.
Click start to create a copy. That copy will be collected in the shopping basket.
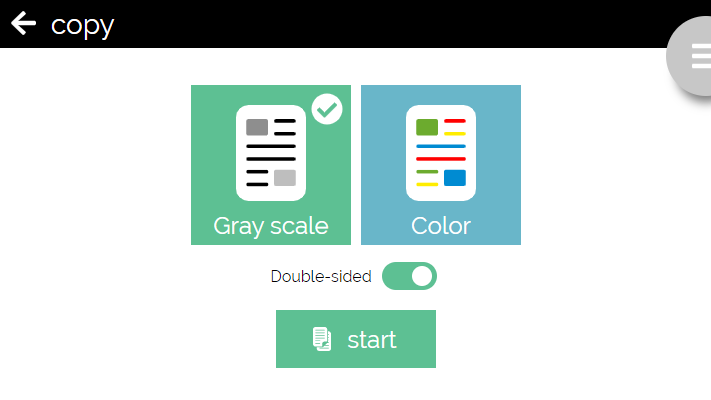
Click start to continue.
Available: start, menu and back.
This is the copy screen.
You can adjust the copy settings and create copies.
Click start to create a copy. That copy will be collected in the shopping basket.
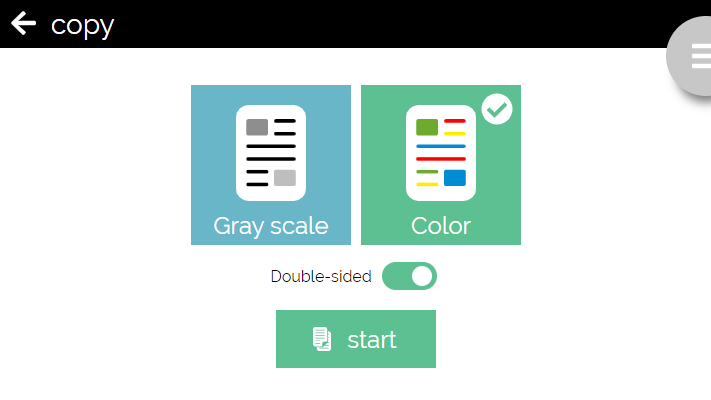
Click start to continue.
Available: start, menu and back.
This is the copy screen.
You can adjust the copy settings and create copies.
Click start to create a copy. That copy will be collected in the shopping basket.
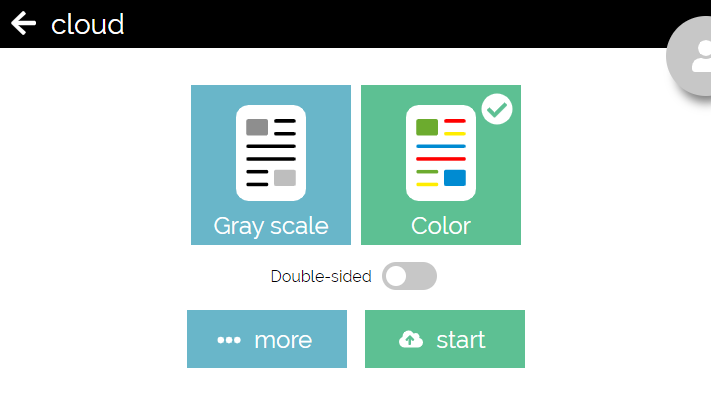
Click start to continue.
Available: start, menu and back.
This is the scan-to-cloud screen.
You can adjust the scan settings and sent the scans to a cloud-based storage.
This document is a single-sided colour document.
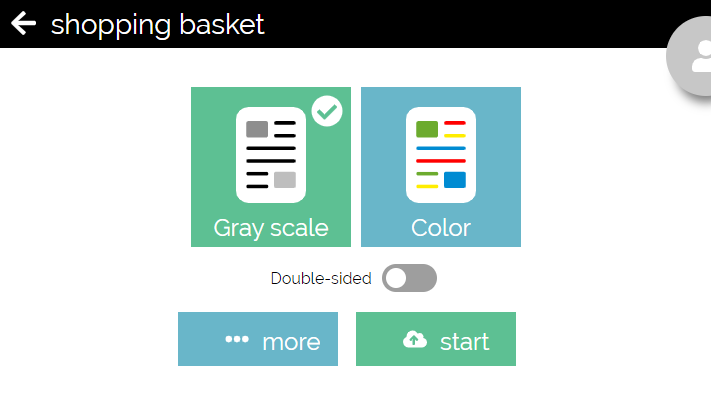
Click start to continue.
Available: start, menu and back.
This is the scan-to-cloud screen.
You can adjust the scan settings and sent the scans to a cloud-based storage.
This document is a single-sided gray-scaled document.
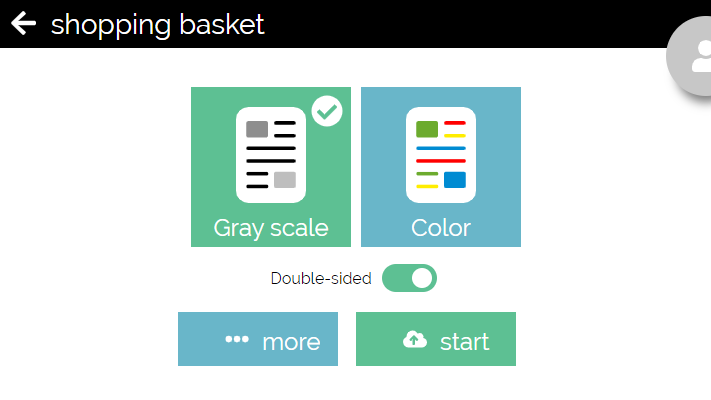
This is the scan-to-cloud screen.
You can adjust the scan settings and sent the scans to a cloud-based storage.
This document is a double-sided gray-scaled document.
Click start to continue.
Available: start, menu and back.
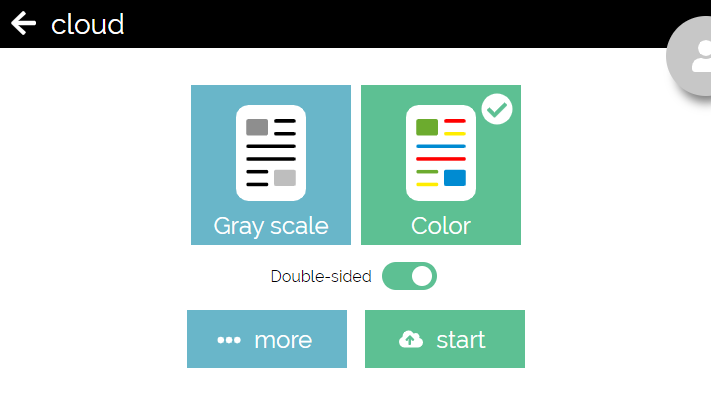
This is the scan-to-cloud screen.
You can adjust the scan settings and sent the scans to a cloud-based storage.
This document is a double-sided colour document.
Click start to continue.
Available: start, menu and back.
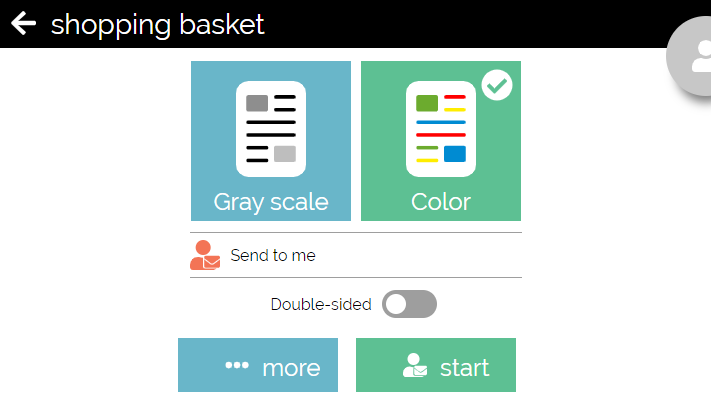
This is the scan-to-me screen.
You can adjust the scan settings and sent the scans to the email address linked to your KUARIO account.
This document is a single-sided colour document.
Click start to continue.
Available: start, menu and back.
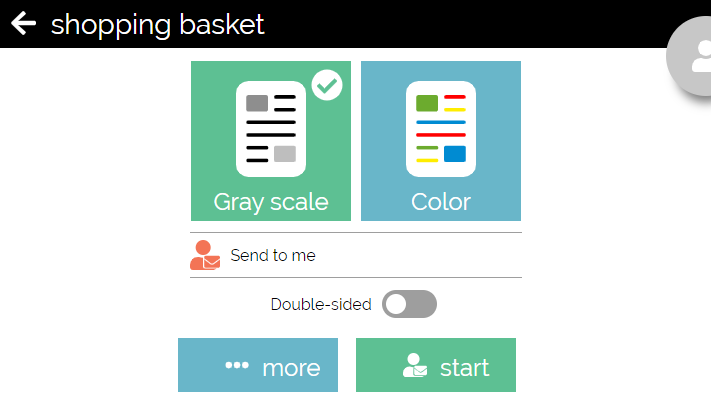
This is the scan-to-me screen.
You can adjust the scan settings and sent the scans to the email address linked to your KUARIO account.
This document is a single-sided gray-scaled document.
Click start to continue.
Available: start, menu and back.
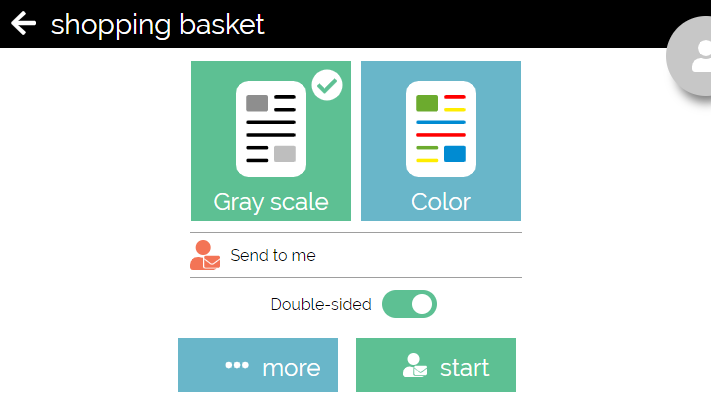
This is the scan-to-me screen.
You can adjust the scan settings and sent the scans to the email address linked to your KUARIO account.
This document is a double-sided gray-scaled document.
Click start to continue.
Available: start, menu and back.
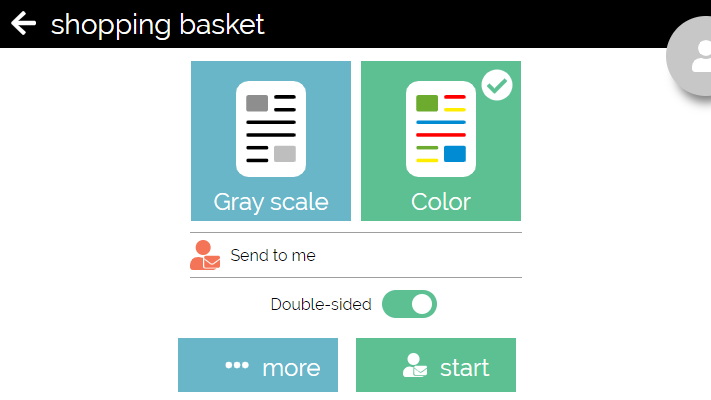
This is the scan-to-me screen.
You can adjust the scan settings and sent the scans to the email address linked to your KUARIO account.
This document is a double-sided colour document.
Click start to continue.
Available: start, menu and back.
<Destination e-mail address @ e-mail provider>
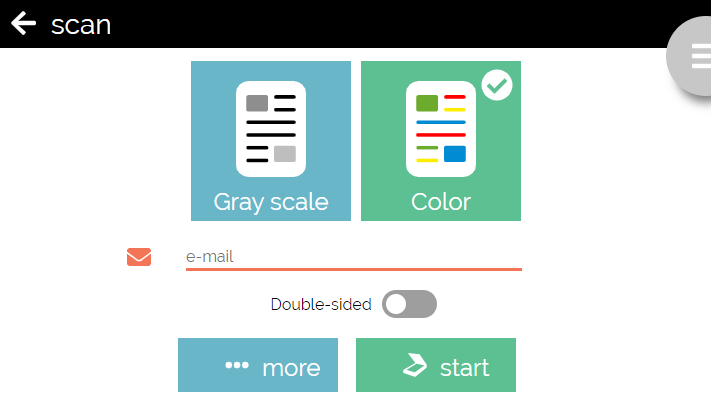
This is the scan-to-email screen.
You can adjust the scan settings and sent the scans to an email address of your choosing.
This document is a double-sided colour document.
Click start to continue.
Available: start, menu and back.
<Destination e-mail address @ e-mail provider>
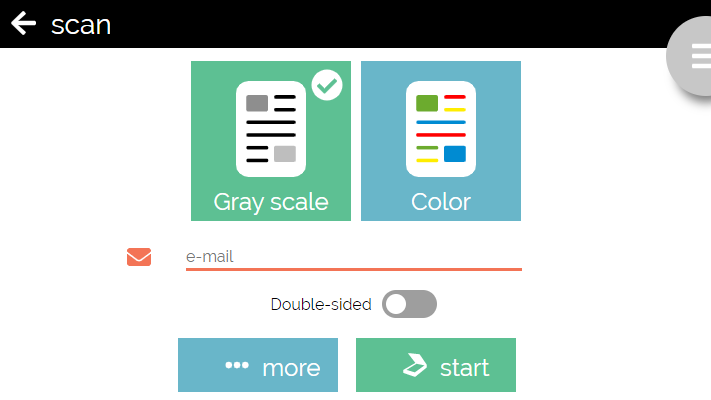
This is the scan-to-email screen.
You can adjust the scan settings and sent the scans to an email address of your choosing.
This document is a single-sided gray-scaled document.
Click start to continue.
Available: start, menu and back.
<Destination e-mail address @ e-mail provider>
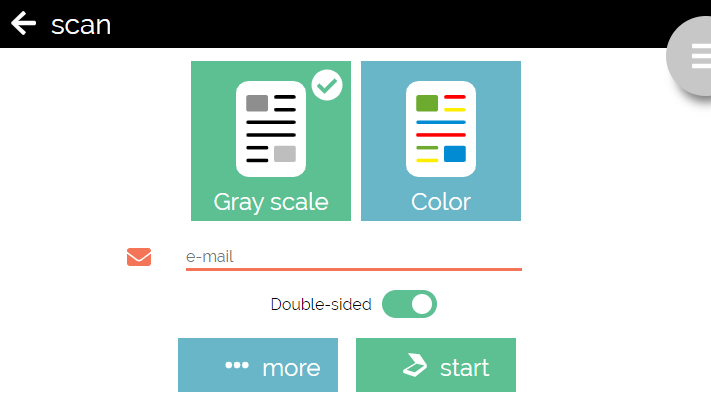
This is the scan-to-email screen.
You can adjust the scan settings and sent the scans to an email address of your choosing.
This document is a double-sided gray-scaled document.
Click start to continue.
Available: start, menu and back.
<Destination e-mail address @ e-mail provider>
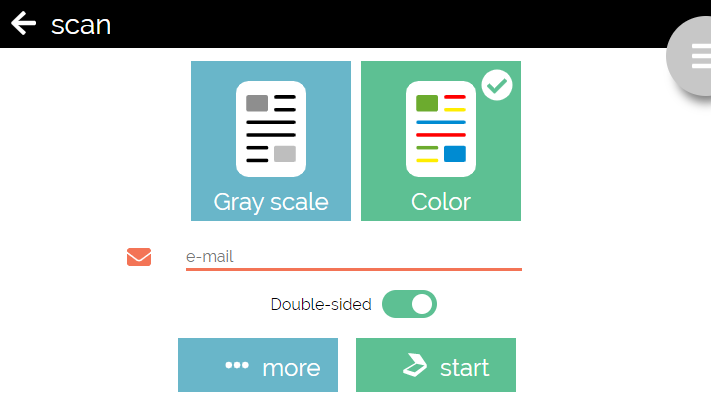
This is the scan-to-email screen.
You can adjust the scan settings and sent the scans to an email address of your choosing.
This document is a double-sided colour document.
Click start to continue.
Available: start, menu and back.
-clip440711400.png)
There is no more to learn in this branch. Go back.
Available: back.
This is the more options screen.
In the shown configuration the file type is set to PDF, and it will be a double-sided colour scan.
You can change the email destination and the file type.
File Type Description
PDF A document in the Printed Document Format
Searchable PDF A OCR scanned PDF document resulting in searchable text
JPG A JPEG (Joint Photographic Experts Group) image file
Word A Miscrosoft Word document (*.docx)
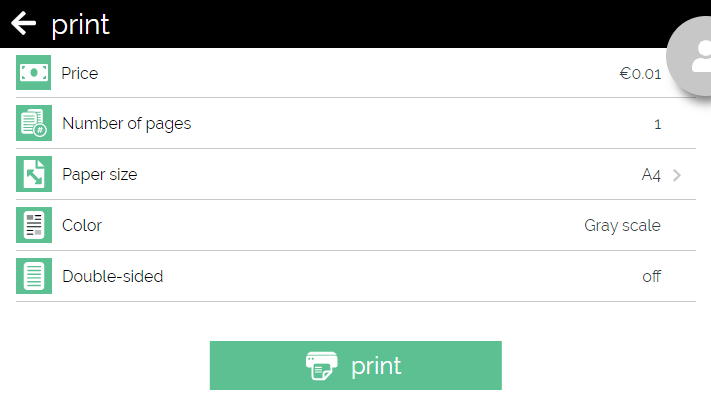
Click on print to continue.
Available: print, menu and back.
This is the print job detail screen.
You can edit the paper size of selected print job.

This is the shopping basket screen.
All your products (scans, copies, print jobs or faxes) will be shown here. They will be delivered at checkout.
You can edit the number of the selected print jobs and/or copies.
Click checkout to continue.
Available: checkout, menu and back.
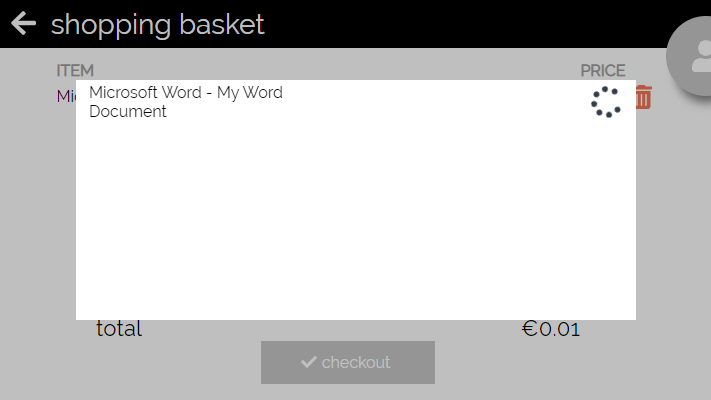
Click on the white proces box to continue.
Available: white proces box.
This is the processing screen.
At has a list of processes (like scanning, copying, faxing or printing.
At each process you will see the circle of dots rotating untill that process has been finished. Then a green check mark will show that it has.

This is the shopping basket screen.
All your products (scans, copies, print jobs or faxes) will be shown here. They will be delivered at checkout.
You can edit the number of the selected print jobs and/or copies.
Click on the checkout to continue.
Available: checkout, menu and back.
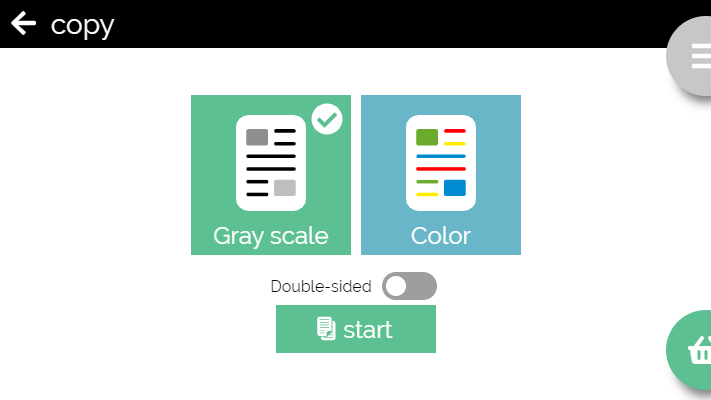
Click start to continue.
Available: start, menu and back.
This is the copy screen. The shopping basket is now visible because a copy has been created.
Click the basket to inspect your shopping list or to pay.
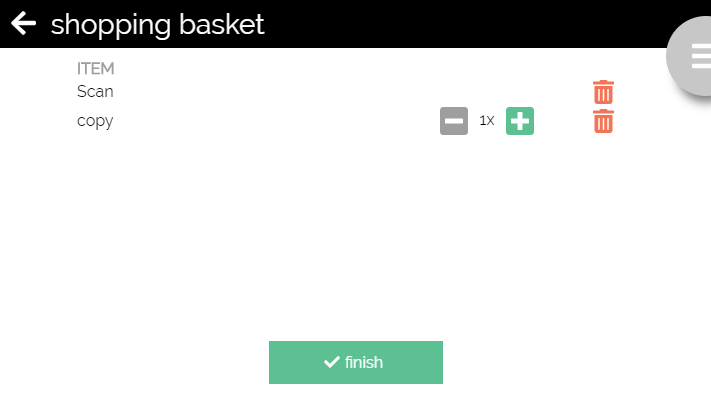
This is the shopping basket screen.
All your products (scans, copies, print jobs or faxes) will be shown here. They will be delivered at the finish when you have paid.
You can edit the number of the selected print jobs and/or copies.
Click finish to continue.
Available: finish, menu and back.
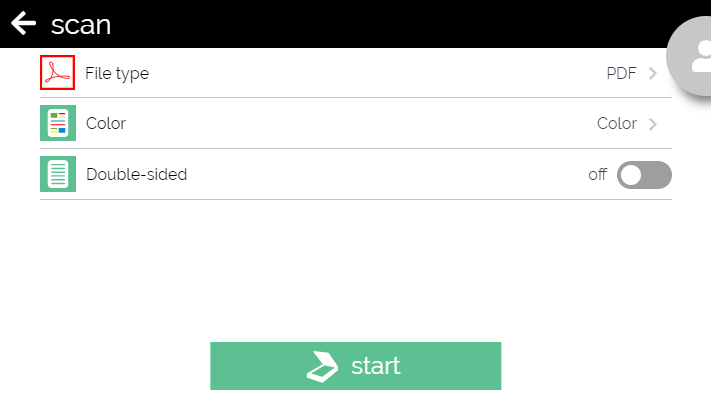
There is no more to learn in this branch. Go back.
Available: back.
This is the more options screen.
In the shown configuration the file type is set to PDF, and it will be a single-sided colour scan.
You can adjust those options and the file type.
File Type Description
PDF A document in the Printed Document Format
Searchable PDF A OCR scanned PDF document resulting in searchable text
JPG A JPEG (Joint Photographic Experts Group) image file
Word A Miscrosoft Word document (*.docx)
