
Are you watching this instruction on your phone?
Please make sure your rotate function is active and watch it in the 'landscape' orientation.
When ready, please start the presentation!
A comprehensive instruction on the functions of the KUARIO User app
You should now be able to use the KUARIO User app

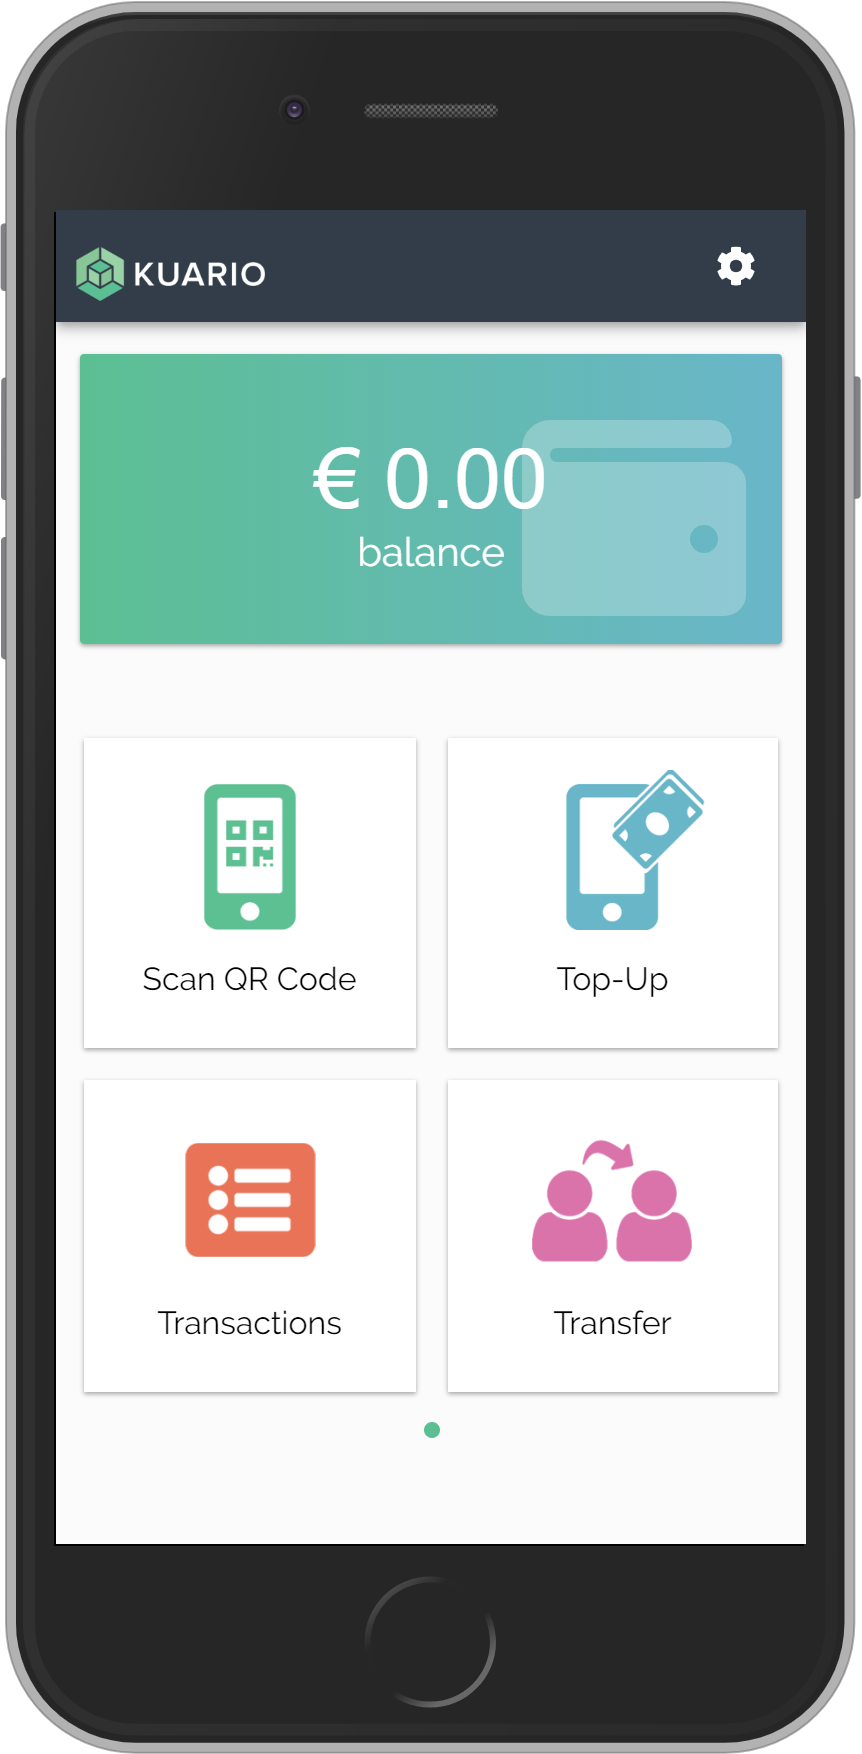
KUARIO Uses QR codes to quickly transmit information like ID's or links.
Click it to learn more
All your transactions are stored by KUARIO, you can review them here.
Click it to learn more
Your wallet information is shown here.
With multiple wallets, it will also display the default wallet and show swipe dots, to indicate you can swipe.
You can add wallets at:
settings -> account -> wallet
Click it to learn more
A lot of the KUARIO User apps functions can be found in the settings menu.
Click it to learn more
To get more credit or money on your account use
the Top-Up function.
Click it to learn more
To transfer credit or money between wallets or persons use the Transfer function.
Click it to learn more
Click here to exit this tutorial

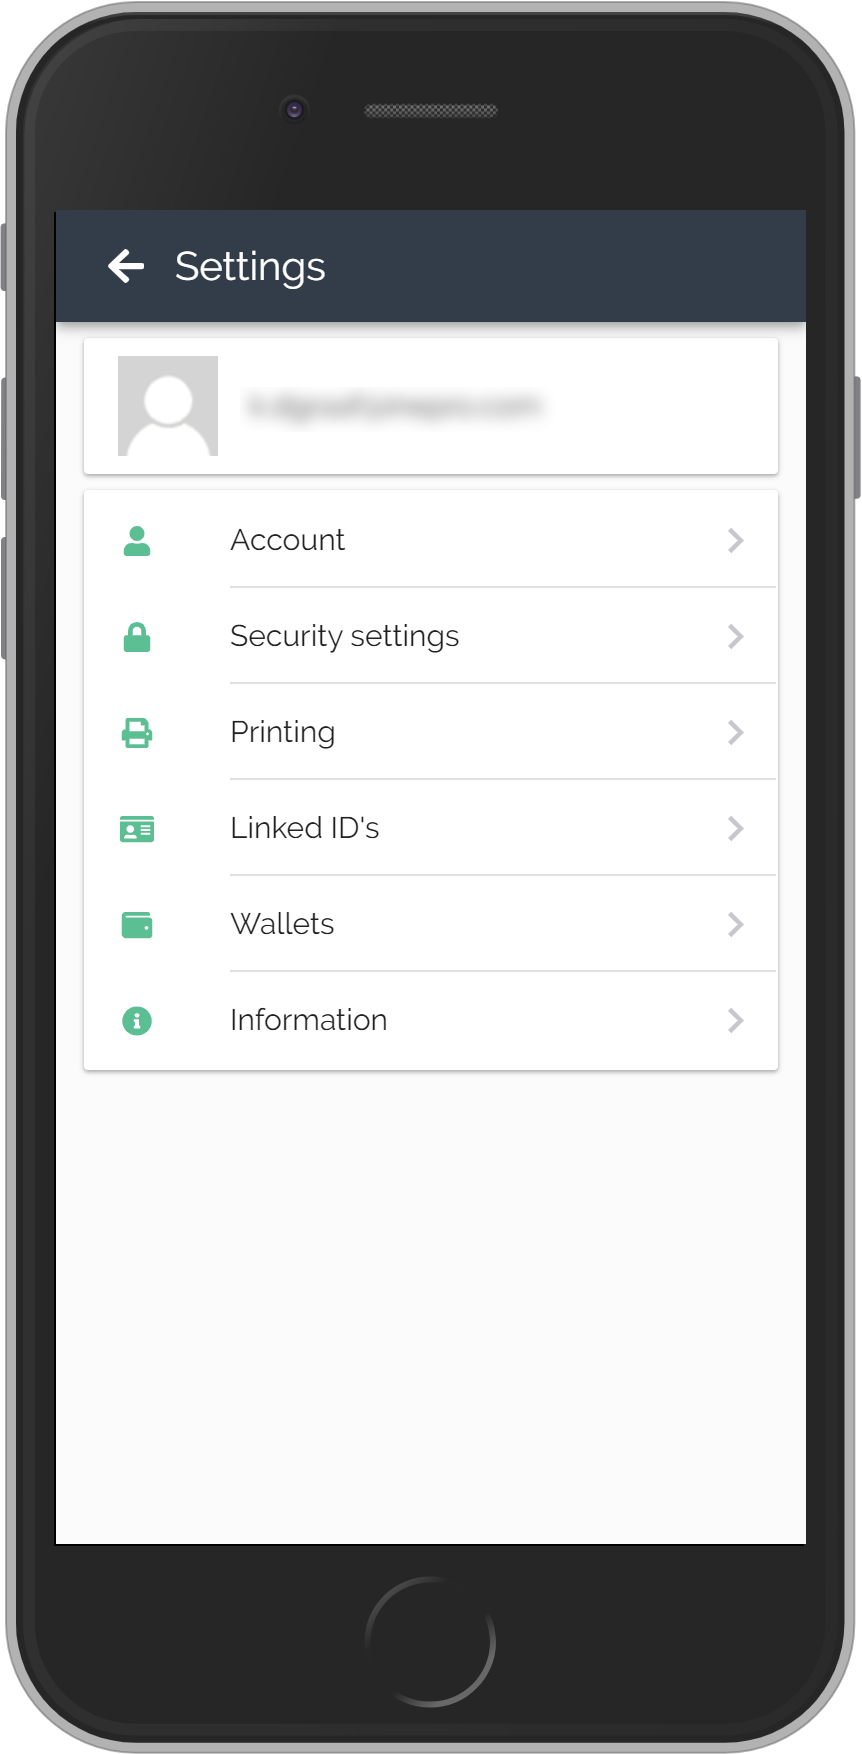
The settings that refer to your account.
Click it to learn more
The settings that refer to security. Like PIN code, passwords and logged in devices.
Click it to learn more
Information has the KUARIO contact information, term & conditions and version information.
Click it to learn more
Printing will allow you to enable KUARIO Print and/or link to Google Print.
Click it to learn more
Cards or other ID's can be linked to your KUARIO account.
Click it to learn more
Wallets is where Wallets can be added, deleted or edited.
Click it to learn more
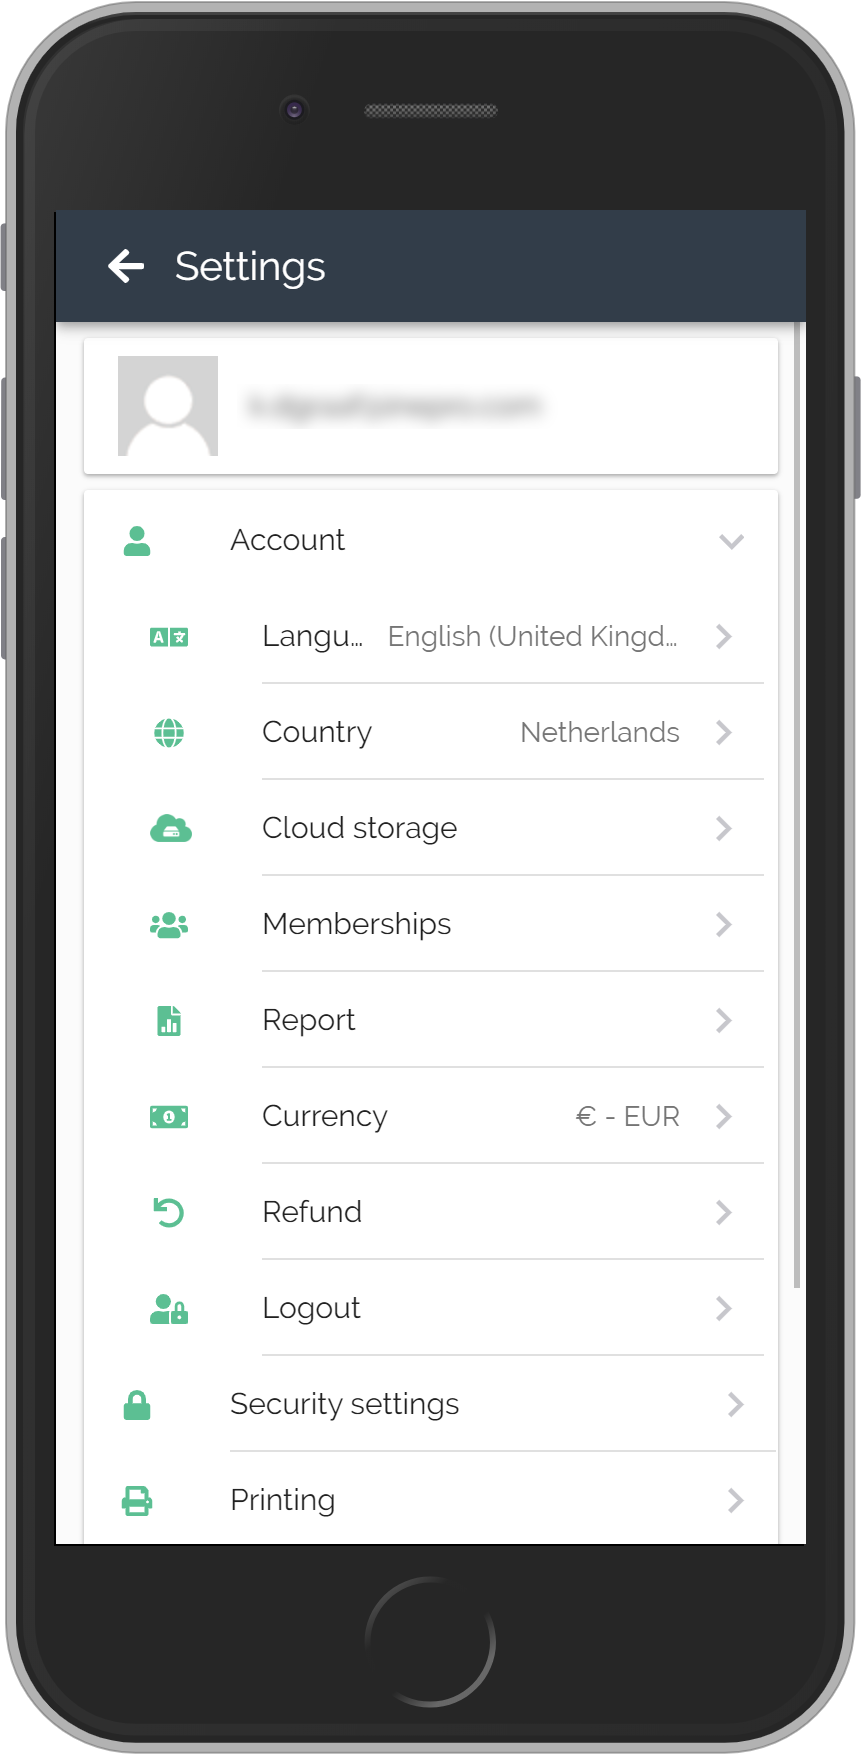
The language that is used in your KUARIO environment.
Click it to view the selection screen
Cloud storage will enable you to print from cloud storage locations.
Click it to to learn more
Wih Report you can request a month report. This report will be send to you.
Click it to learn more
This starts the refund process.
Click it to learn more
The country that is used in your KUARIO environment.
Click it to view the selection screen
The language that is used in your KUARIO environment.
Click it to view the selection screen
The currency that is used in your KUARIO environment.
Click it to view the selection screen
Log off. End your KUARIO session.
Click it to learn more
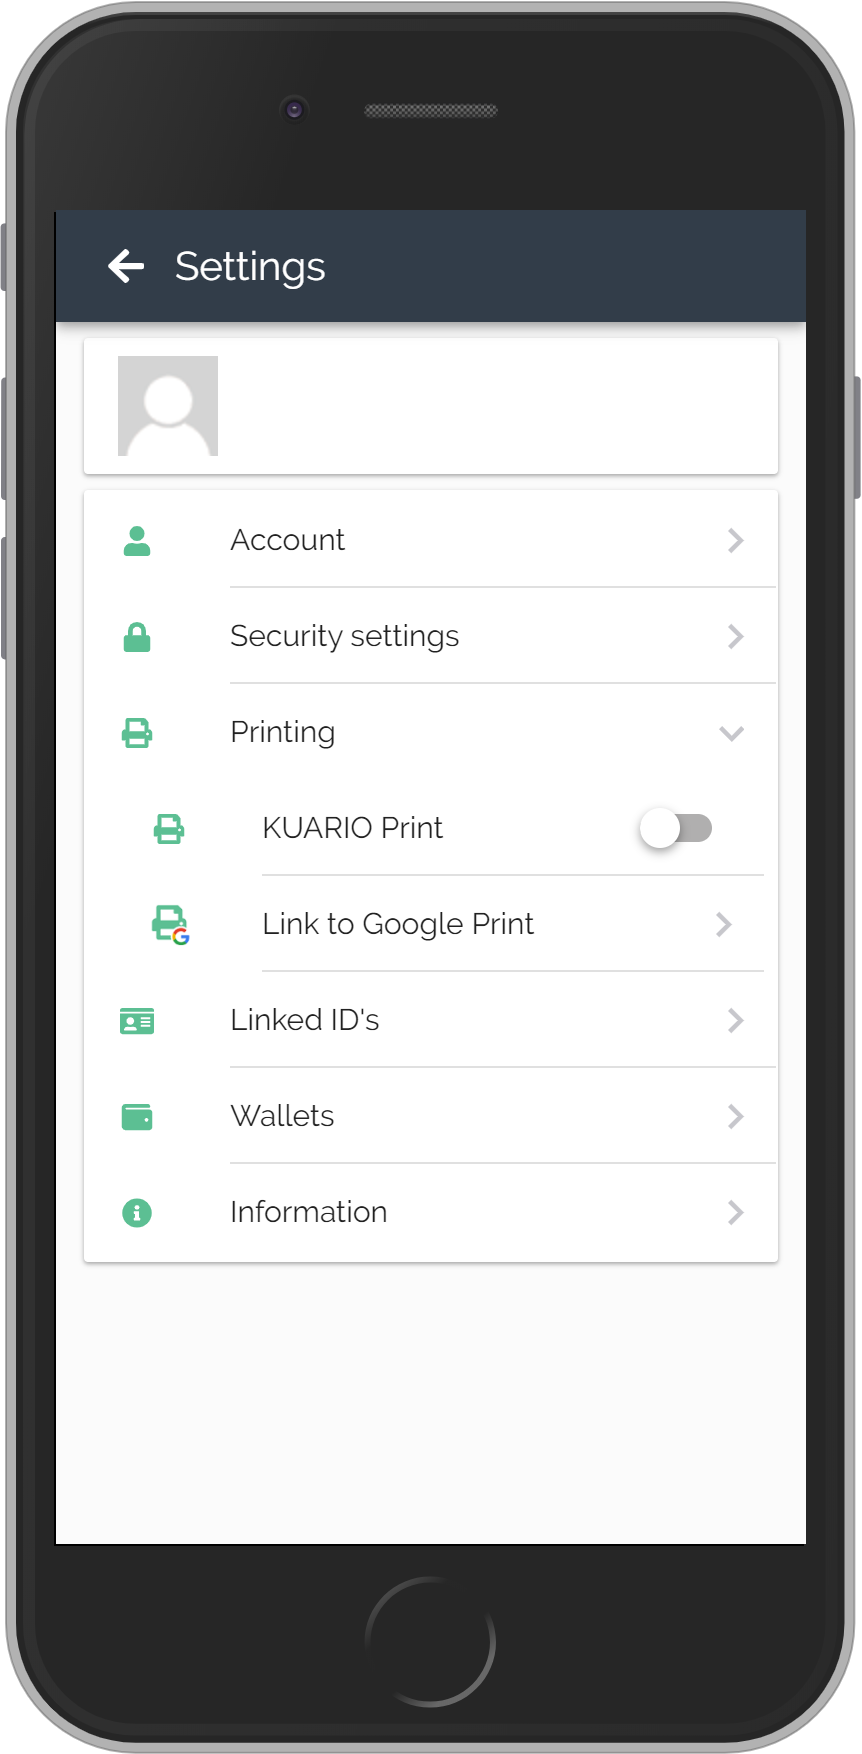
Link to Google Print enables you to use Google Print to print to KUARIO.
Click to give KUARIO permission on Google Print to add a KUARIO printer
KUARIO Print let's you upload documents from your phone and to pay for and print them via KUARIO Kiosk.
Click to enable KUARIO Print
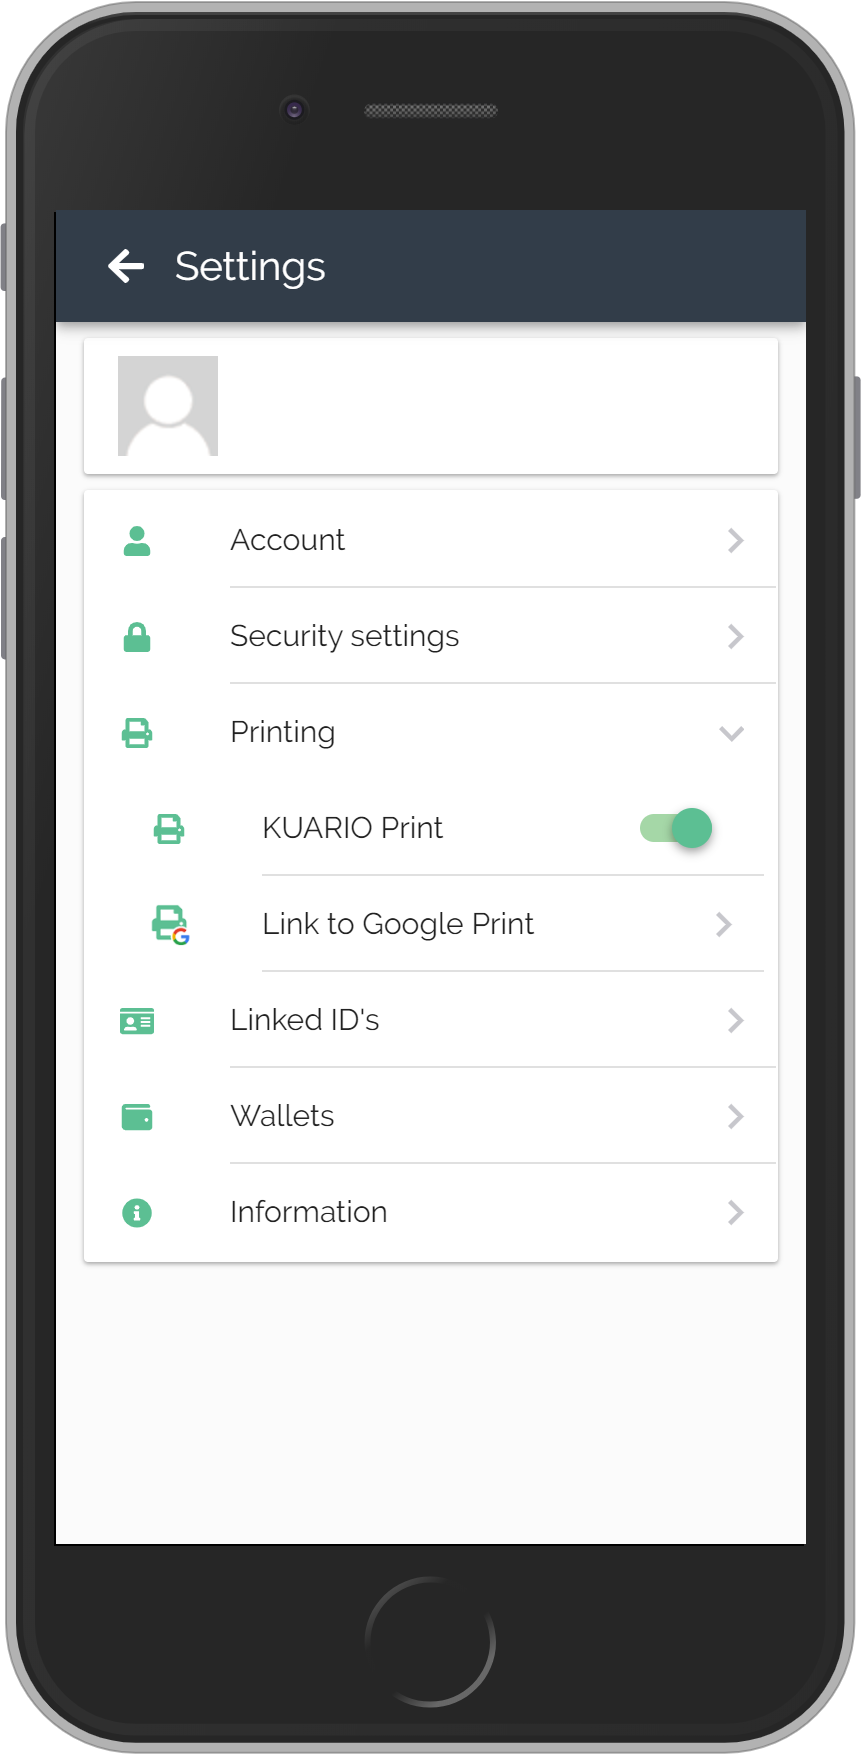

KUARIO Print has been activated on this phone.
Click KUARIO Print again to disable it
KUARIO Print has been linked to Google Print. An email will be sent to you asked you permission to add the KUARIO Printer.
Link to Google Print enables you to use Google Print to print to KUARIO.
Click to give KUARIO permission on Google Print to add a KUARIO printer
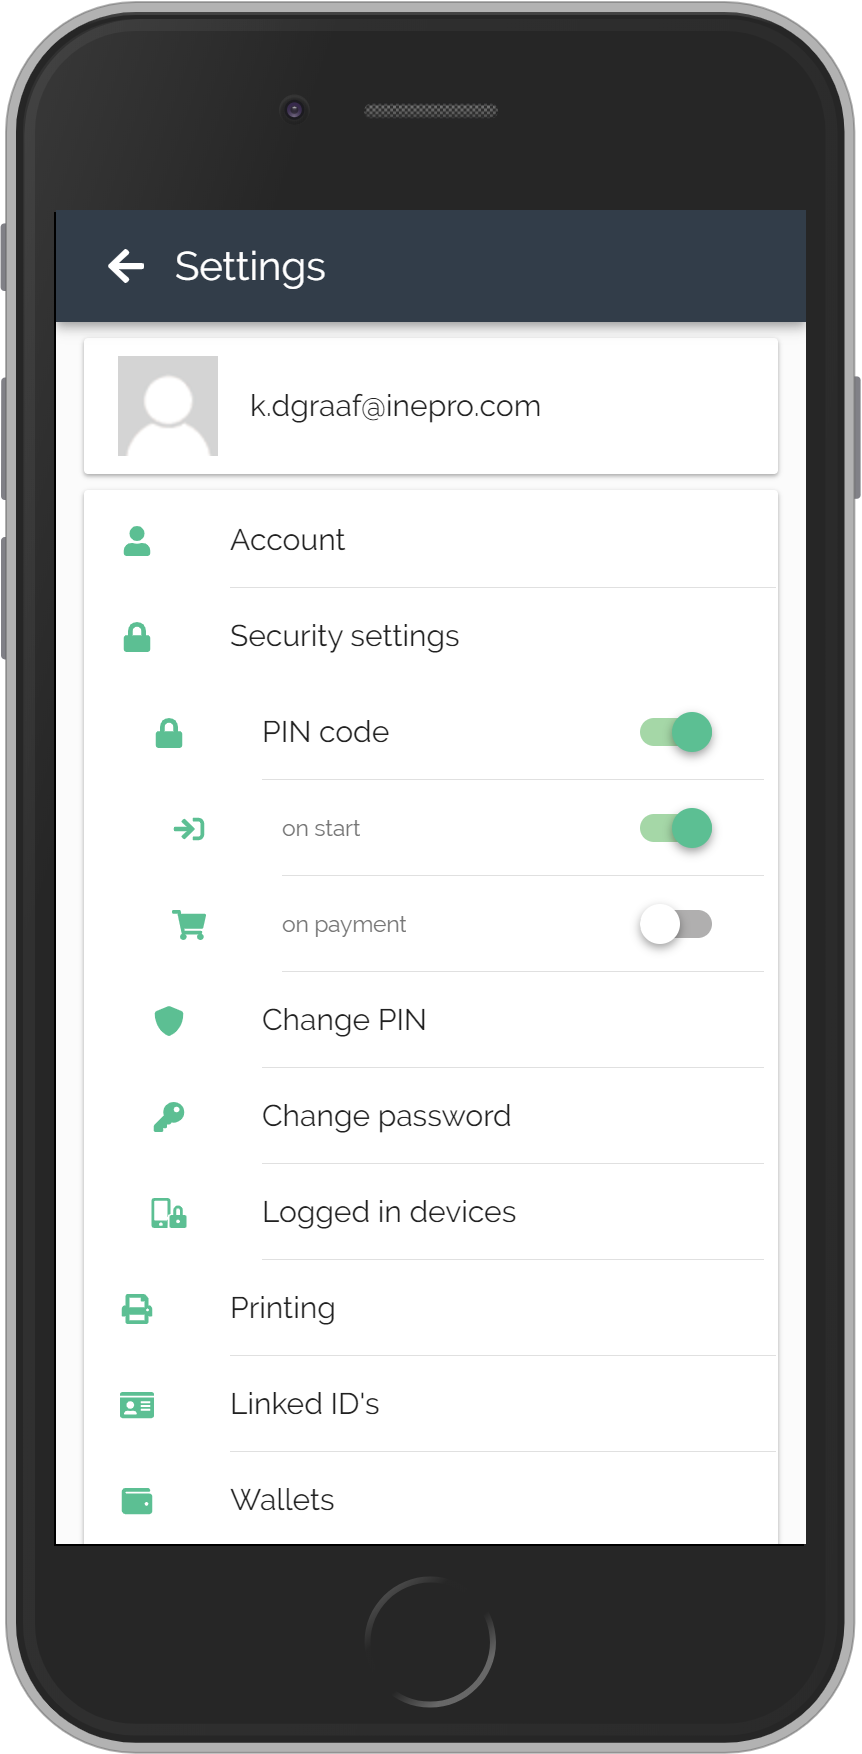
Change your password here.
Click change password to learn more
Change your PIN here.
Click Change PIN for more information
If you are a frequent user of KUARIO systems you might like to know where you are logged in. This is shown here.
Click Logged in devices to learn more
PIN code is security lock, using an Personal Identification Number.
You can set if it must be used at the start of the application and / or on payment.
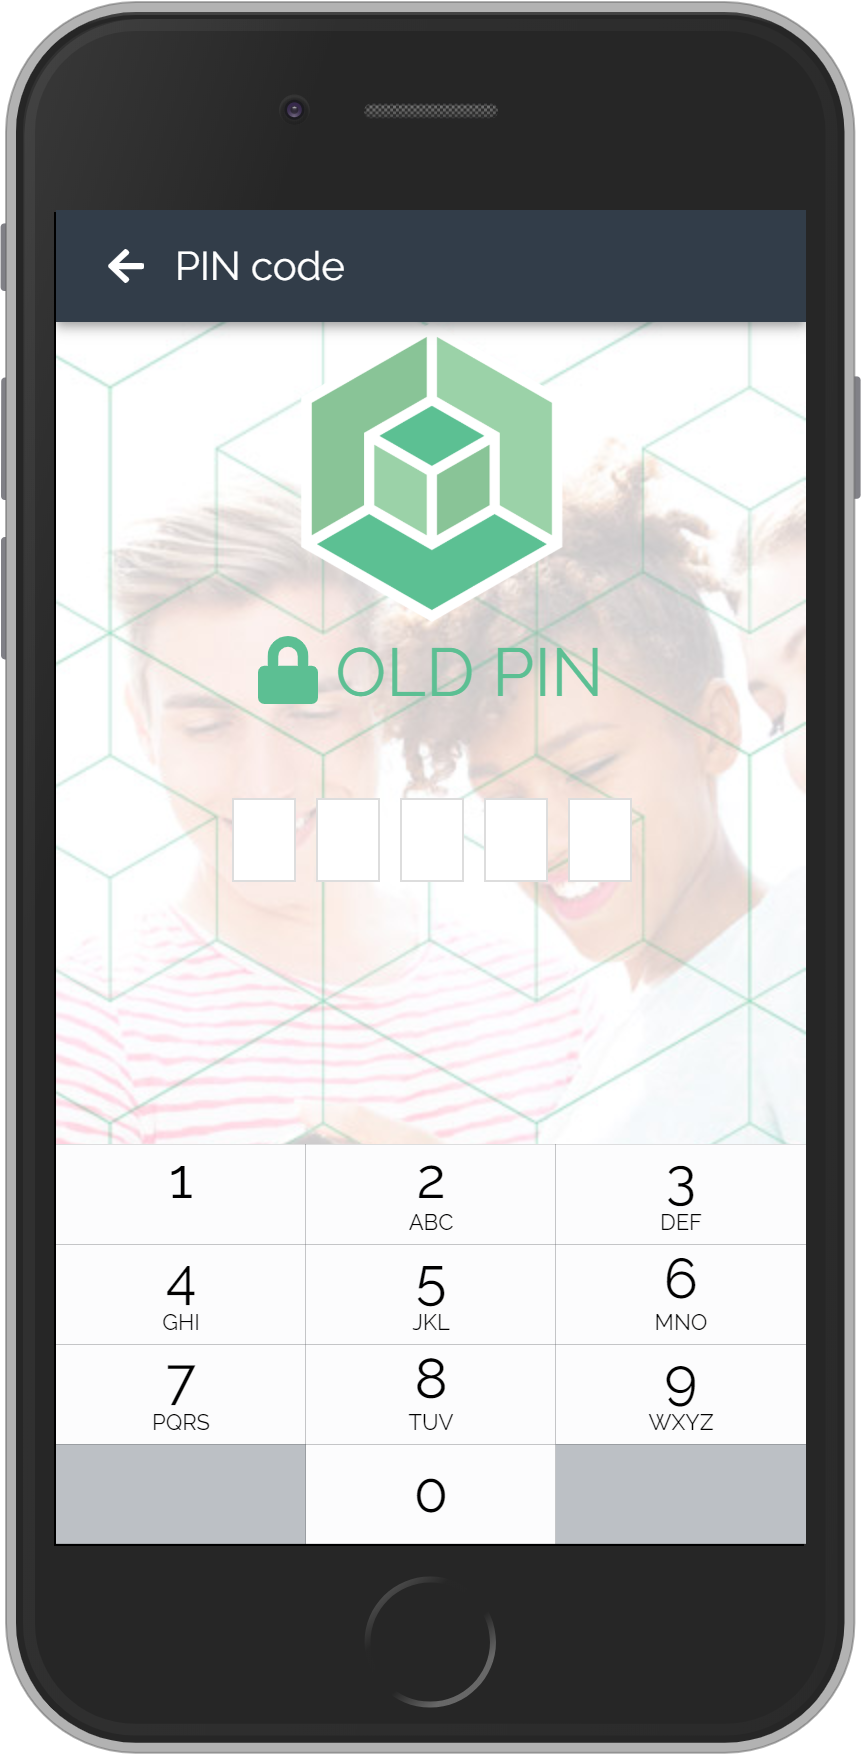
* * * * *
To change your PIN, you must first enter our old PIN and then set a new PIN.
At this point you can only go back. Click on this bar to go to the main screen.
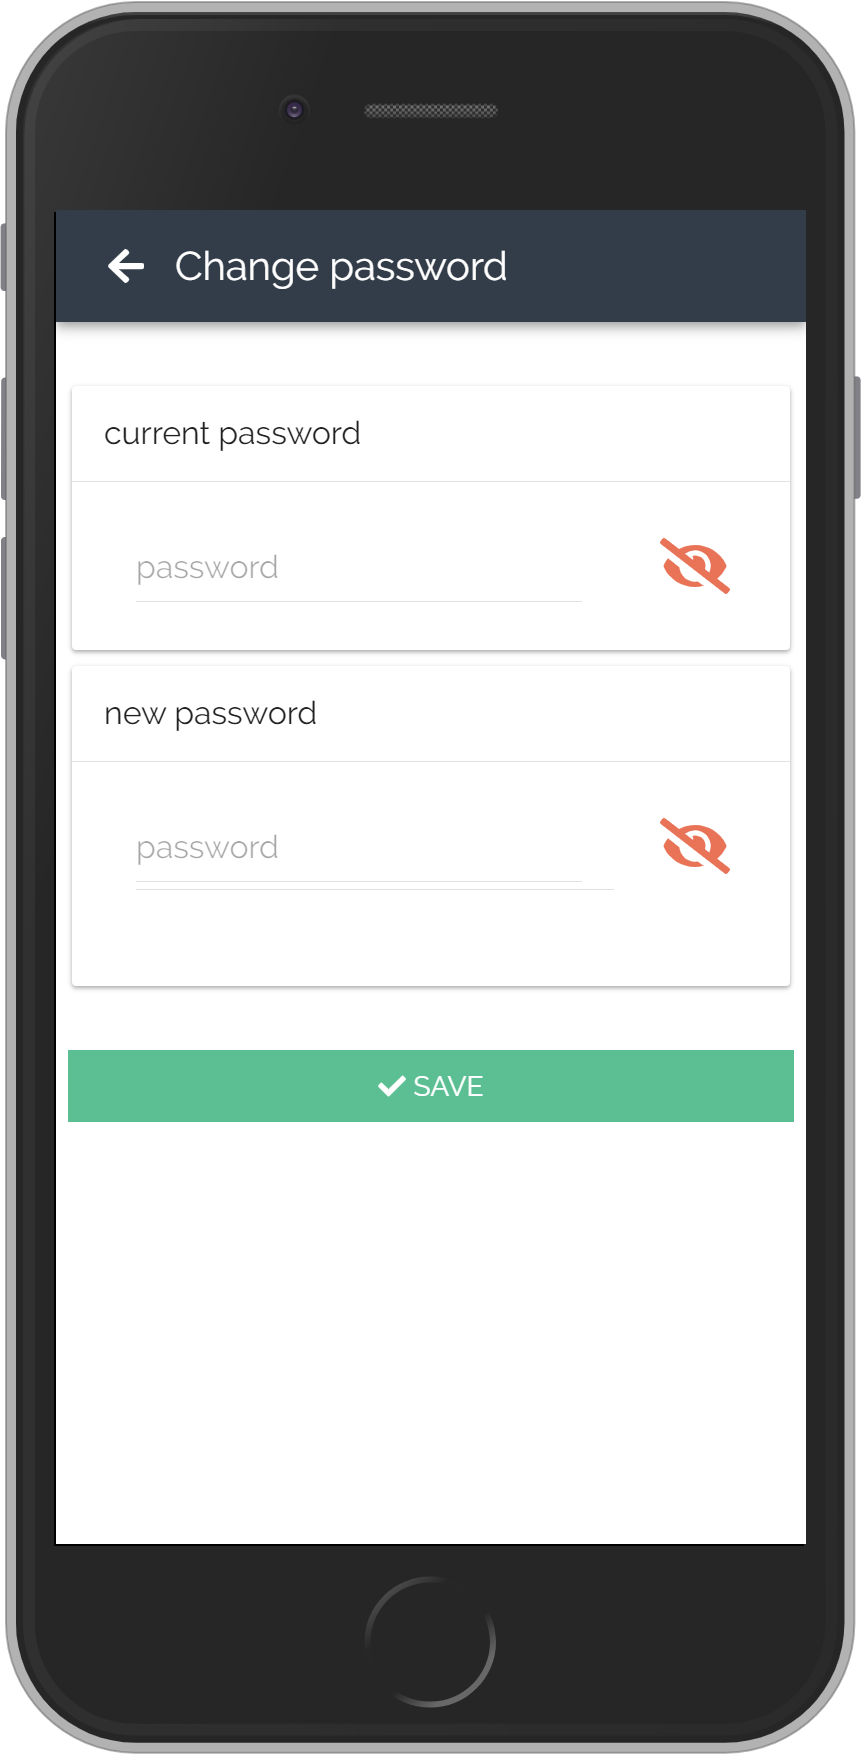
My new password
My current password
To change your password, first enter your current password.
Secondly enter your new password.
Click Save to continue.
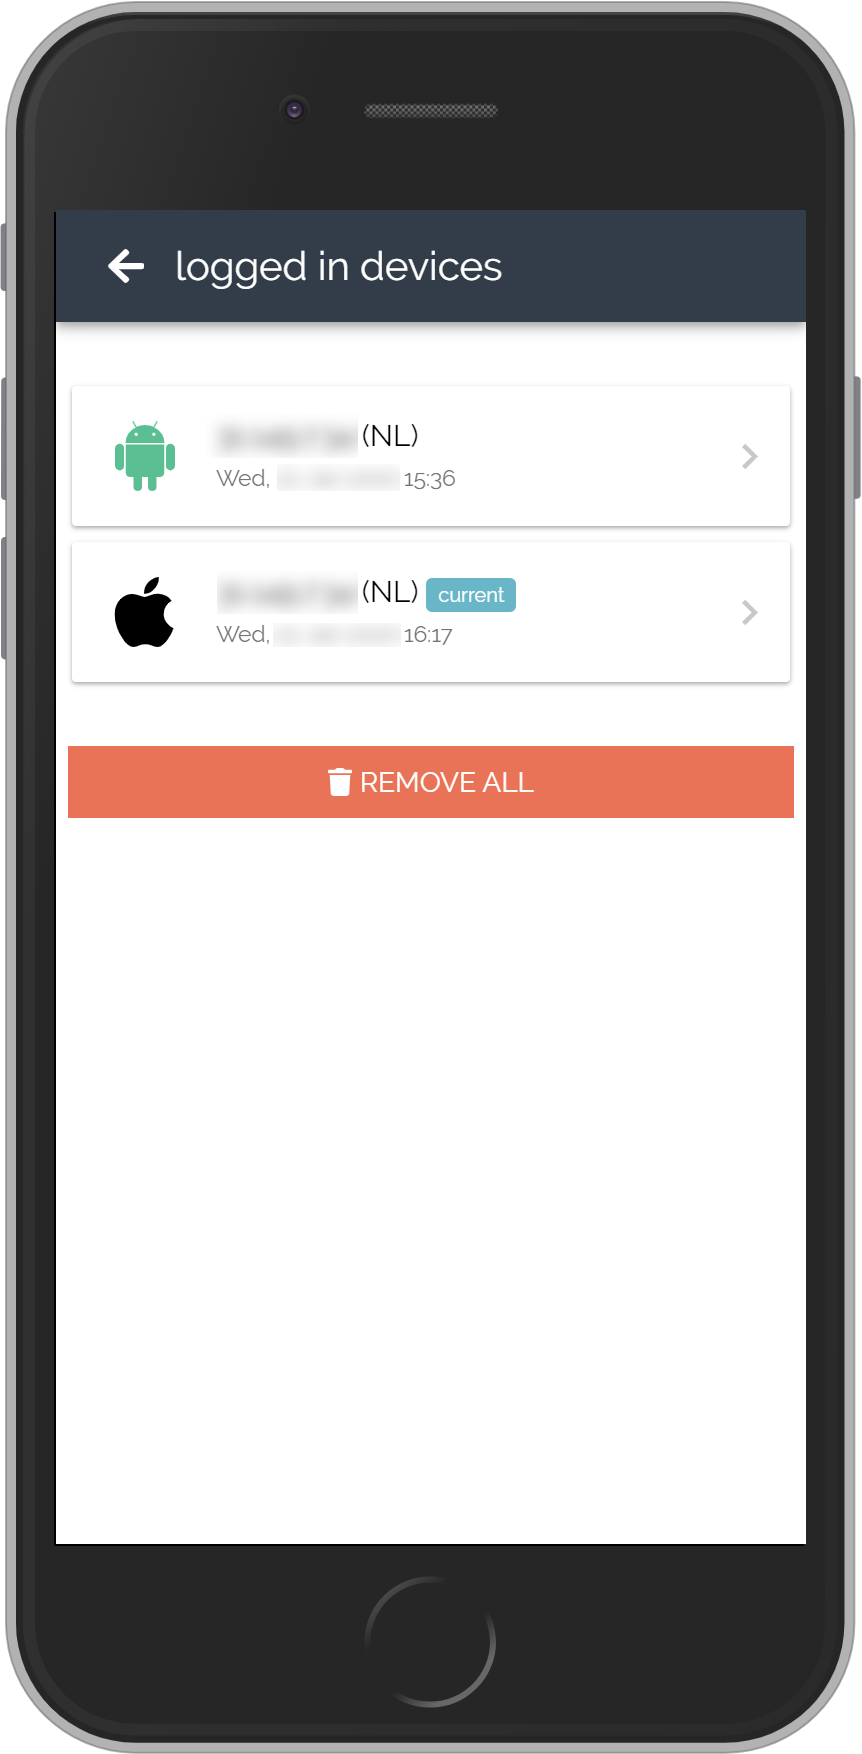
This will show the IP addresses of the devices that you are loggind in to at the moment.
You can log out of devices induvidually or click Remove All to log out of all the devices listed.
At this point you can only go back. Click on this bar to go to the main screen.
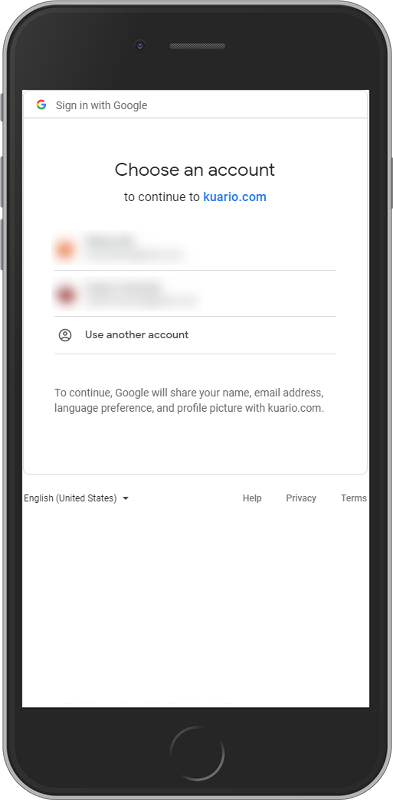
Link KUARIO to your Google Account to use Google Print to print to KUARIO print.
Click on the account name to continue
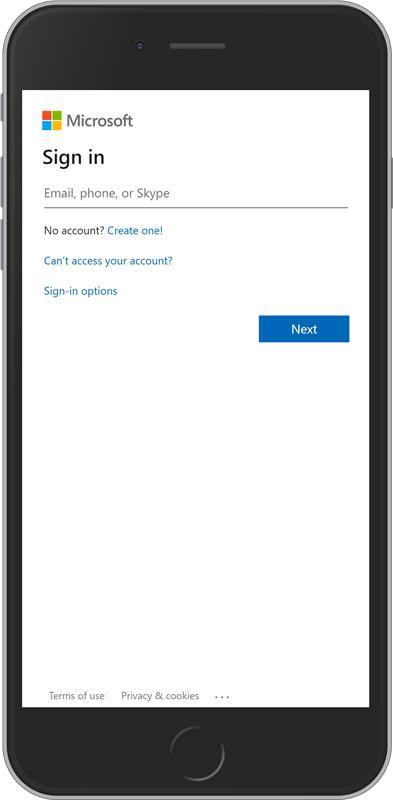
To print from your OneDrive drive you need to link KUARIO to your Microsoft account.
Click Next to learn more
At this point you can only go back. Click on this bar to go to the main screen.
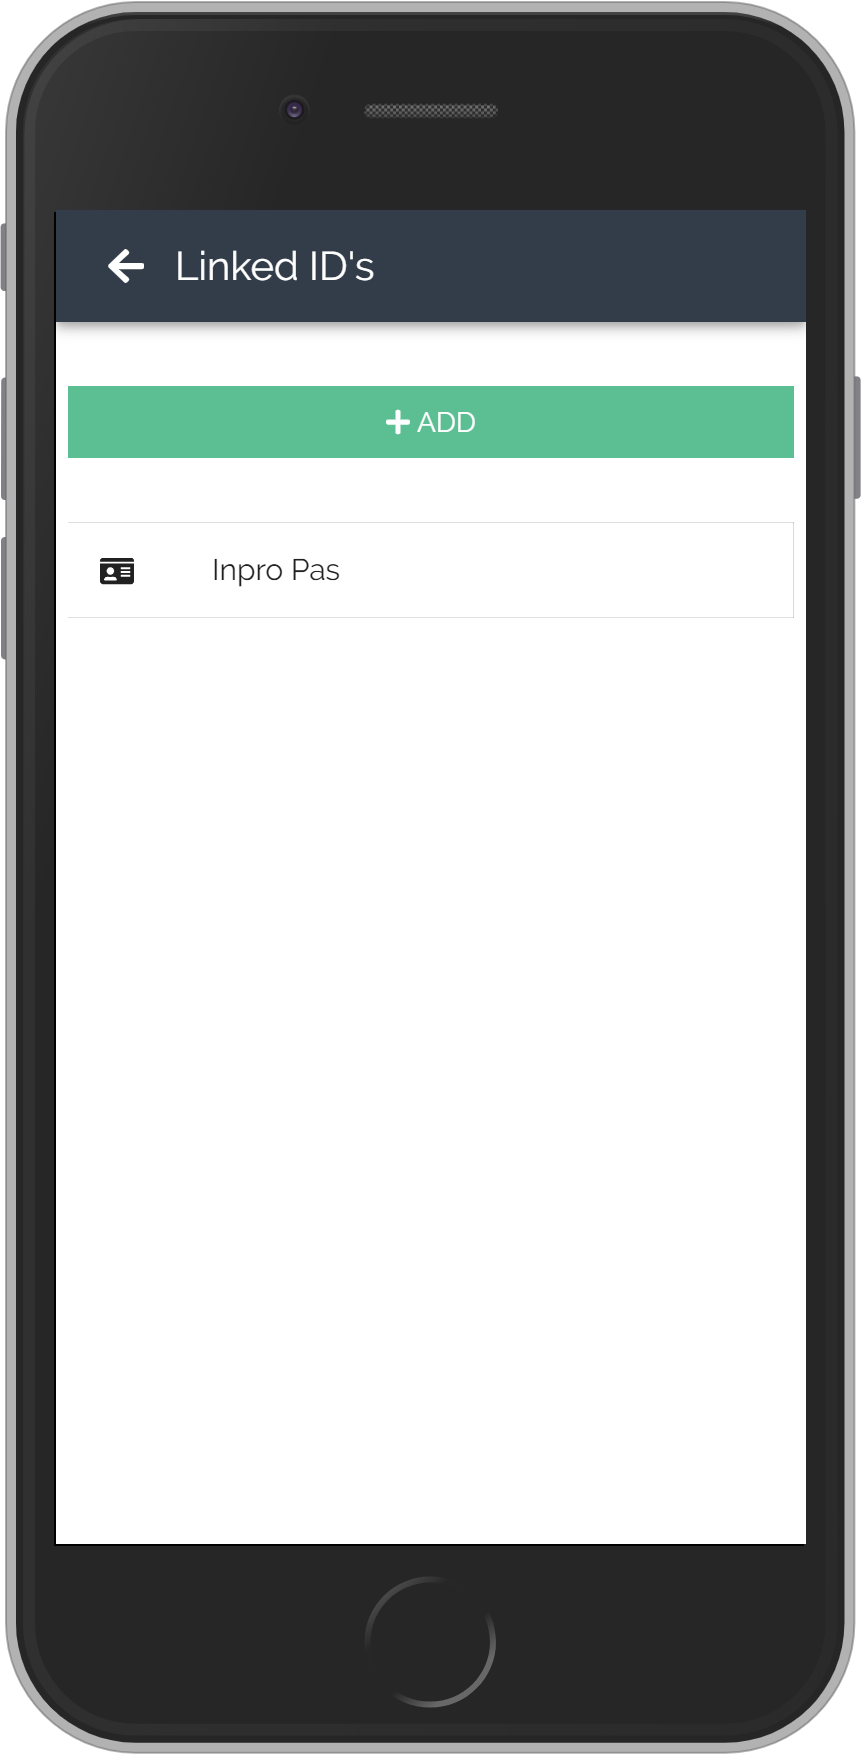
You can link ID's to your KUARIO account. An ID can be anything that is or has an RFID tag. Such as badges, cards, passes, key tags, wrist band and many more. When you add an ID you can give it a name so you can identify it in this list.
At this point you can only go back. Click on this bar to go to the main screen.
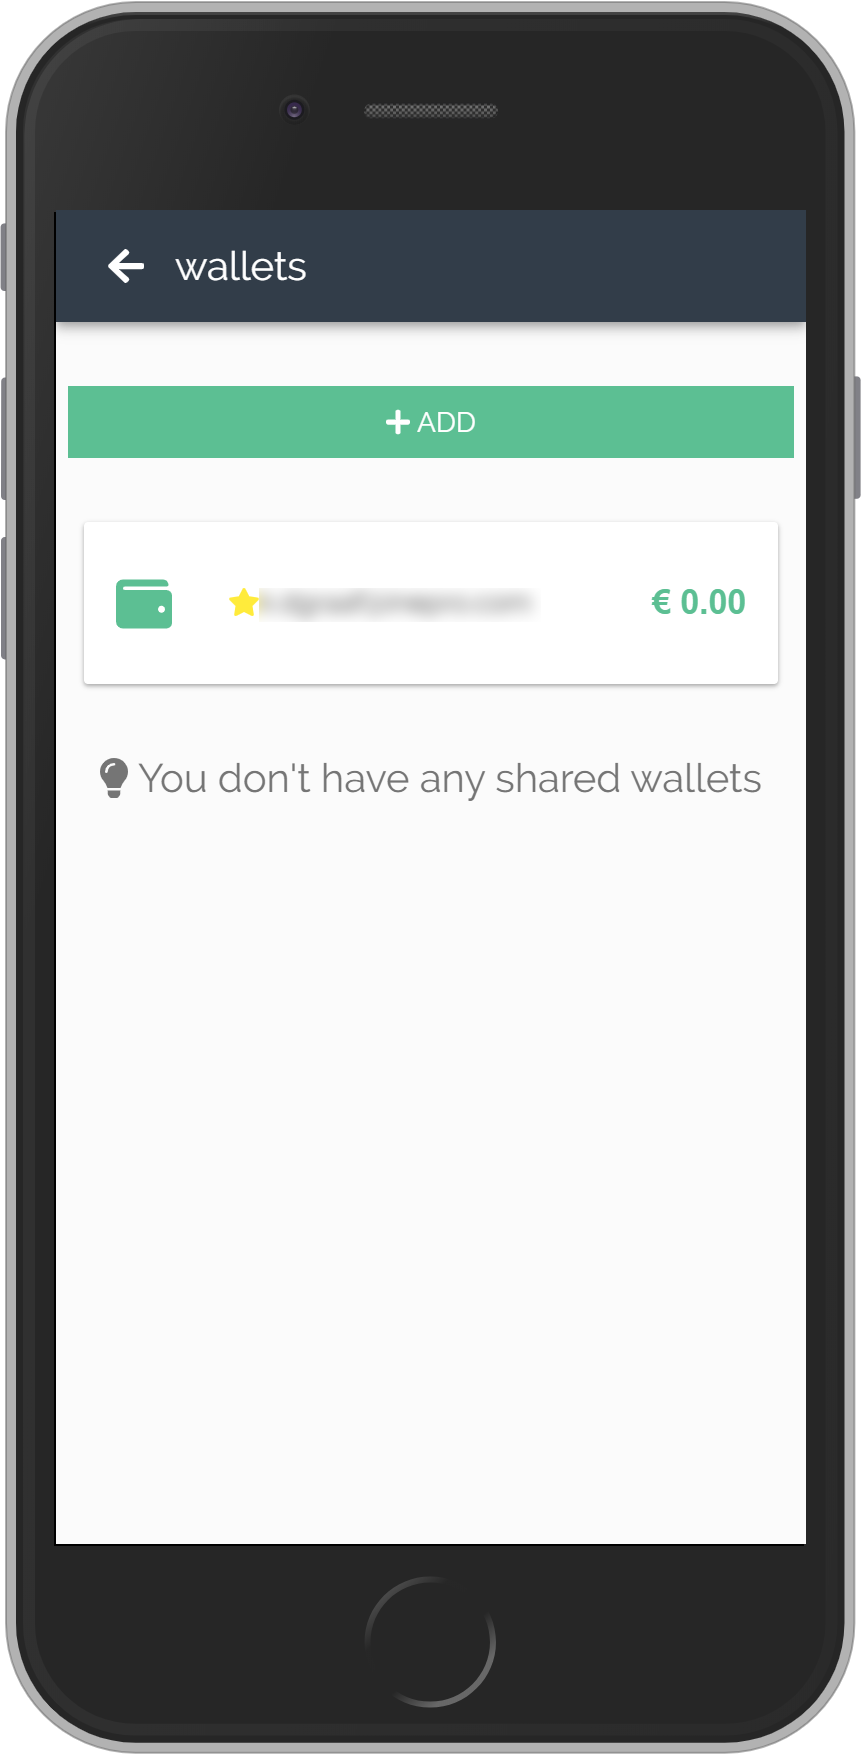
Wallets are places to store or share your money. You can share a wallet with others, and others can share a wallet with you.
When you not have other wallets yet, you will get this message.
To add another wallet,
click Add
This is the only wallet at this moment. It will have the email address used by your KUARIO account.
It will aslo have a star, indicating that it is the default wallet. And finally it will have the balance of your account.
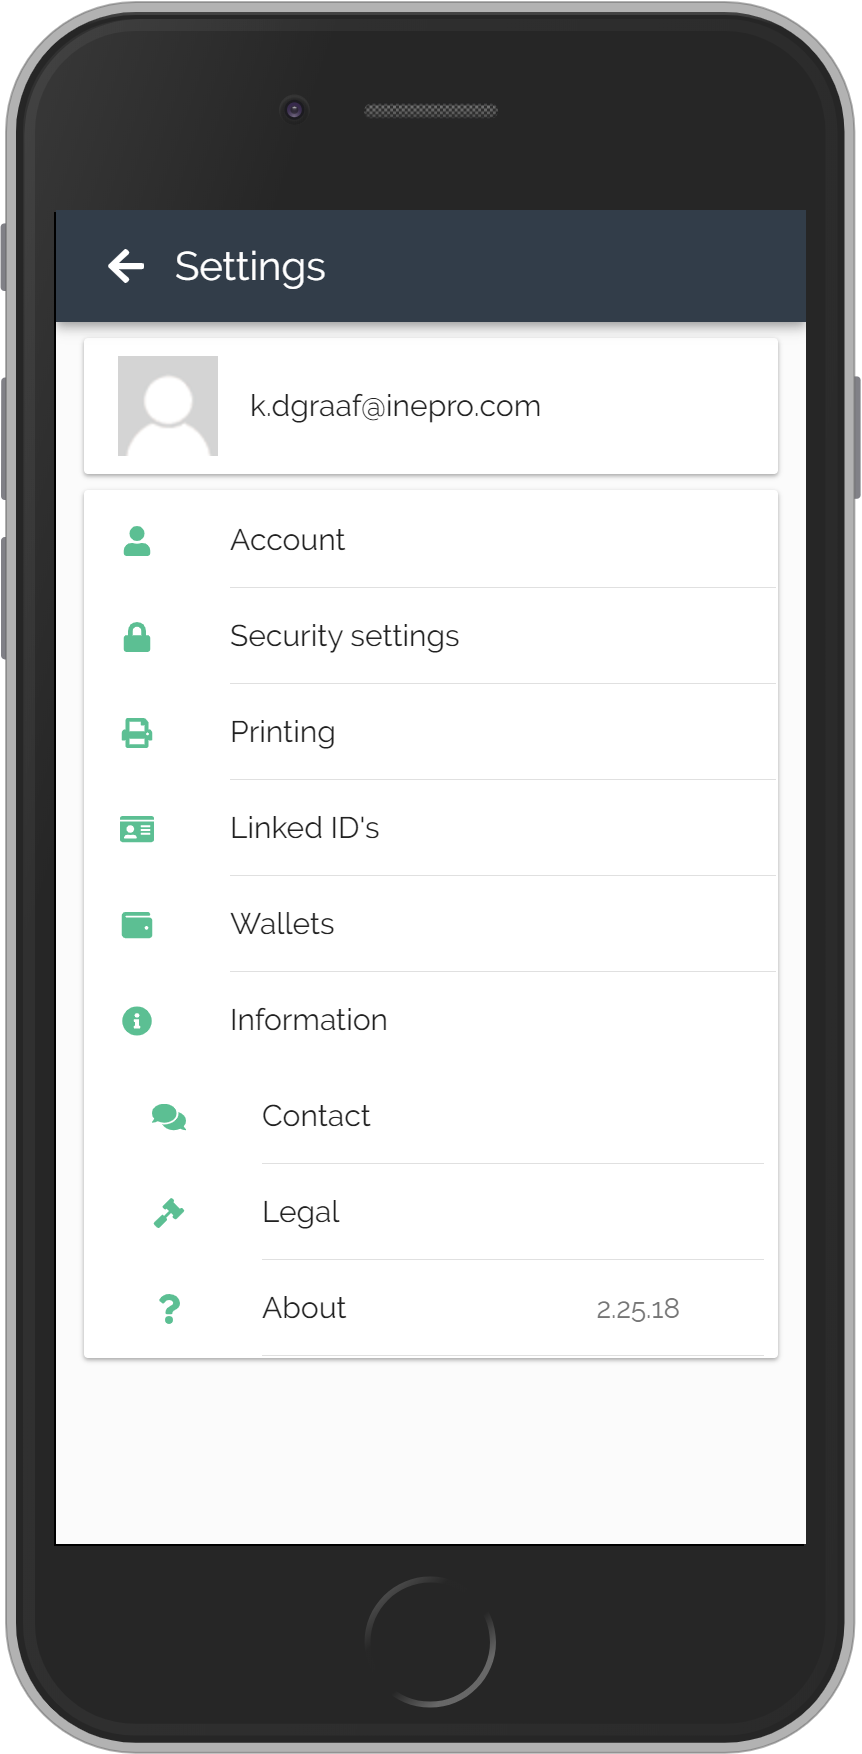
Legal link to the terms and conditions page on the KUARIO site.
Contact has contact and other information about the KUARIO Company.
Click it for more information.
About has version information and the essence of the application.
Click it for more information.
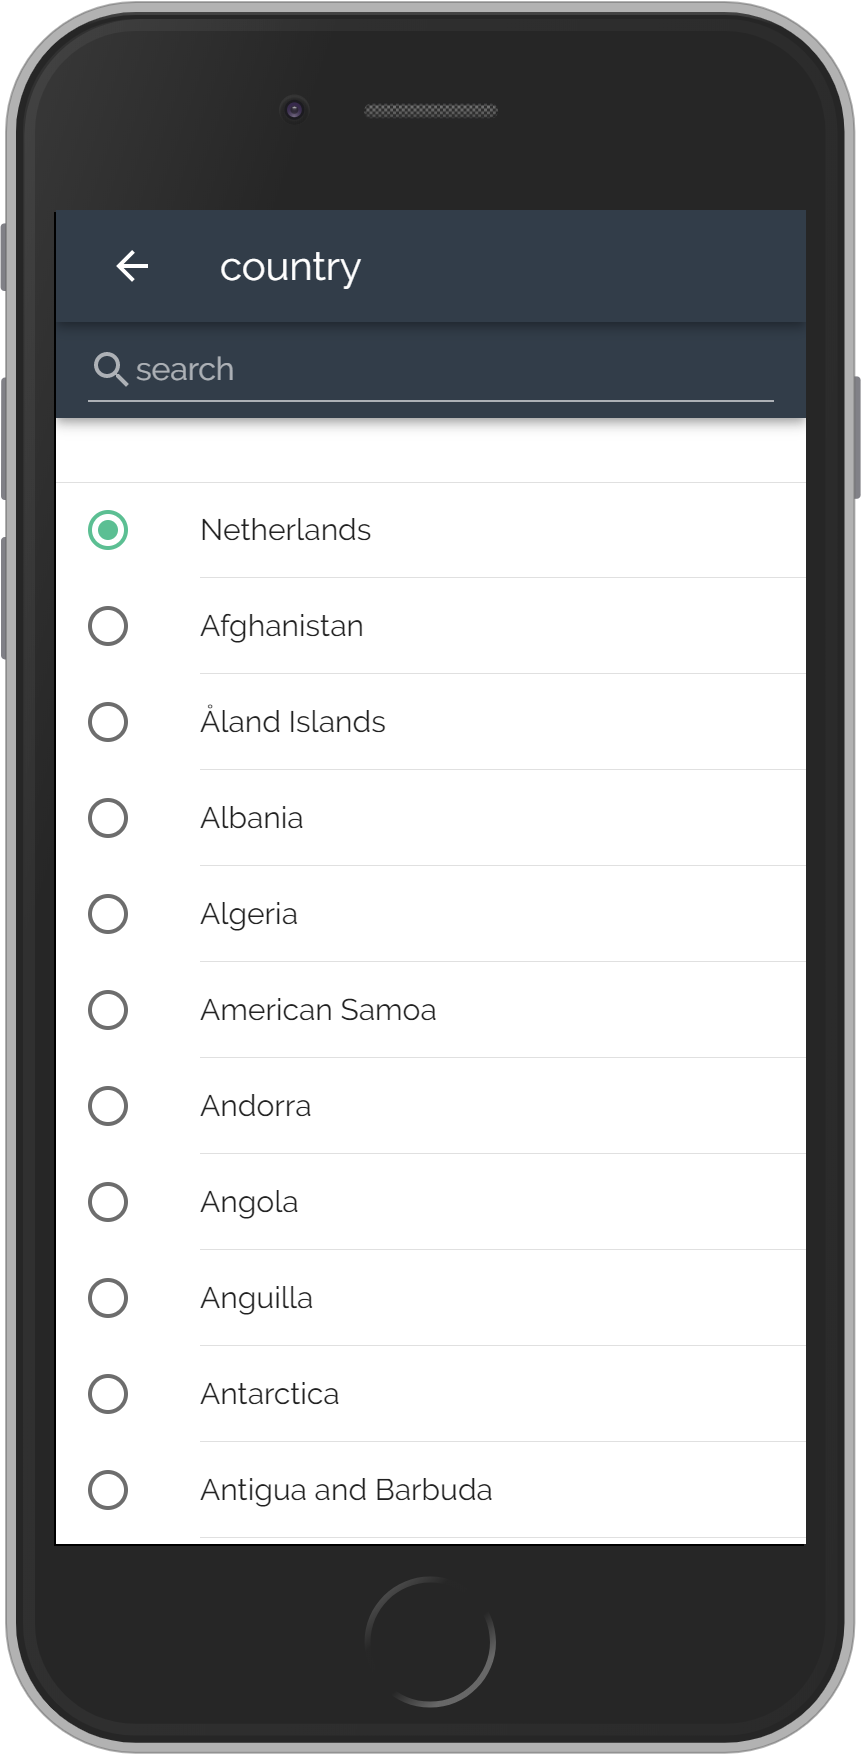
The country you select in this list, will be the language used in your KUARIO Account.
Although some KUARIO devices may not yet take their country settings from the cloud.
At this point you can only go back. Click on this bar to go to the main screen.
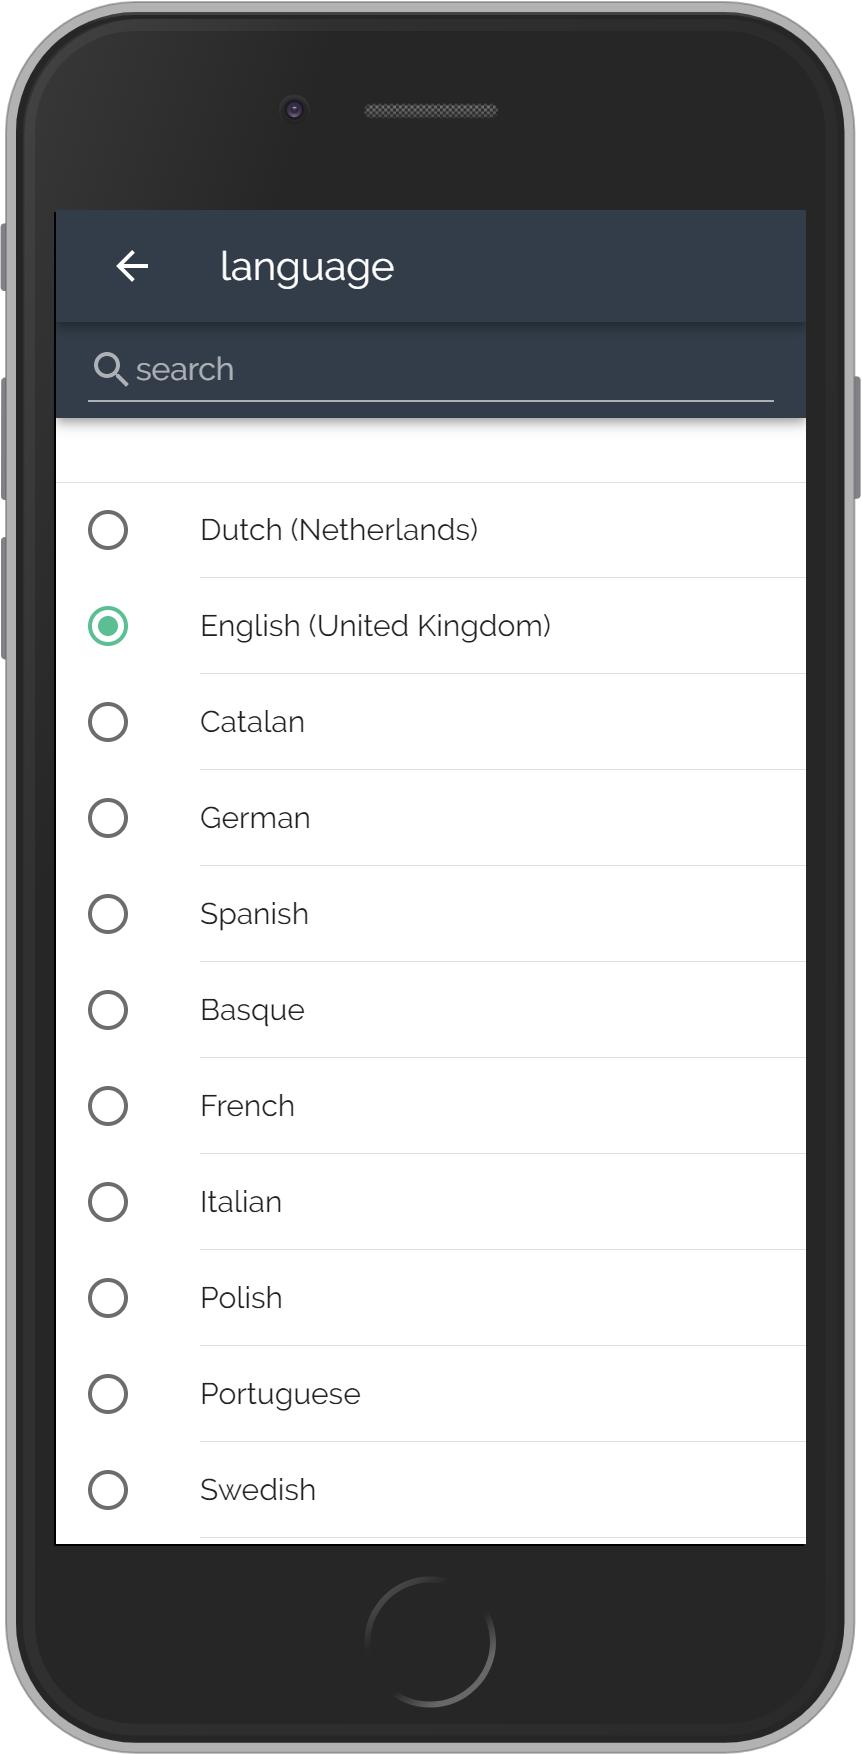
The language you select in this list, will be the language used in your KUARIO Account.
Although some KUARIO devices may not yet take their language settings from the cloud.
At this point you can only go back. Click on this bar to go to the main screen.
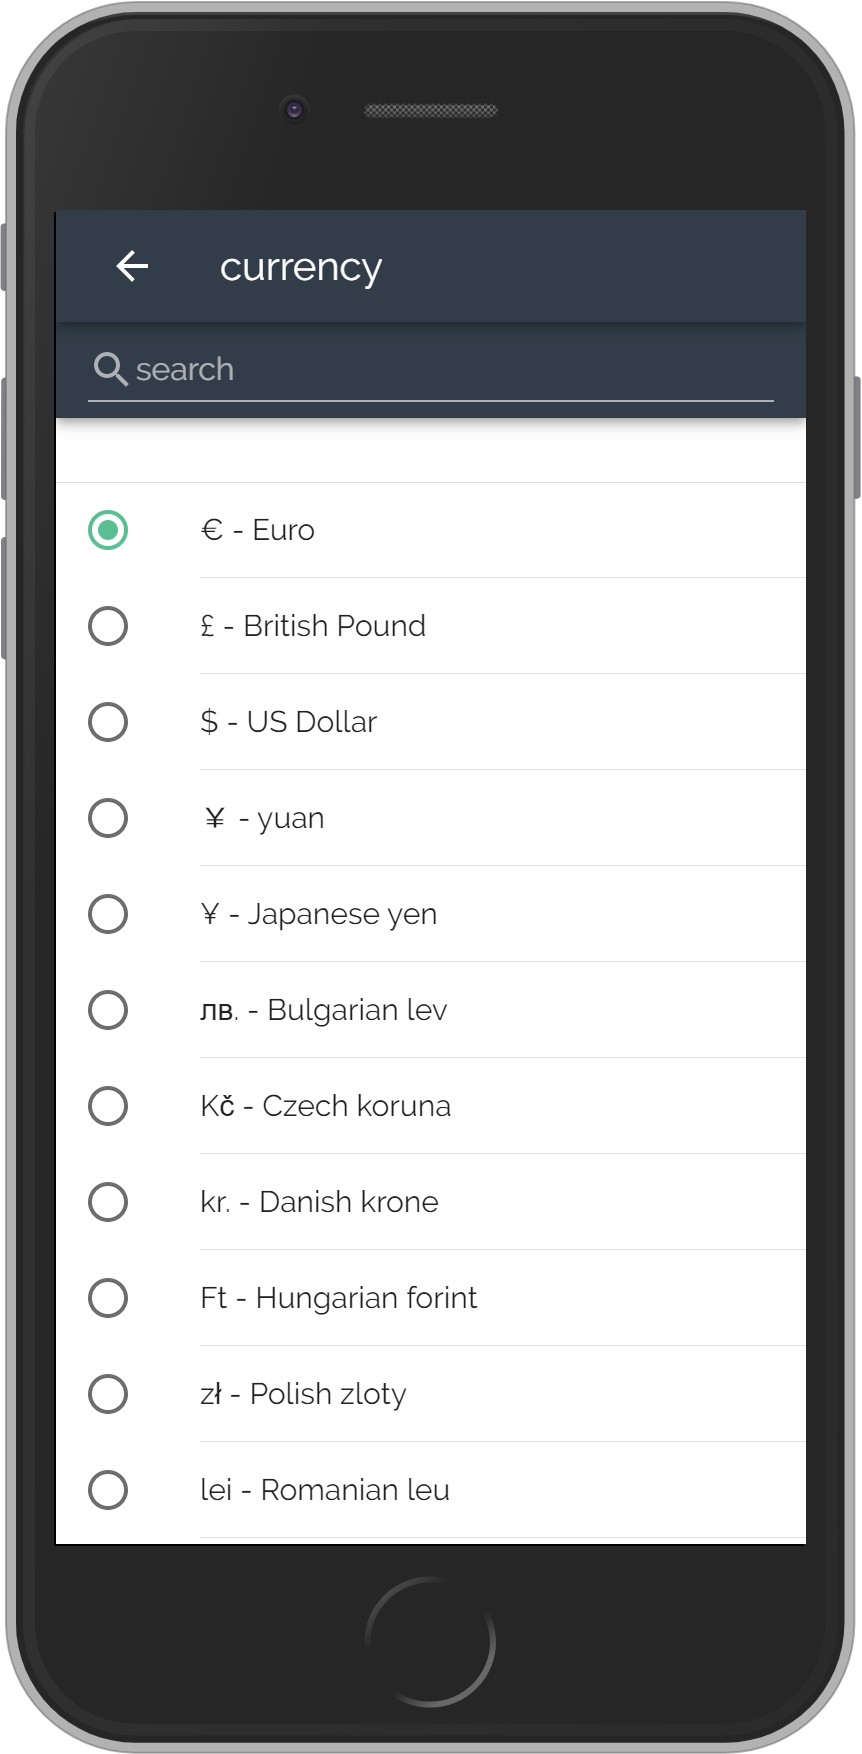
The currency you select in this list, will be the currency used in your KUARIO Account.
Although some KUARIO devices may not yet take their currency settings from the cloud.
At this point you can only go back. Click on this bar to go to the main screen.
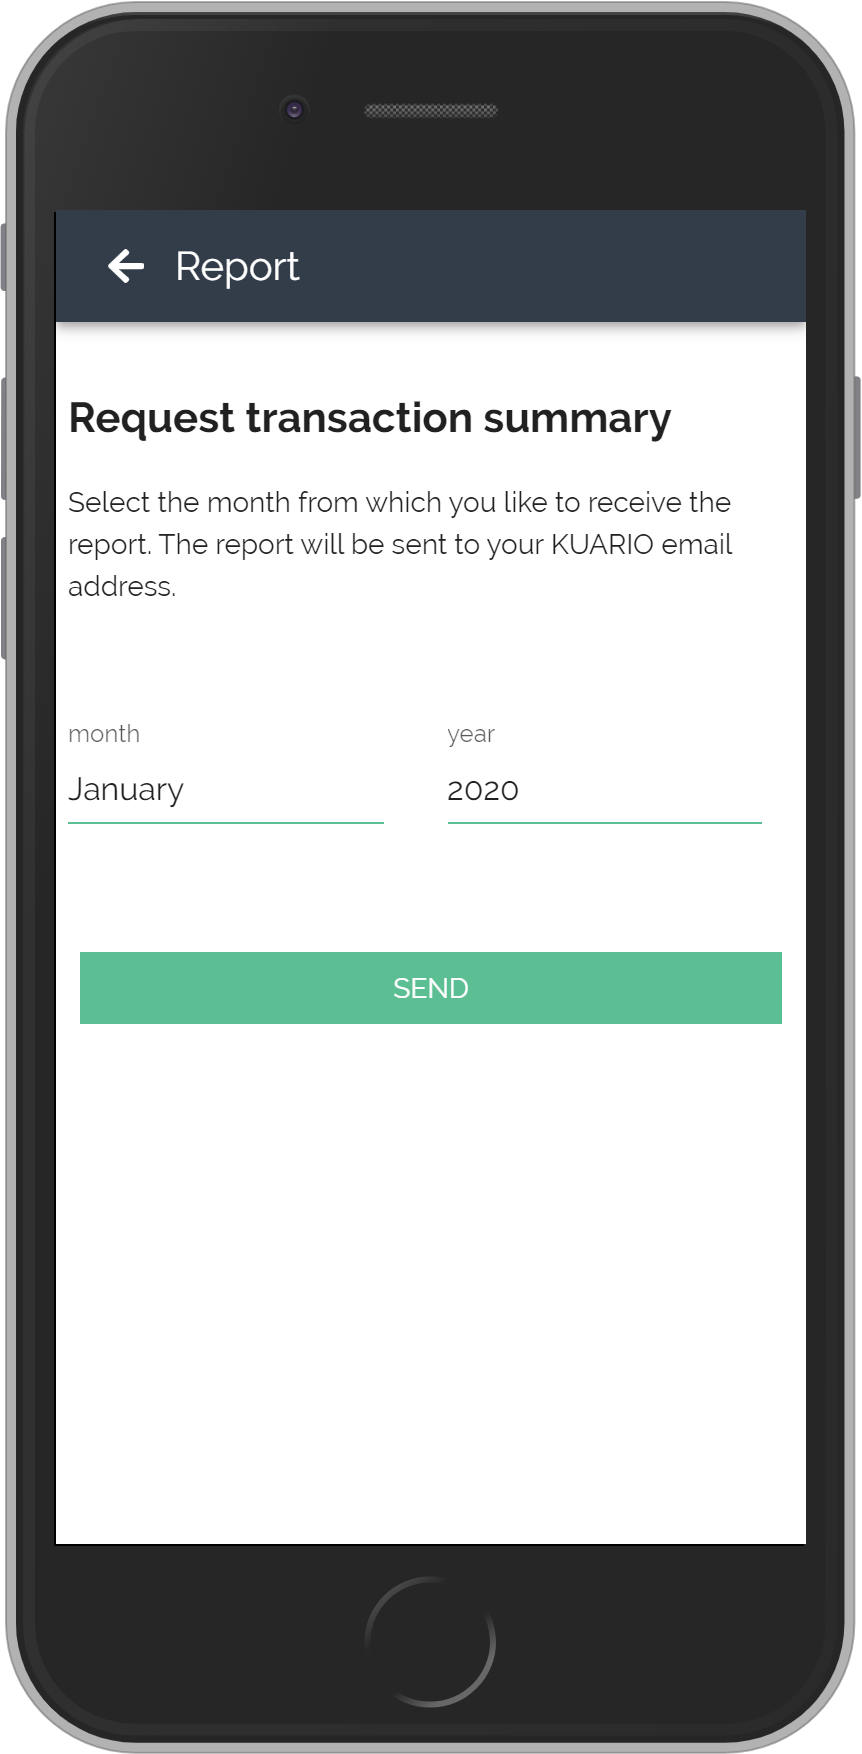
The KUARIO report is made up and then sent to your KUARIO email address.
Click Send to continue
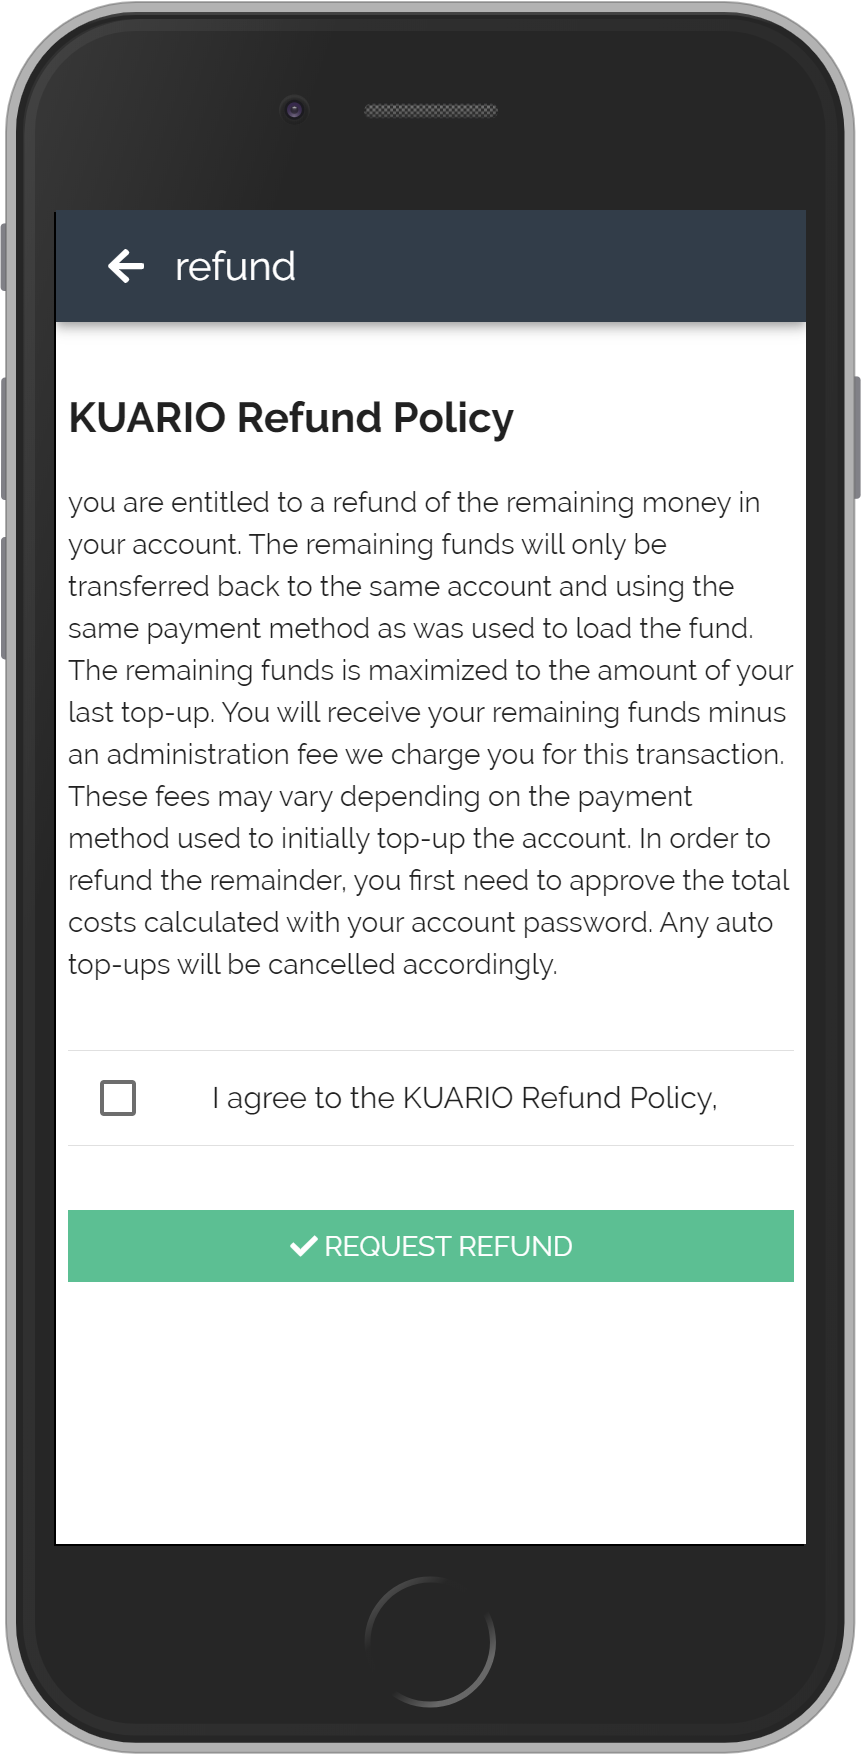
To refund your money the refund function can be used. However bear in mind that an admission fee is charged.
Tick the I Agree box to be able to request your refund
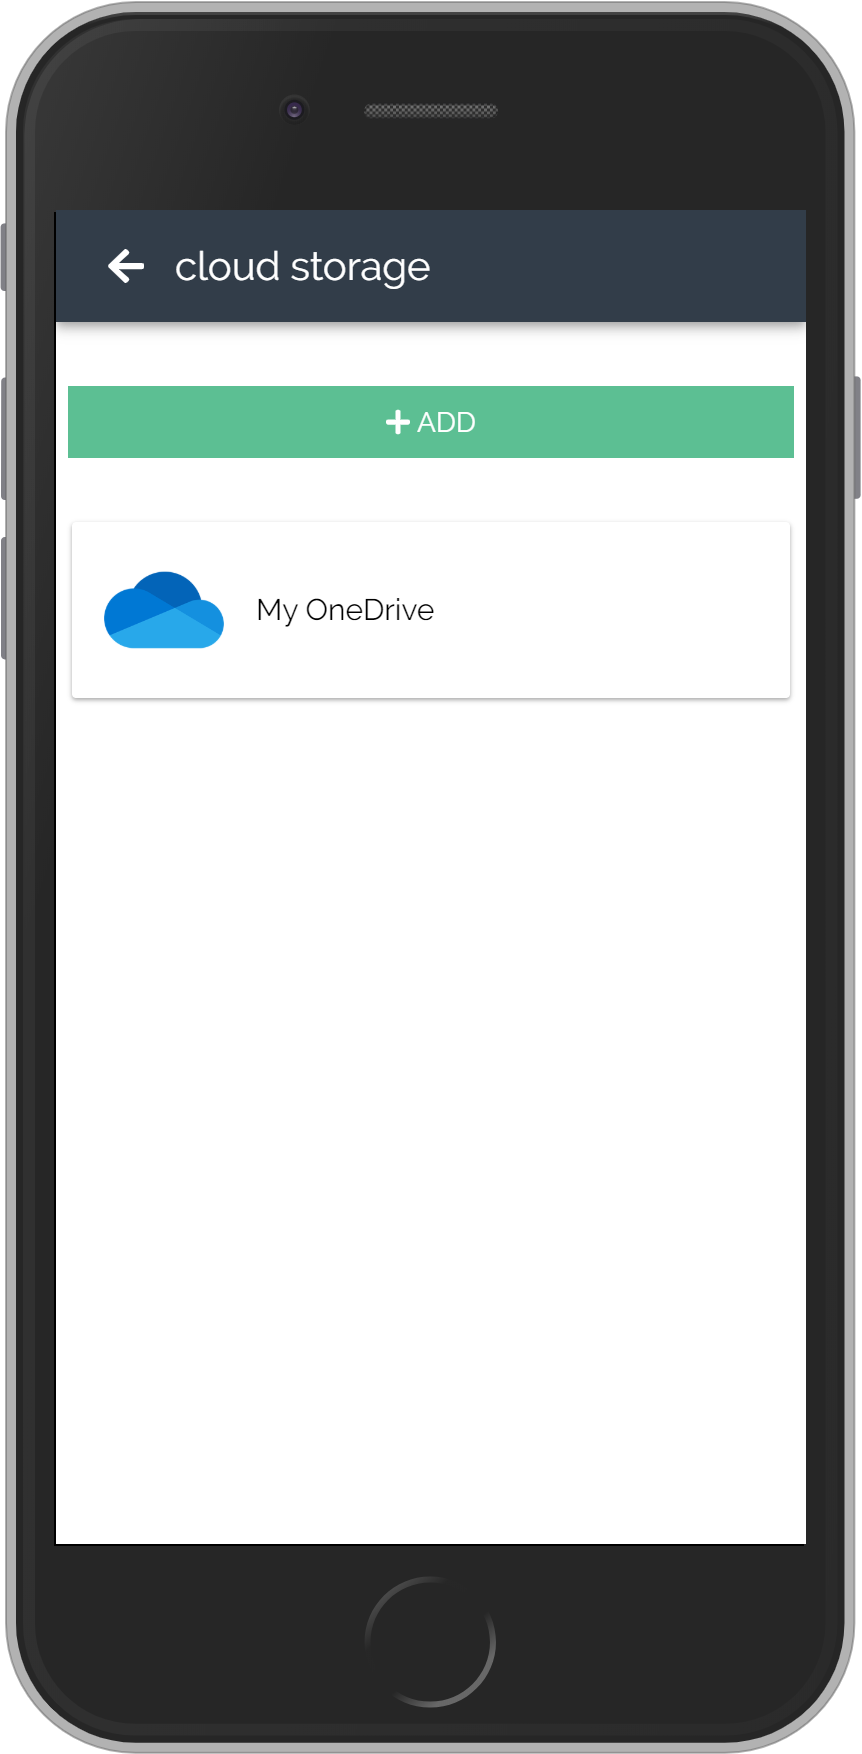
Cloud storage let's you use documents on your cloud drive within KUARIO. You will be able to print documents from your cloud storage to a KUARIO enabled device.
Click Add to link a cloud storage account
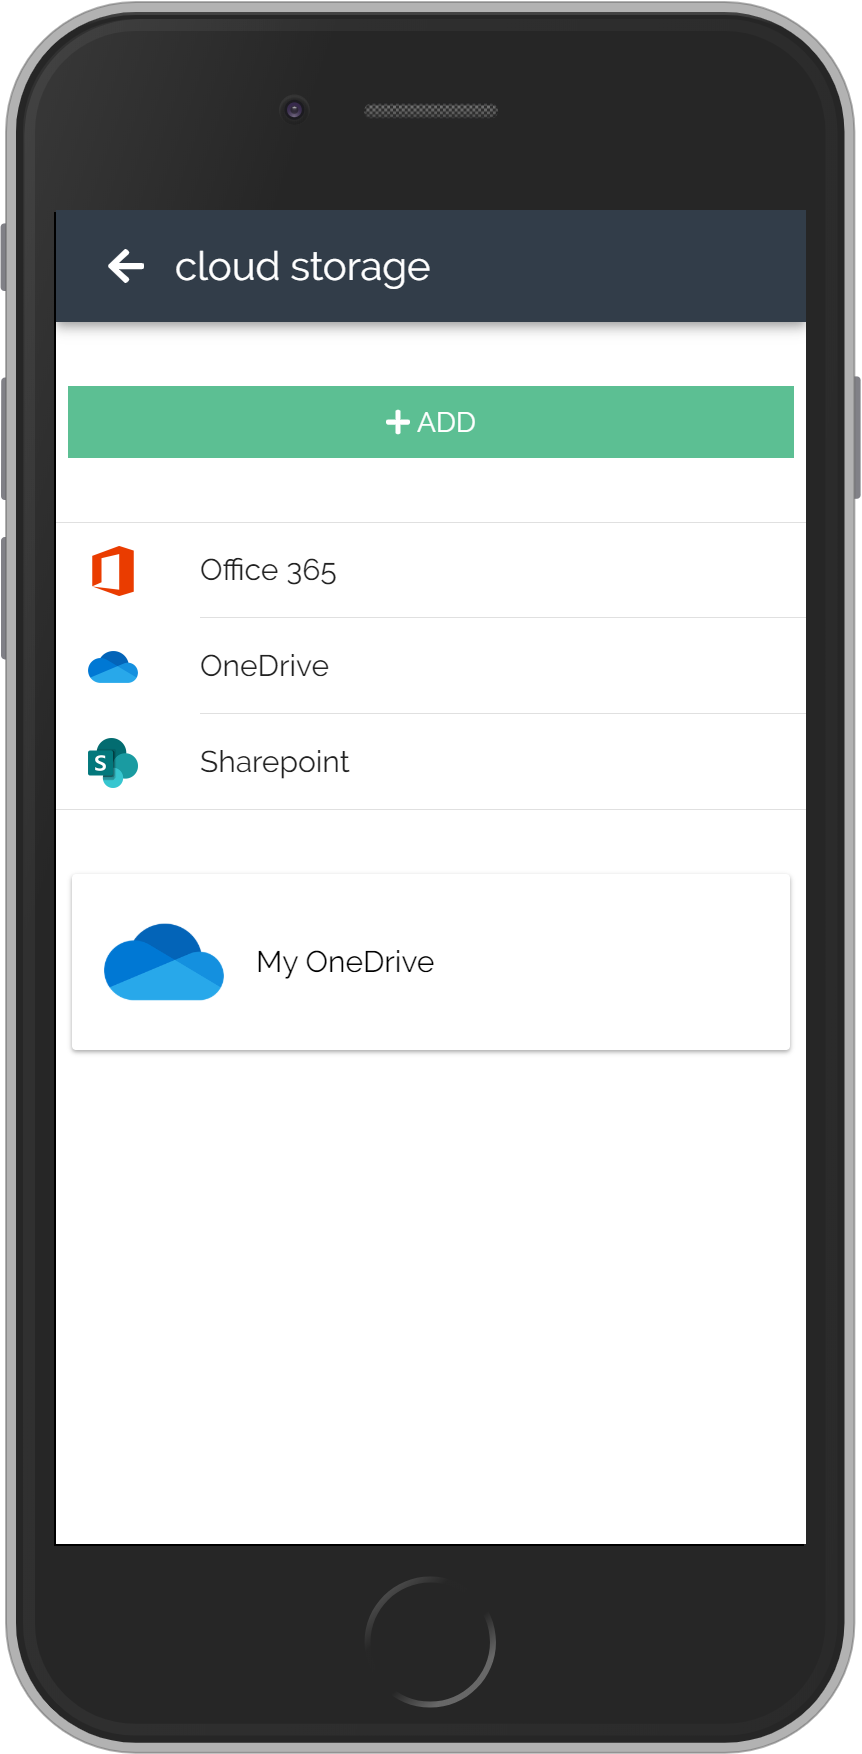
Here you can select one of the supported cloud storage providers. Selecting one will start the link process for that provider.
At this point you can only go back. Click on this bar to go to the main screen.
-clip008621754.png)
Memberships are user groups that are allowed extra functionalities.
A user that is part of a membership may:
Memberships can only be created by KUARIO Site managers.
Click Add to register at a KUARIO membership
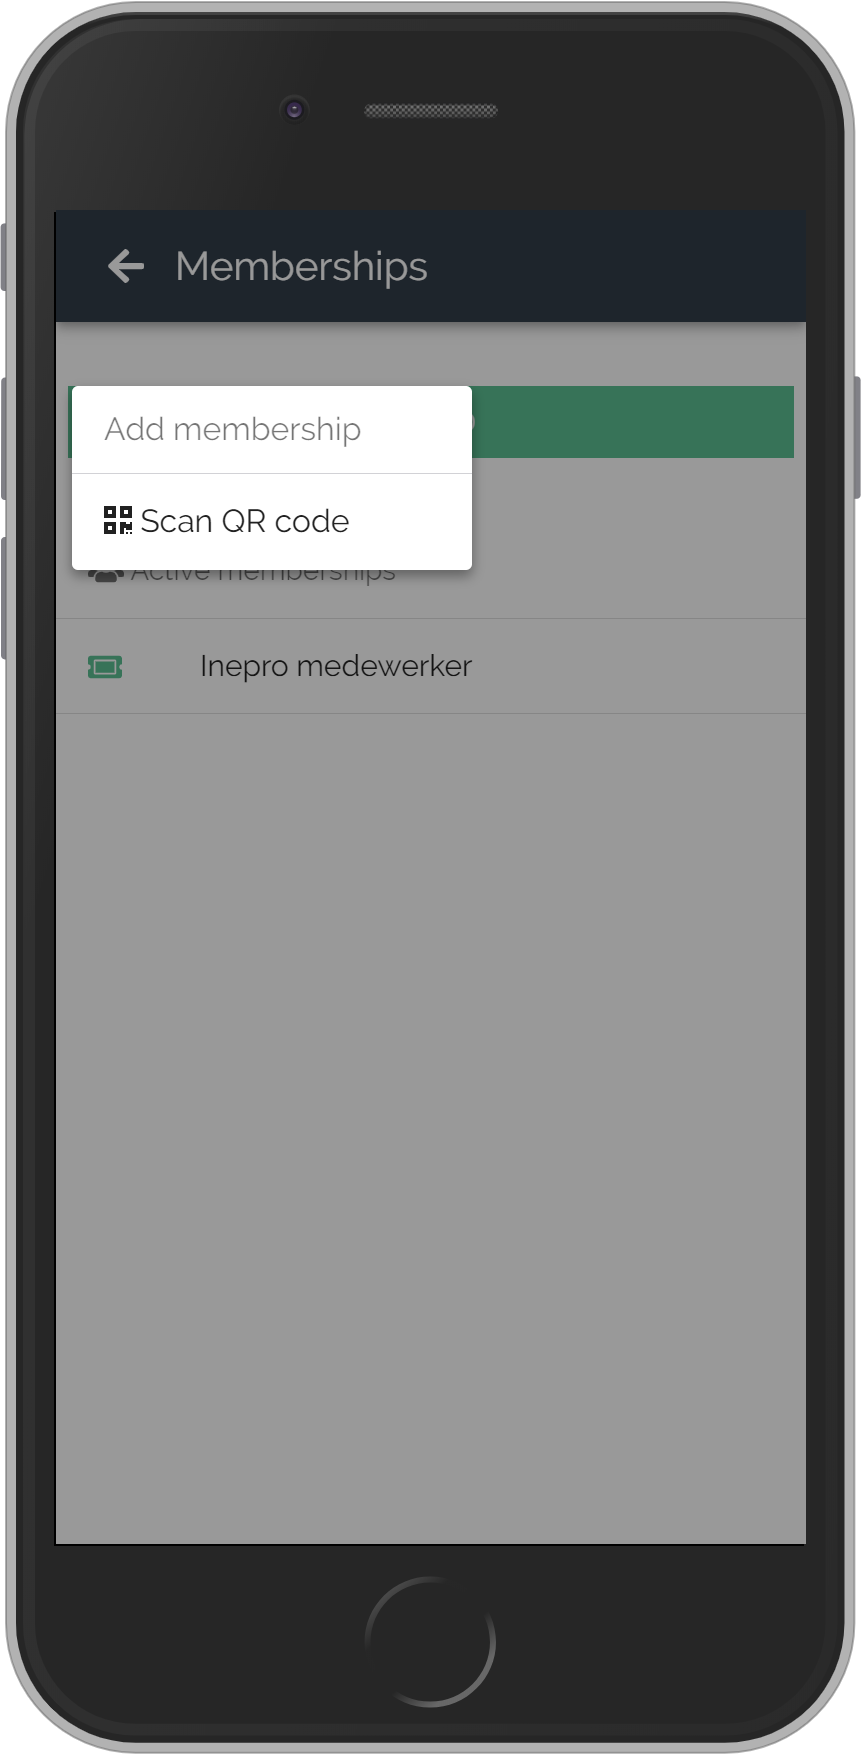
If you have been invited to be part of a membership, you will have received a QR code in you welcome to this membership mail.
Click Scan QR code to continue
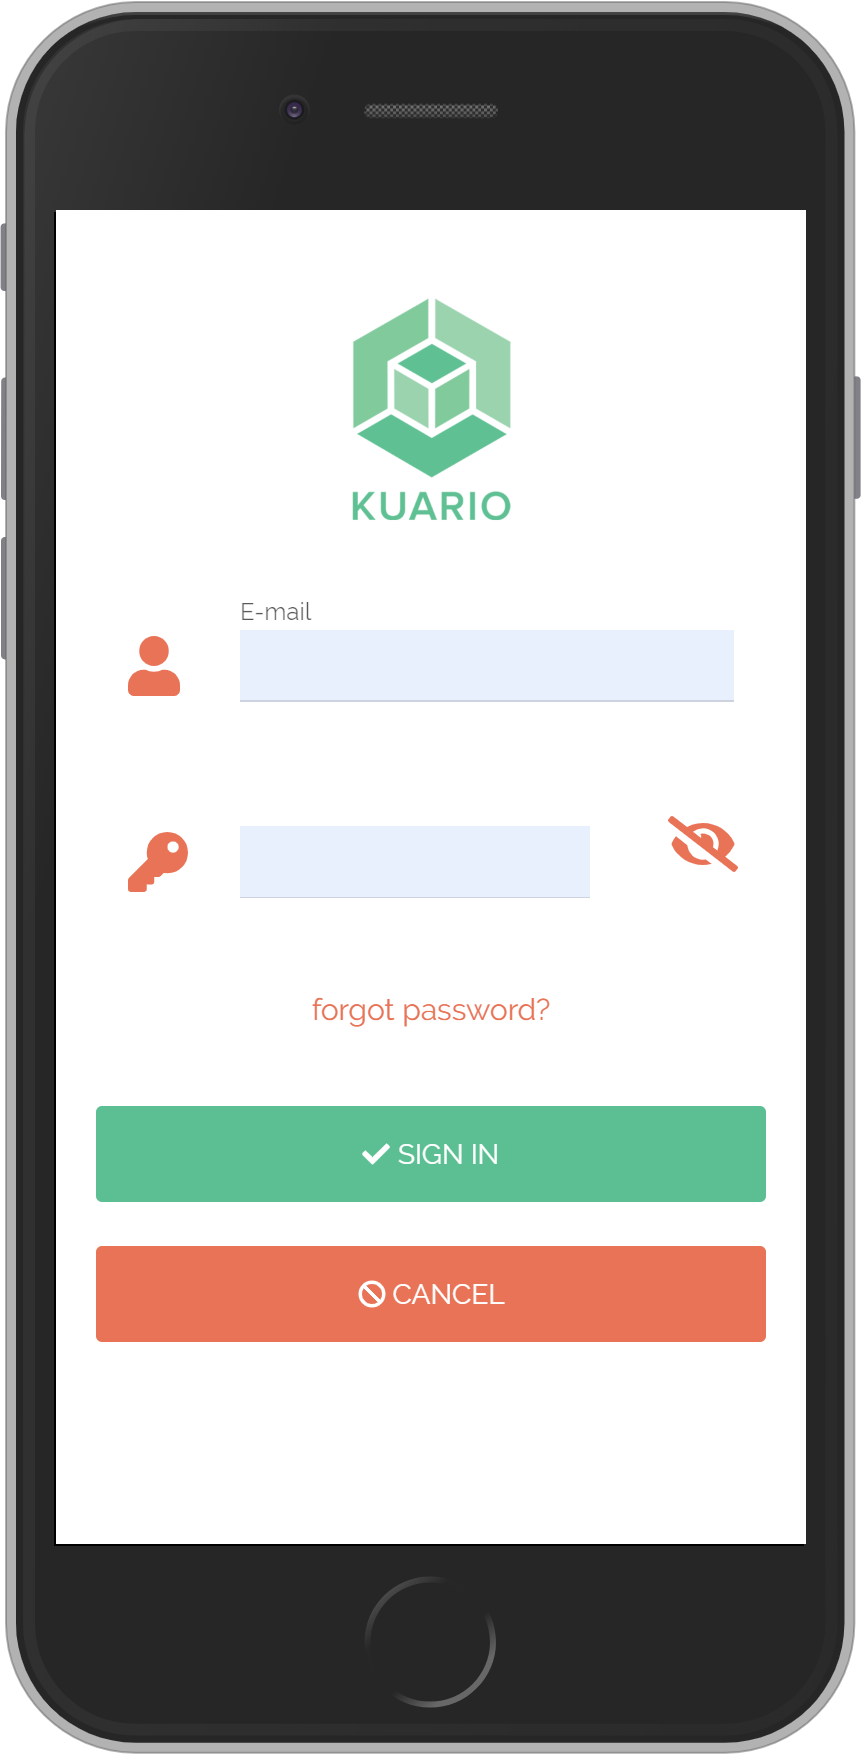
<My KUARIO email address>
<My KUARIO password>
You have been logged out.
This is the KUARIO log in screen. Use your KUARIO name and password to log in at your KUARIO Account.
Click Sign in to continue
(Back to main screen)
Or click Cancel to abort
(To Settings - Account)
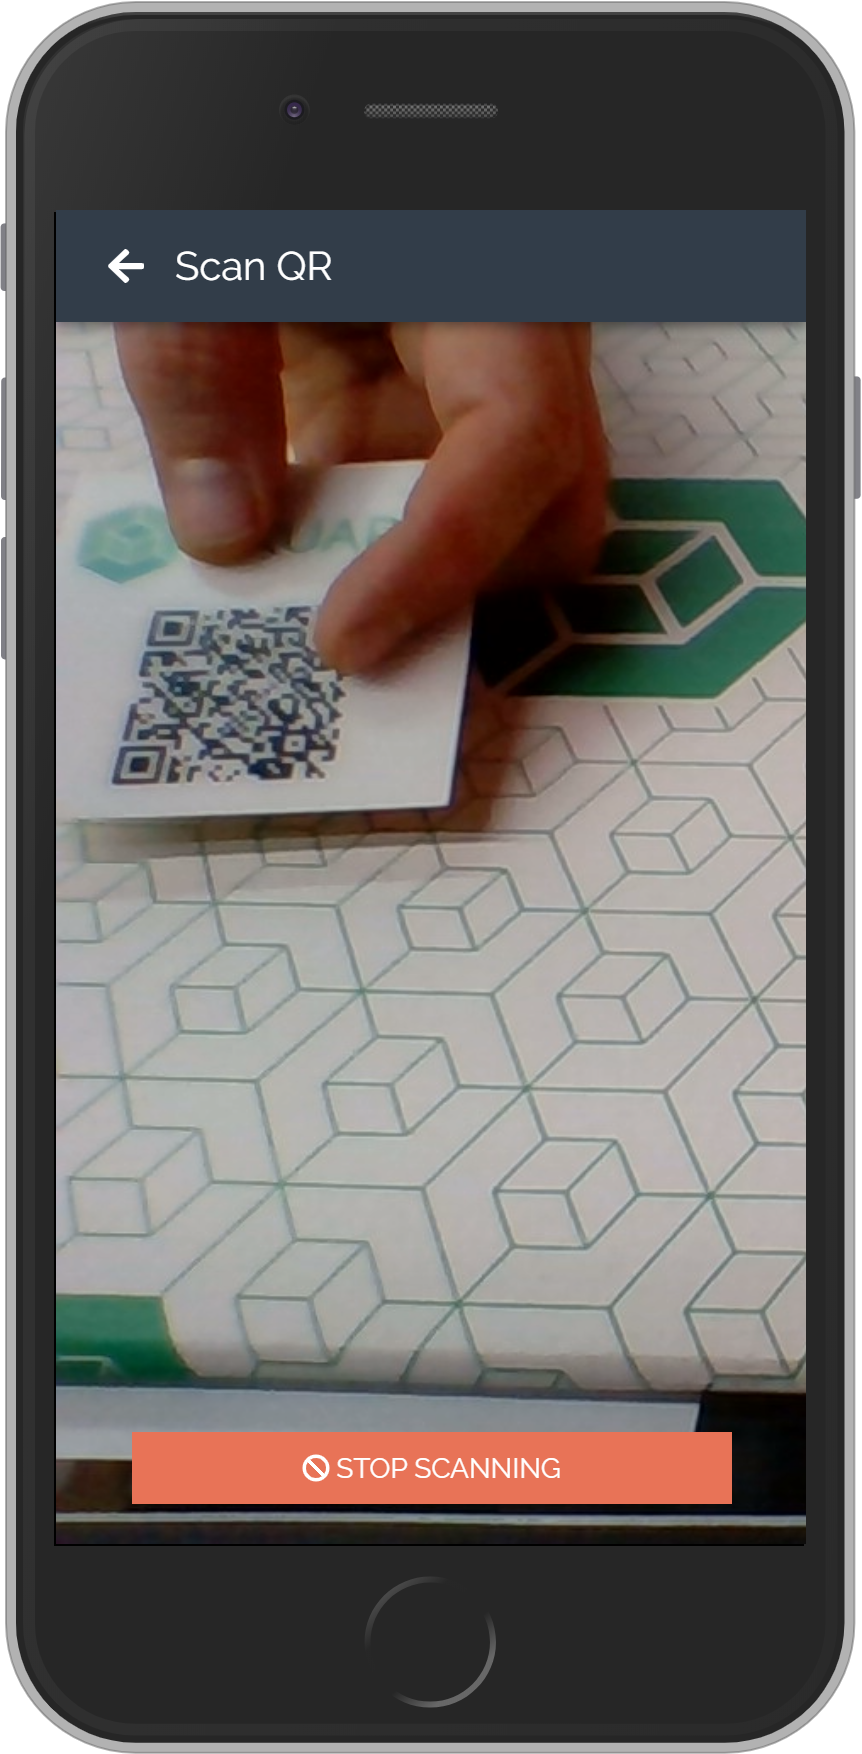
KUARIO uses QR codes to tranfer information. In this screen the QR codes can be scanned.
Click Stop Scanning to continue
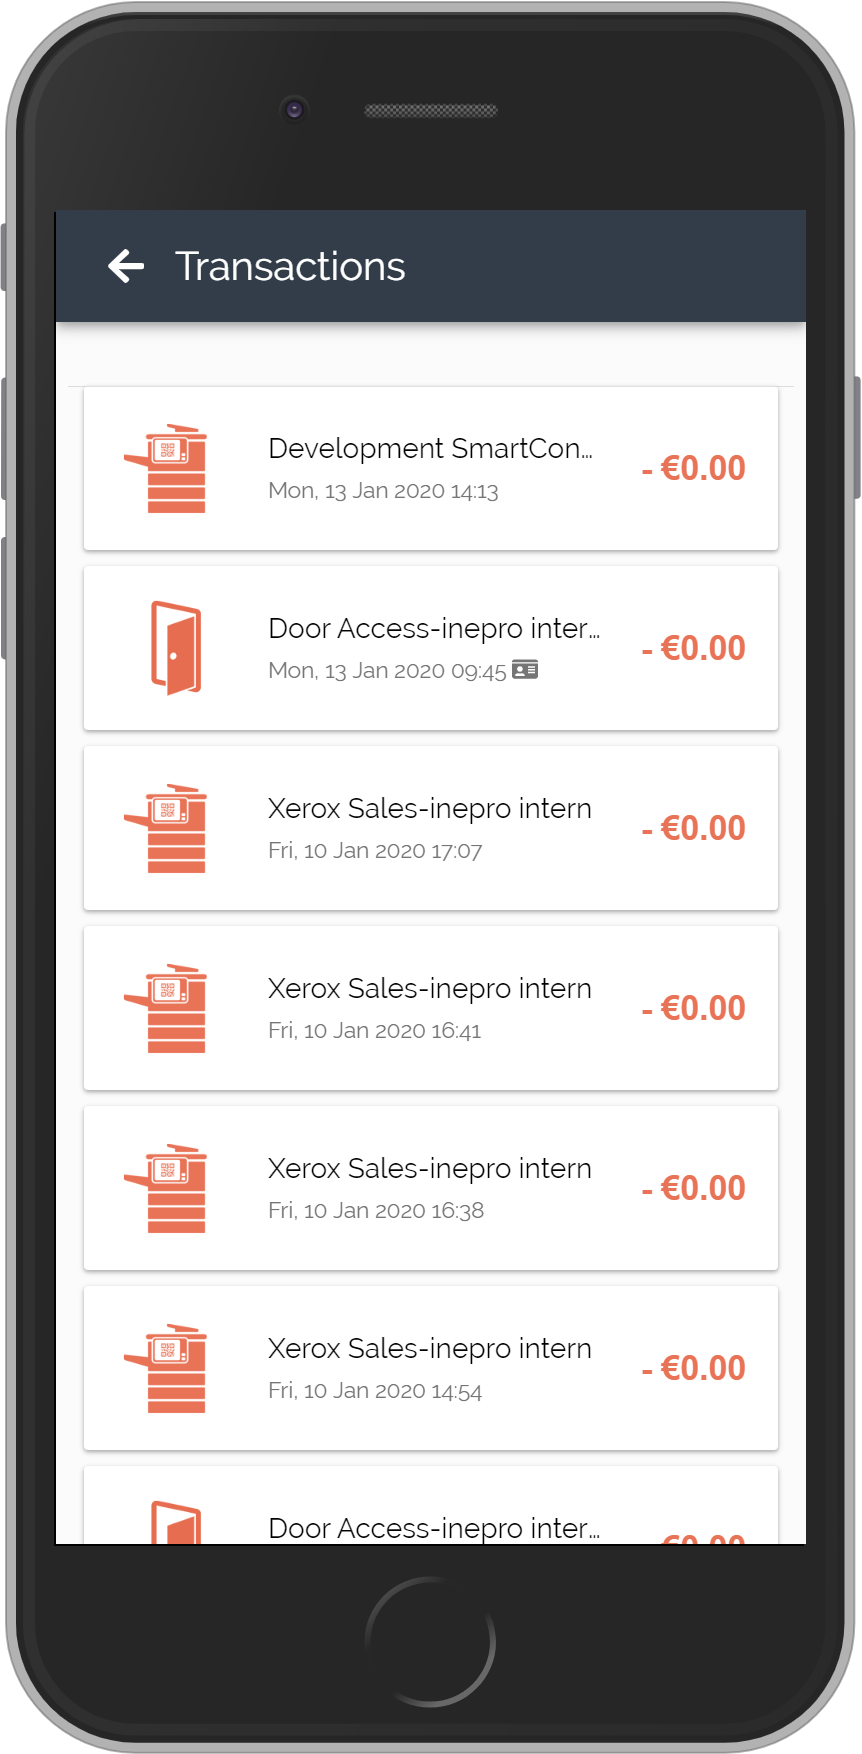
Transaction Overview. This is an overview of your KUARIO transactions. You can review are transactions registered to your account.
At this point you can only go back. Click on this bar to go to the main screen.
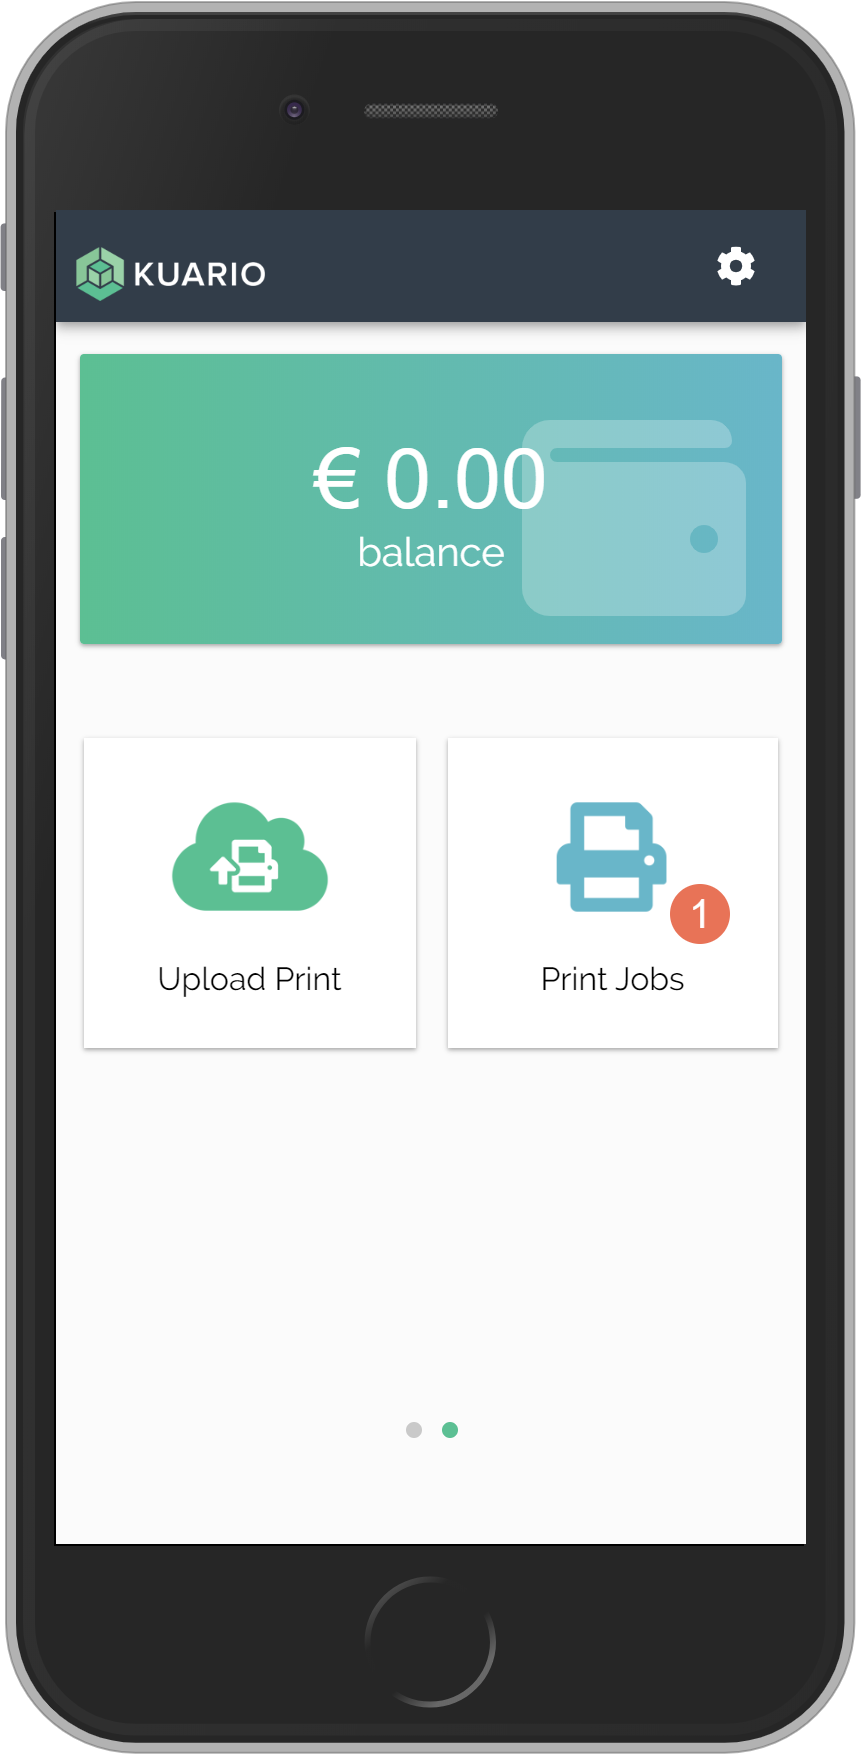
When KUARIO print is enabled you are able to swipe to these extra options.
Upload Print allows you to upload a document to print.
Print jobs will show all the documents that are uploaded to KUARIO print.
You are able to print these job at a KUARIO Kiosk.
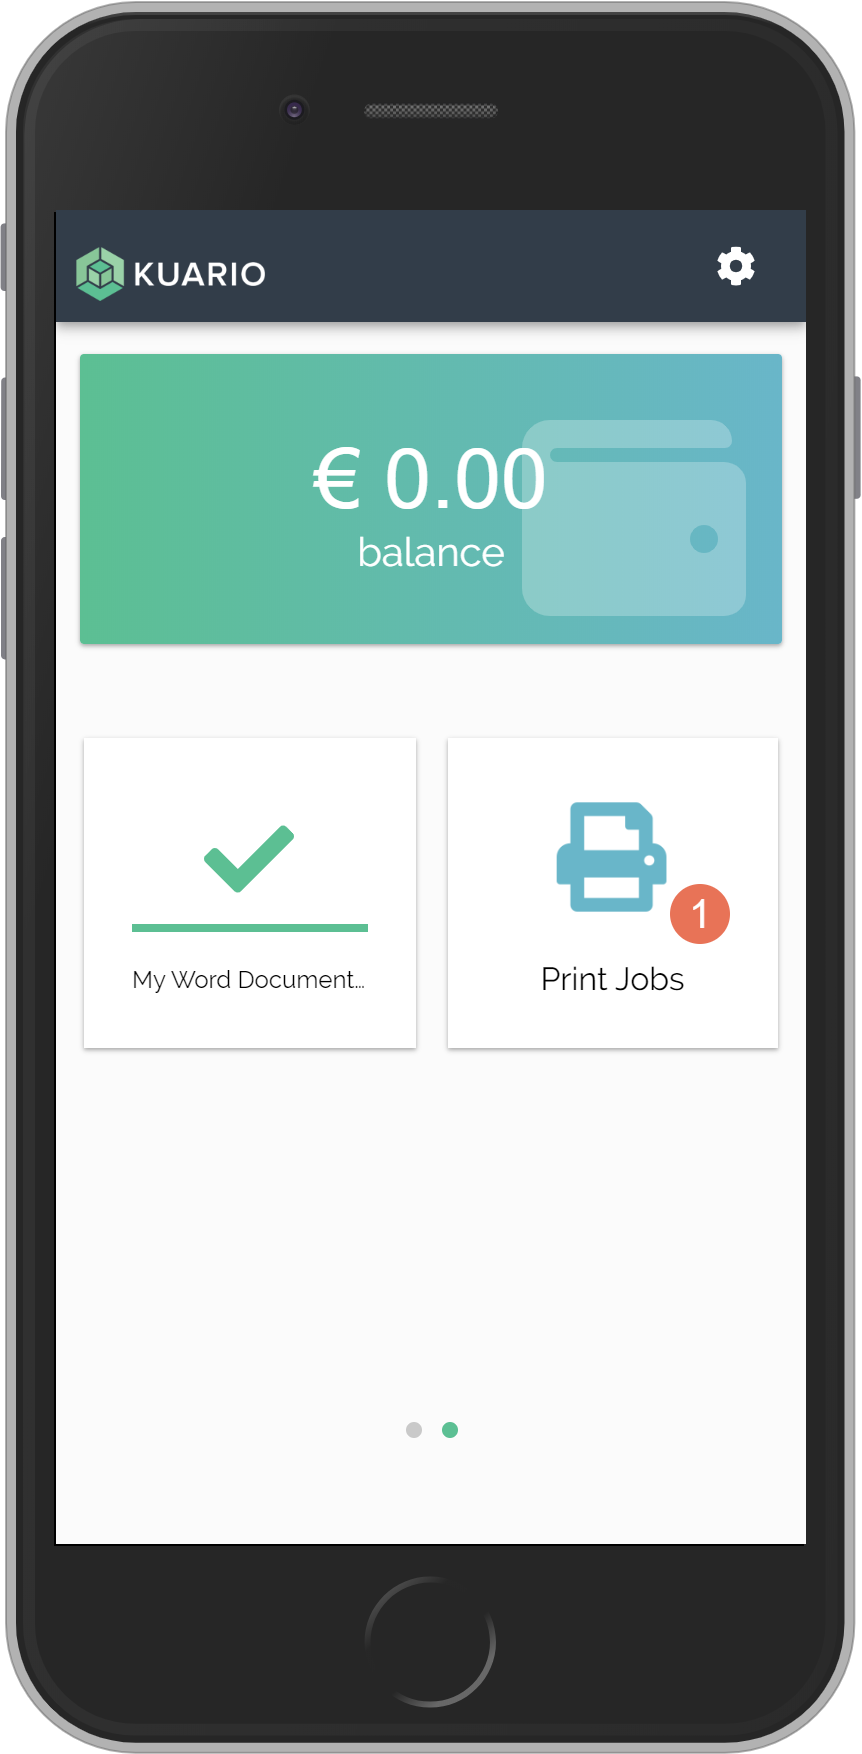
A document named 'My Word Document' has been uploaded.
You have one print job that is ready to print with KUARIO Print
-clip008621754.png)
Memberships you have become a member of are listed under Active memberships.
At this point you can only go back. Click on this bar to go to the main screen.
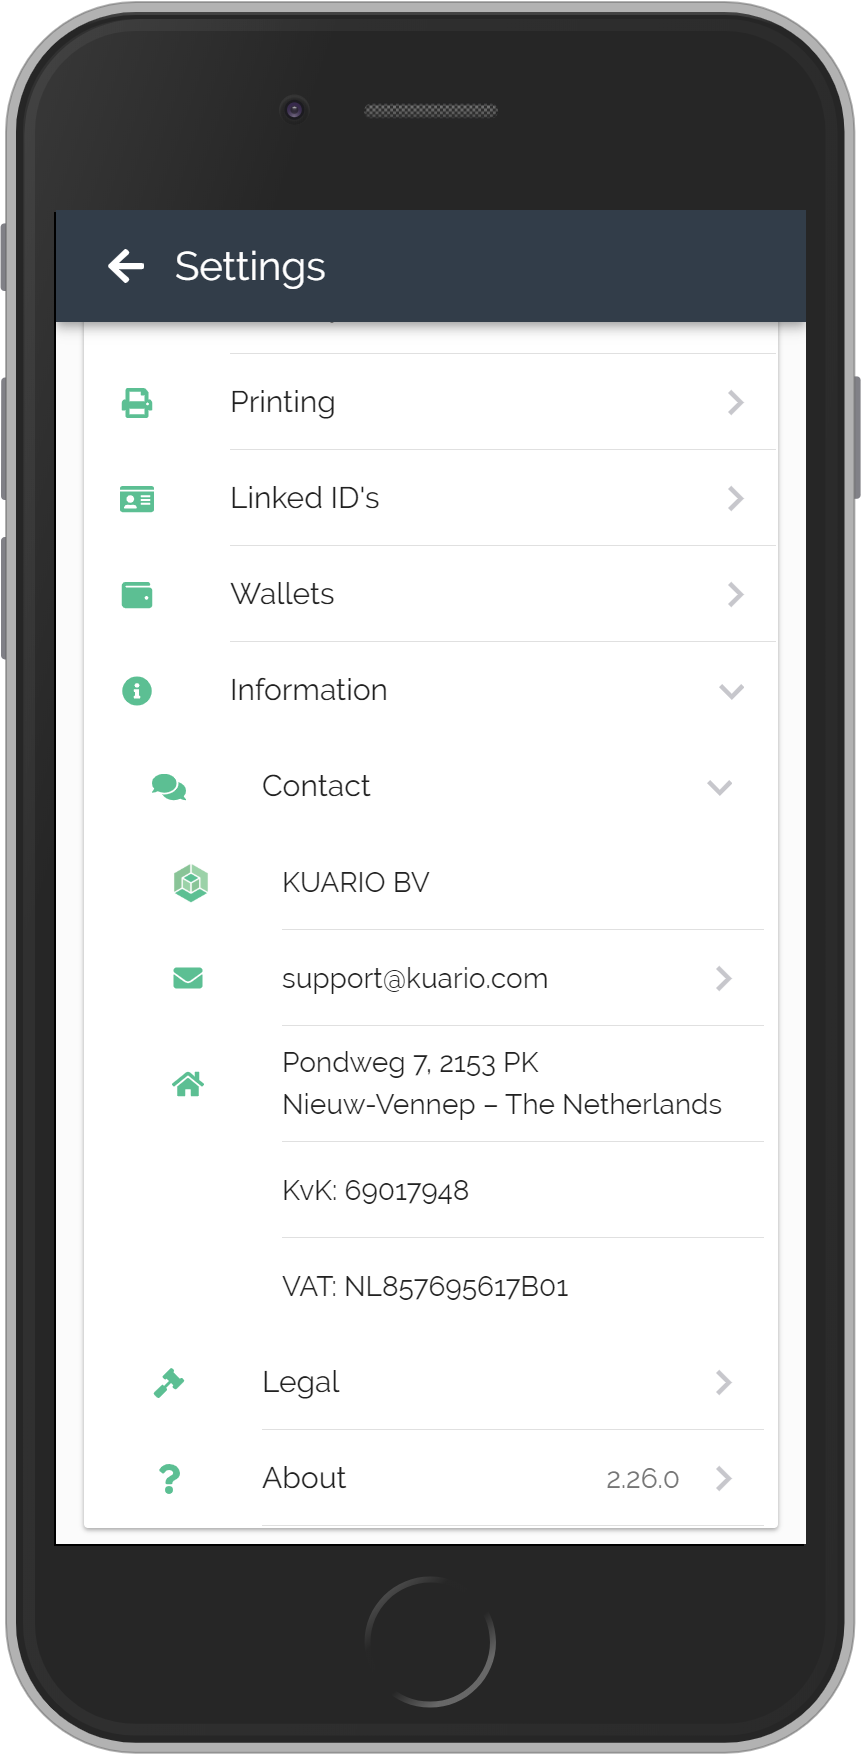
A direct link to your email client to send an email to support@kuario.com.
Here you will find, the company name, the address, Chamber of Commerce ID and the VAT number.
At this point you can only go back. Click on this bar to go to the main screen.
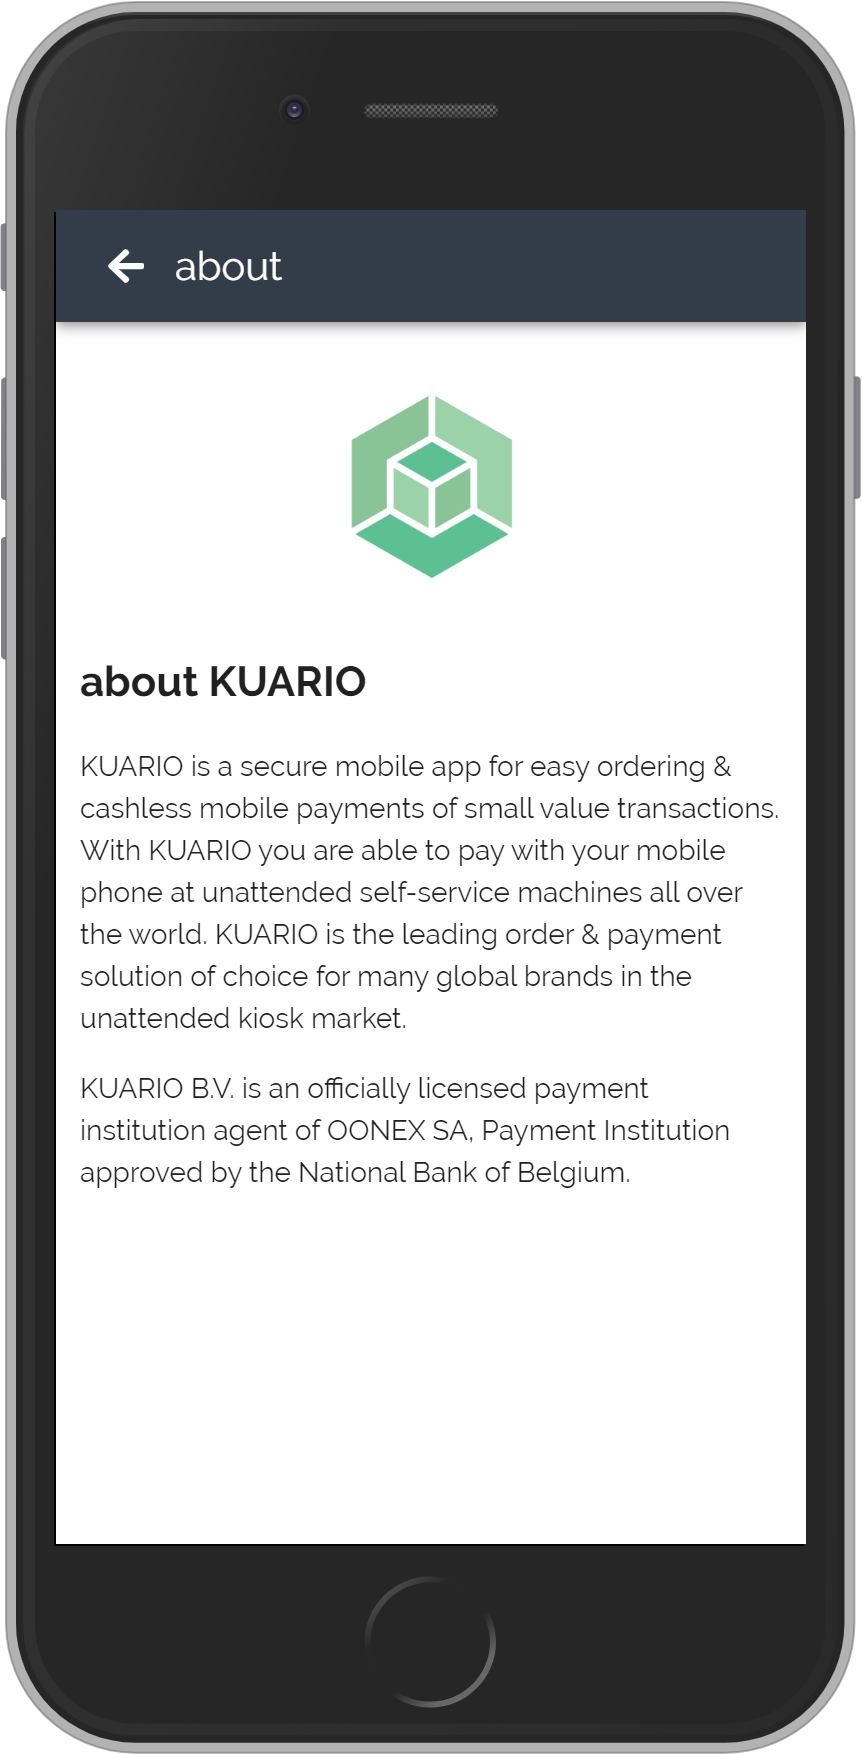
About has information about the essence of the application.
At this point you can only go back. Click on this bar to go to the main screen.
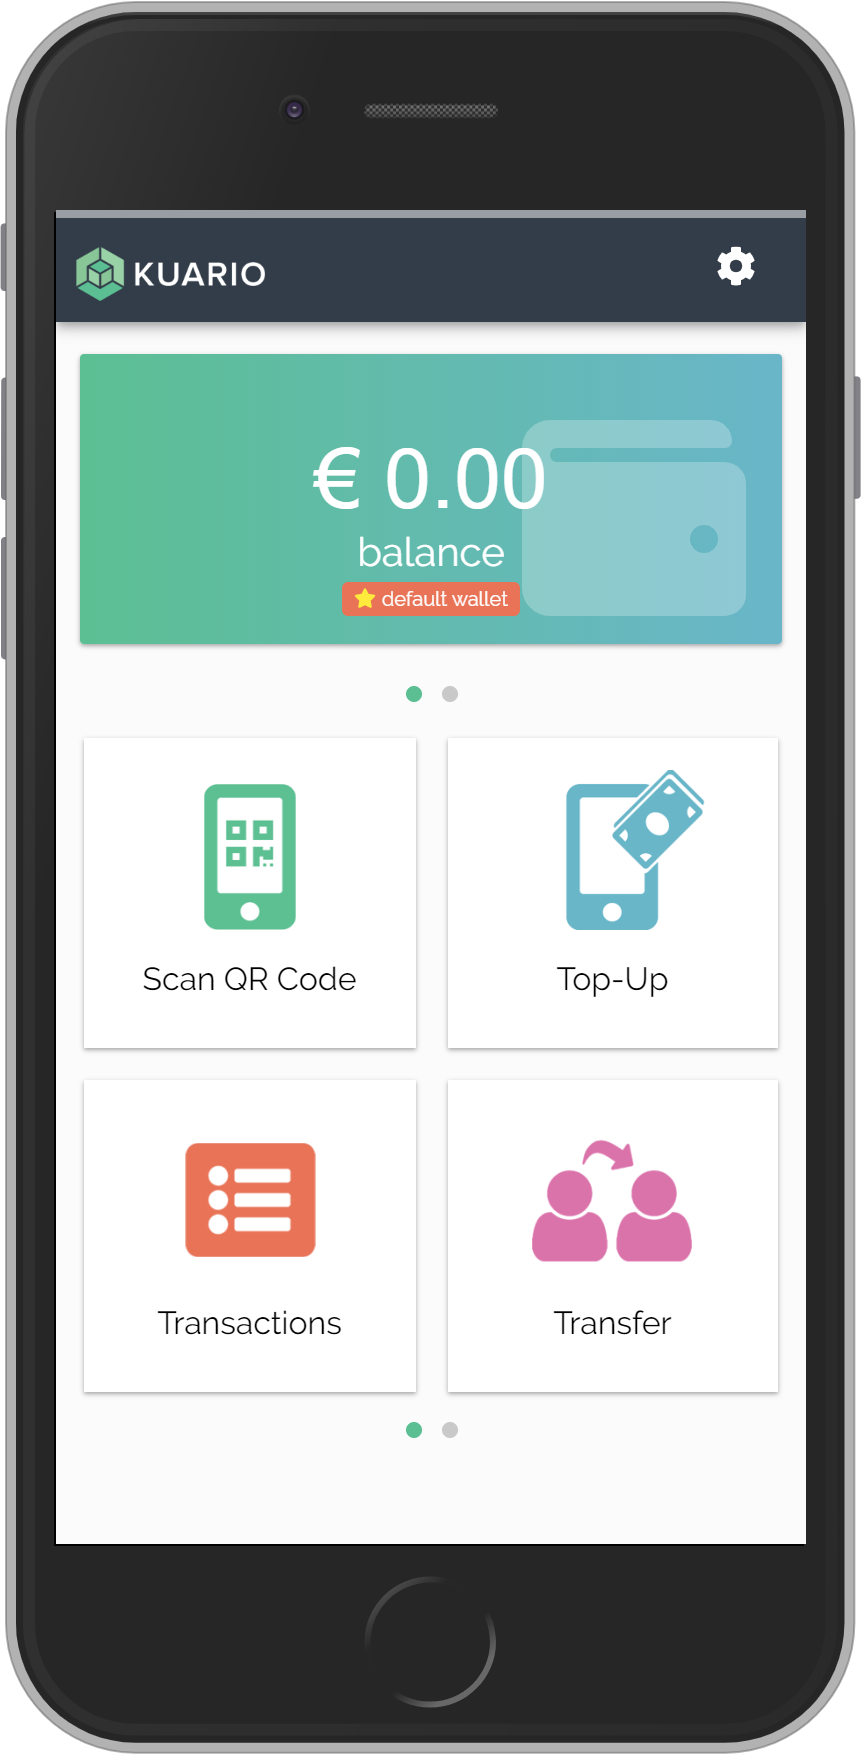
The slider can be used to move to another Wallet.
Click it to go to the
Group Wallet
This is the main or personal wallet. It is your wallet, it wil always be there, a part of your KUARIO account. It cannot be removed. It is now also the Default Wallet, as can be seen by the default wallet box and the yellow star icon.
This wallet should be used for all your personal payments.
All payments are made from your Default Wallet.
If you would rather use another wallet as your Default Wallet, select it and then double-click it.
Click on this bar to go back to the main screen or slide to the other wallet
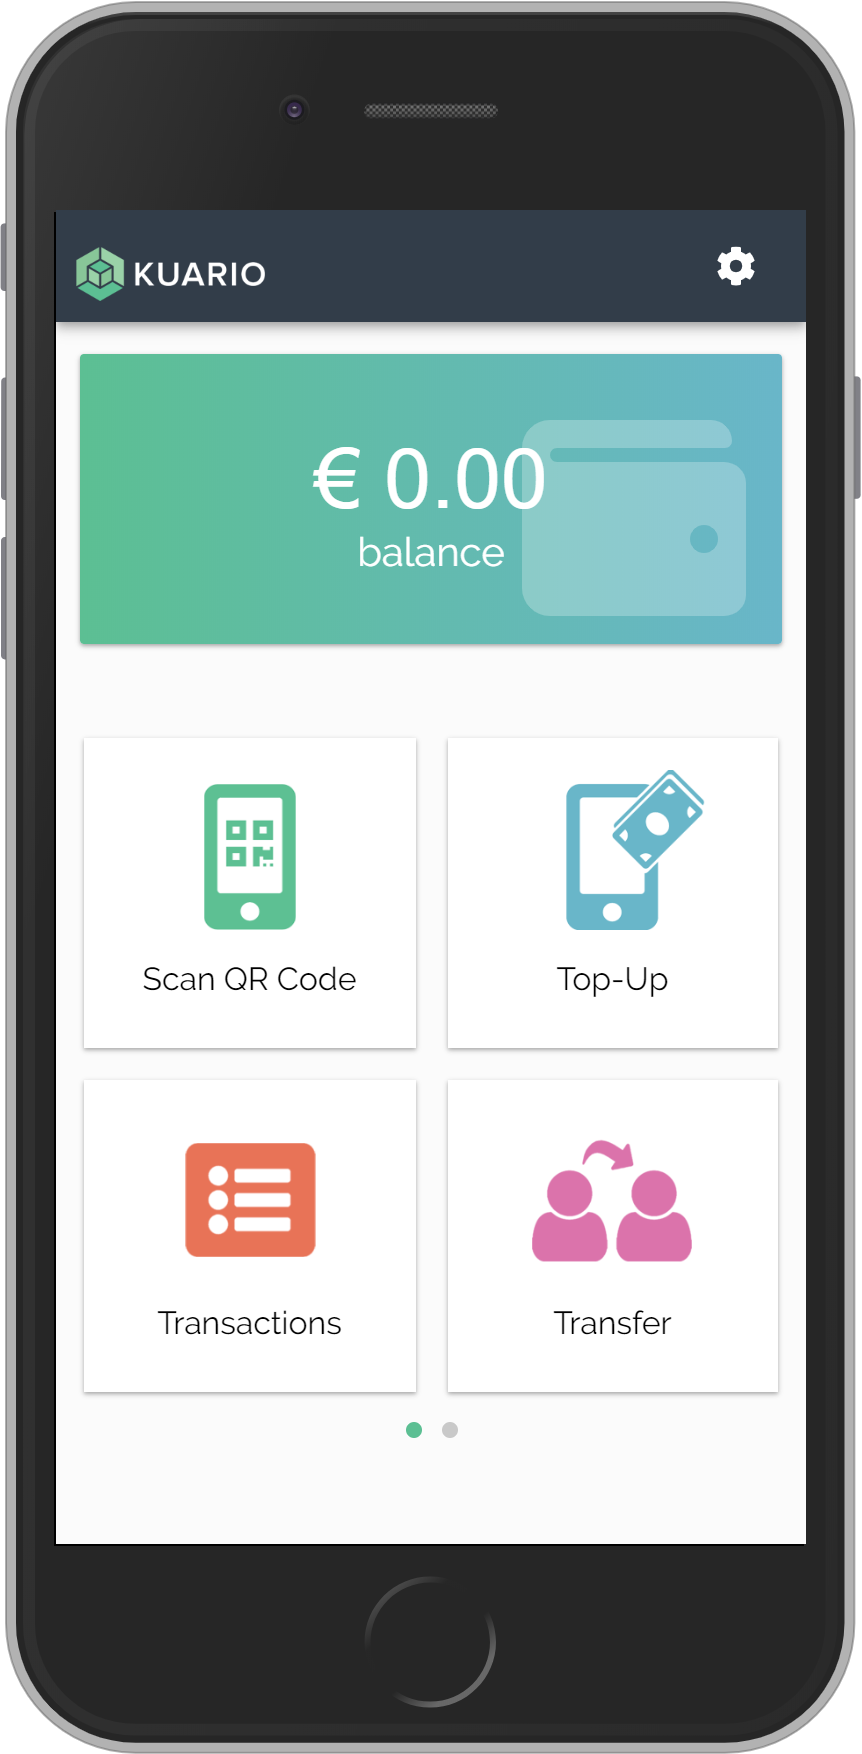
KUARIO Uses QR codes to quickly transmit information like ID's or links.
Click it to learn more
All your transactions are stored by KUARIO, you can review them here.
Click it to learn more
Your wallet information is shown here.
With multiple wallets, it will also display the default wallet and show swipe dots, to indicate you can swipe.
You can add wallets at:
settings -> account -> wallet
Click it to learn more
A lot of the KUARIO User apps functions can be found in the settings menu.
Click it to learn more
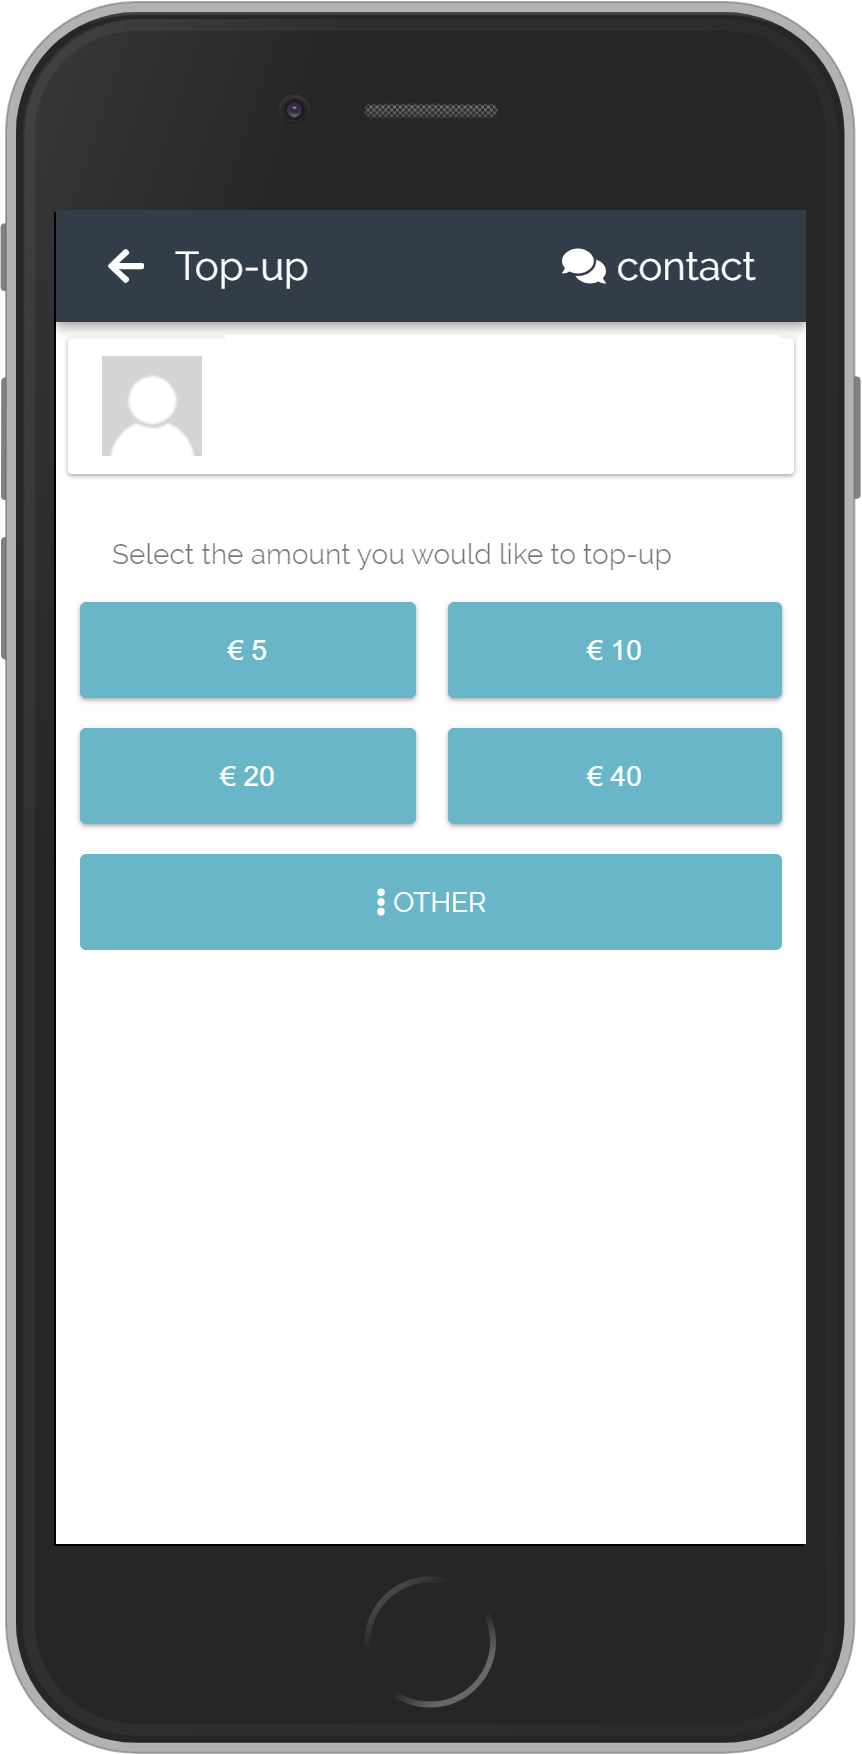
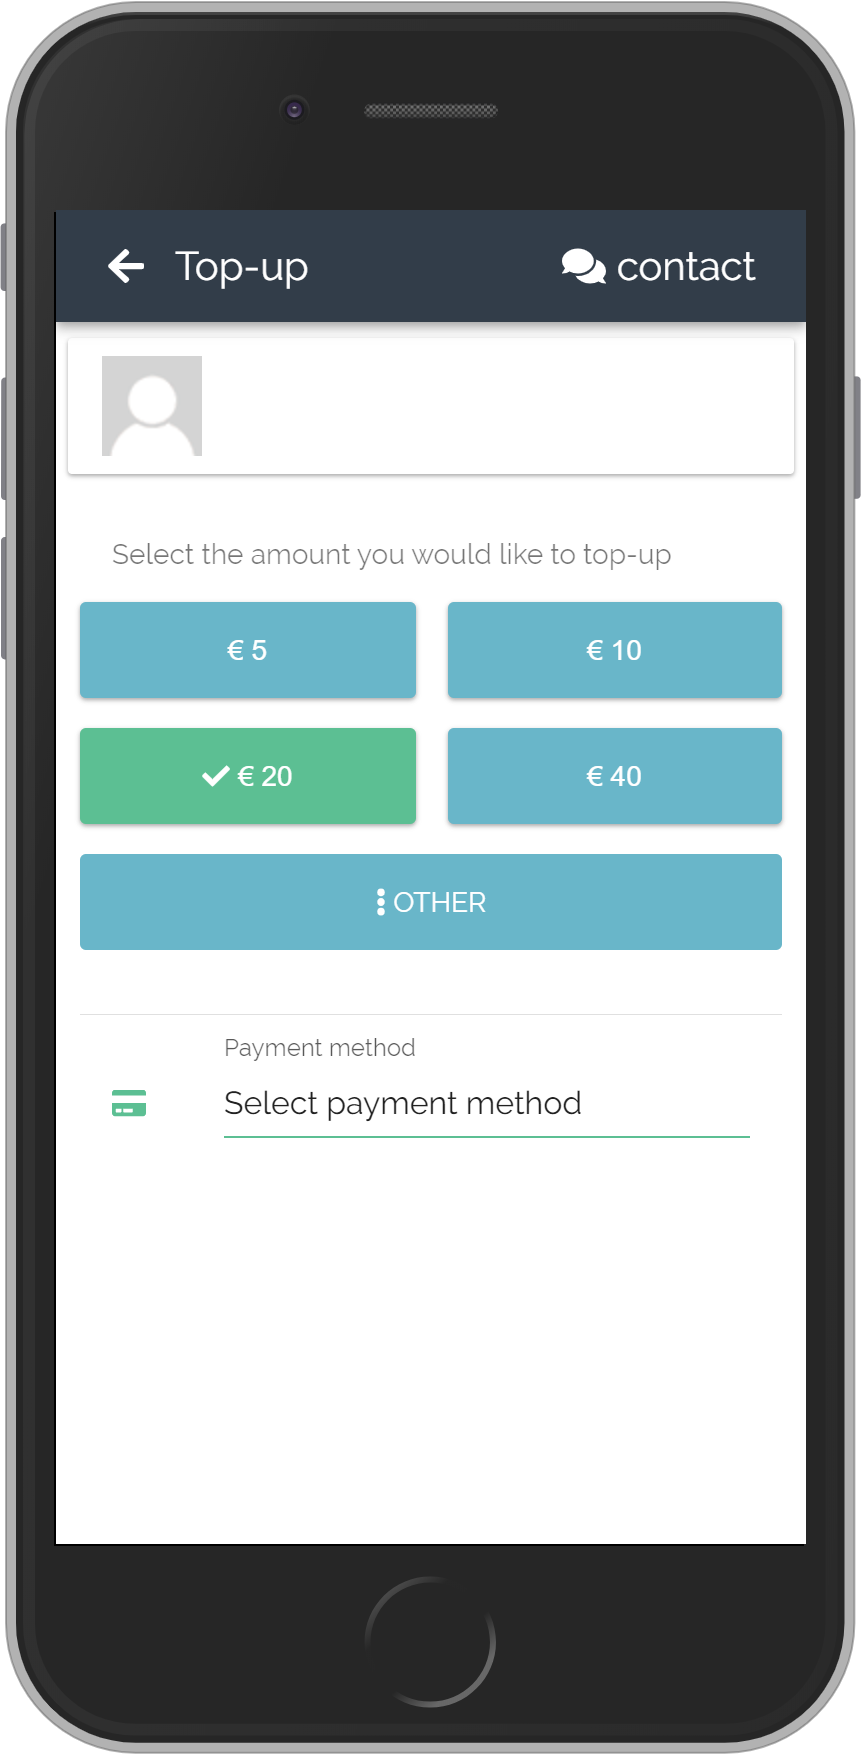
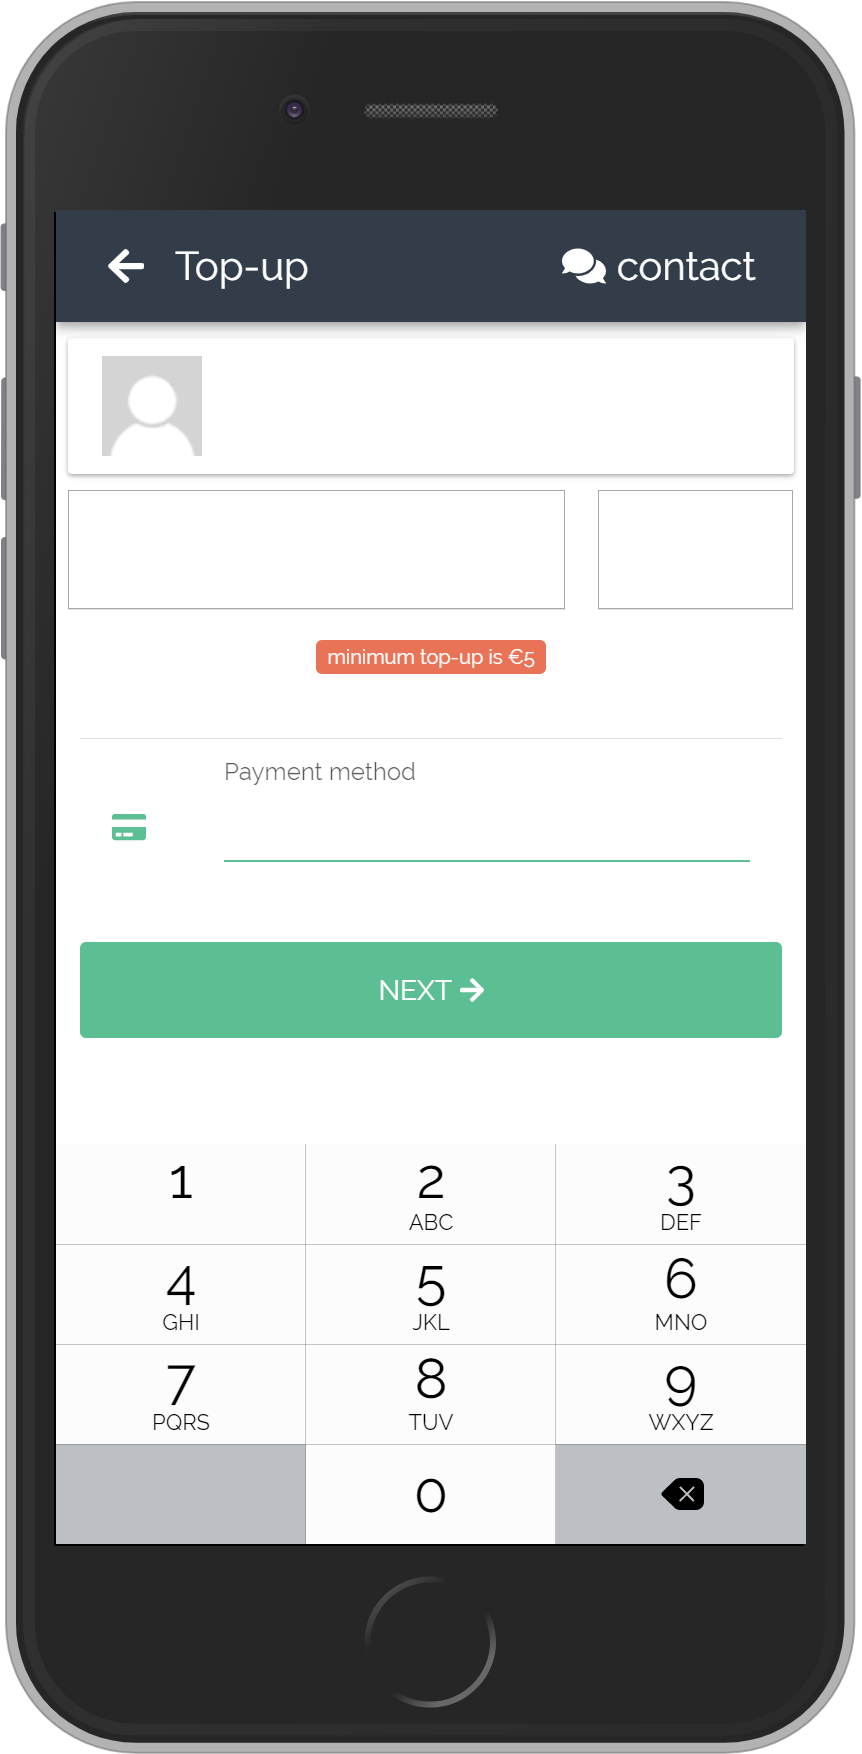
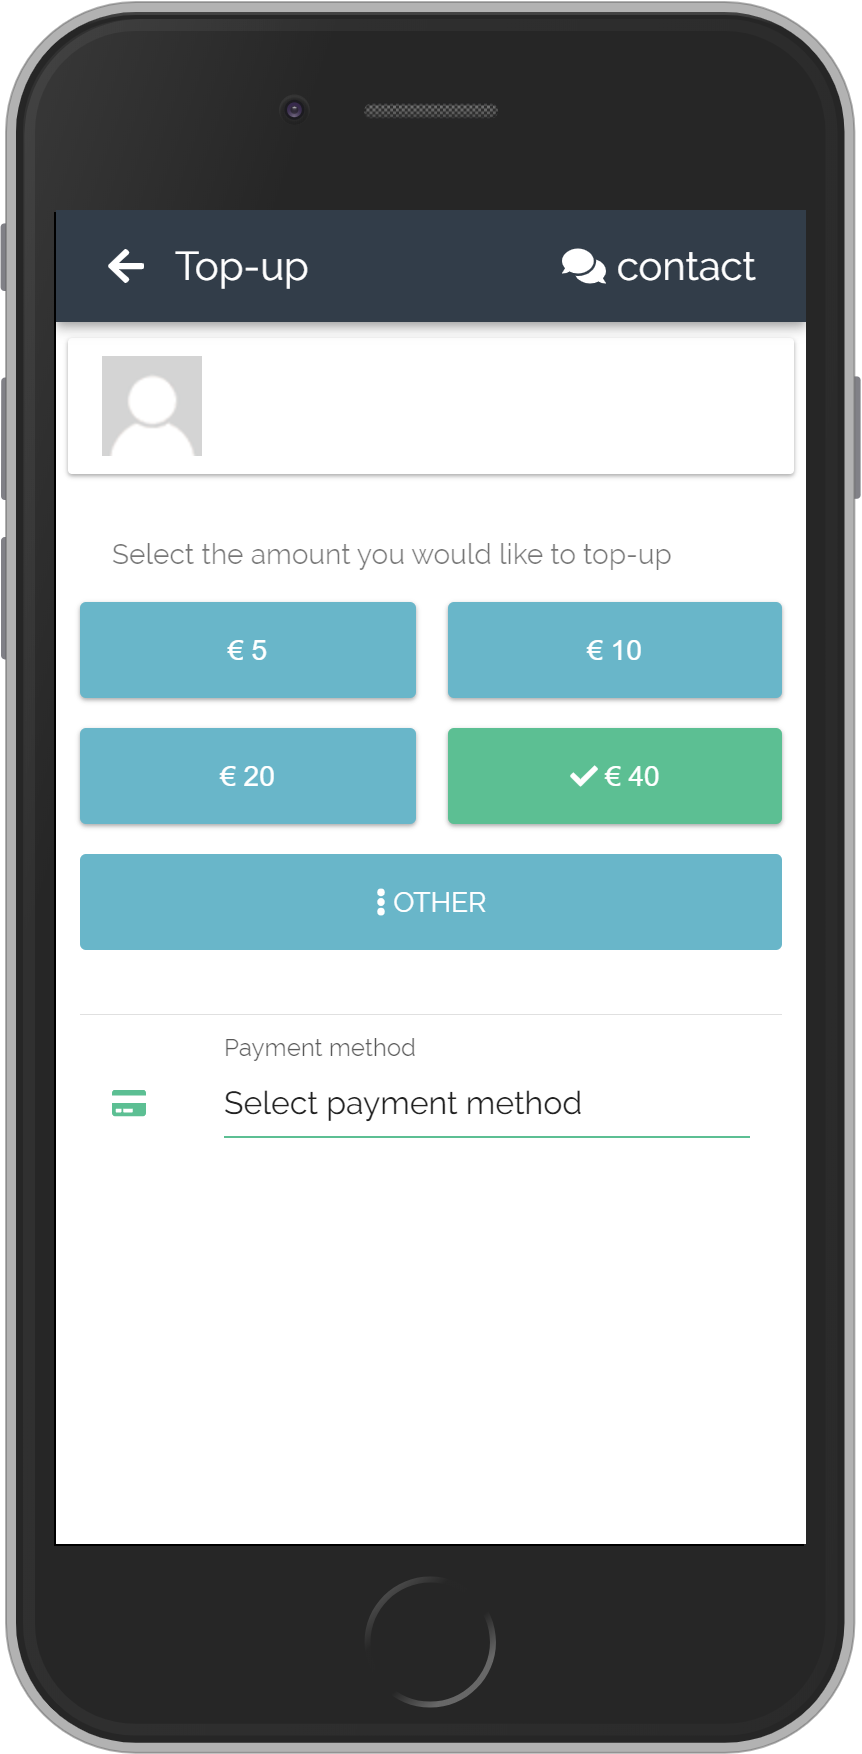
To get more credit or money on your account use
the Top-Up function.
Click it to learn more
To transfer credit or money between wallets or persons use the Transfer function.
Click it to learn more
Click here to swipe to the KUARIO print options
Click here to exit this tutorial
This tutorial will let you browse the KUARIO User app.
Look up any functions you want to learn more about.
The options in each screen will be described and it's functions explained.
On each screen you will find yellow boxes around one or more of the options. These are clickable areas, that will allow you to continue on that path or to go back.
Dark text means that the text is an instruction to navigate this tutorial.
Light text means that the text is informative.
To continue to the main screen of this tutorial,
click the button on the bottom of this phone
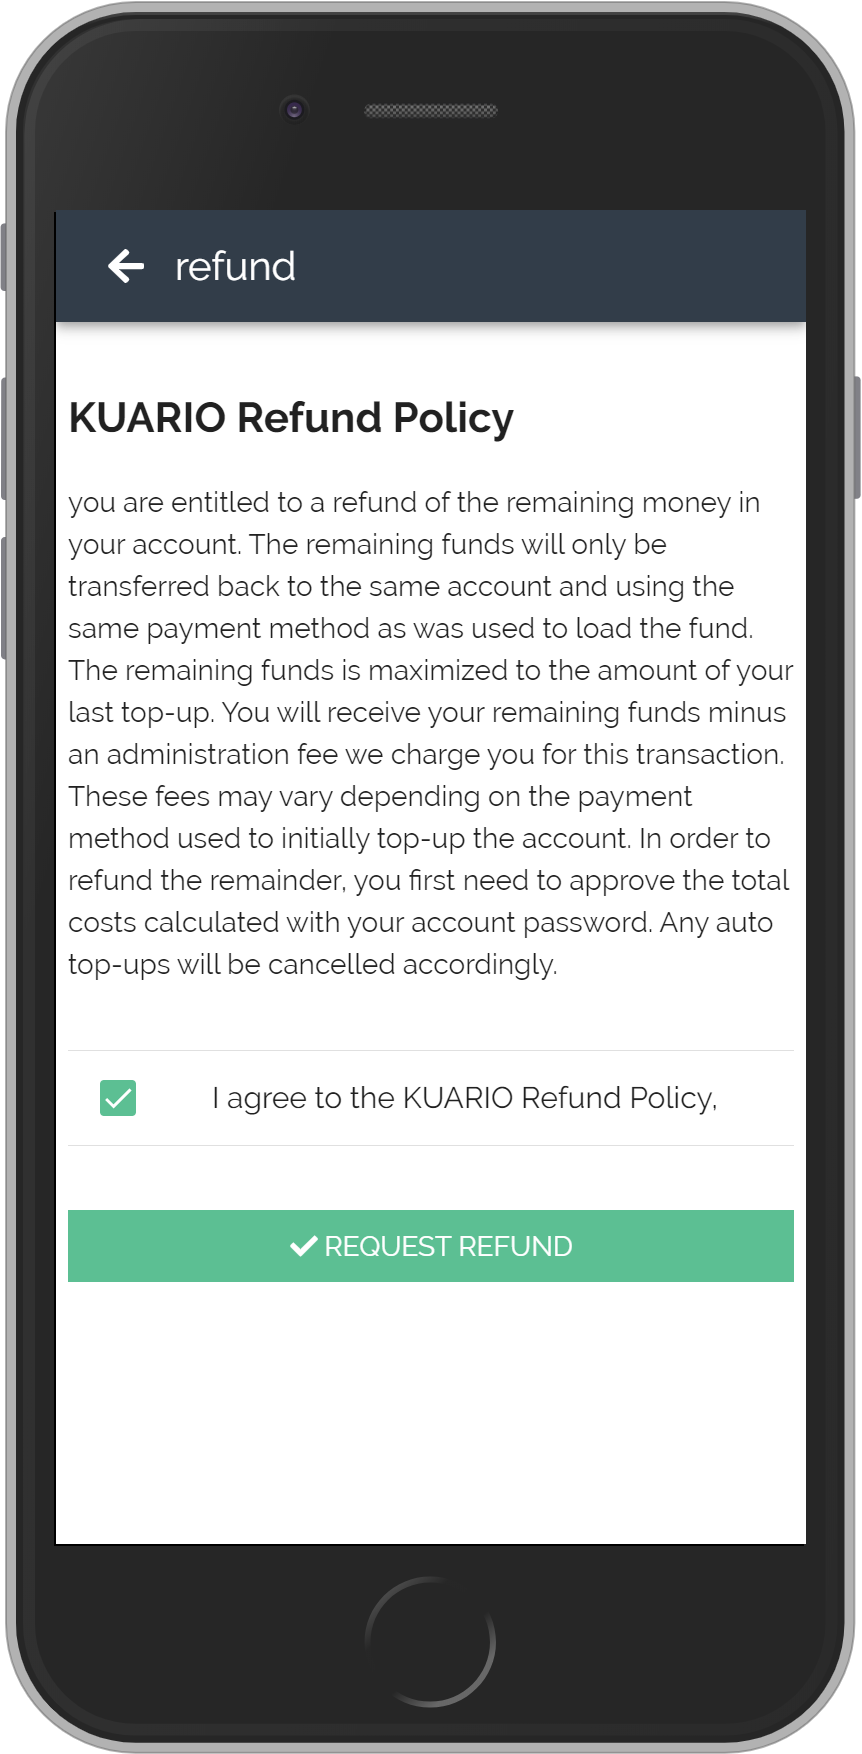
When you request the refund, the amount of the fee and the amount of the remainder of your money will be calculated. You can then accept the charges and continue or cancel the action.
Click Request Refund to continue
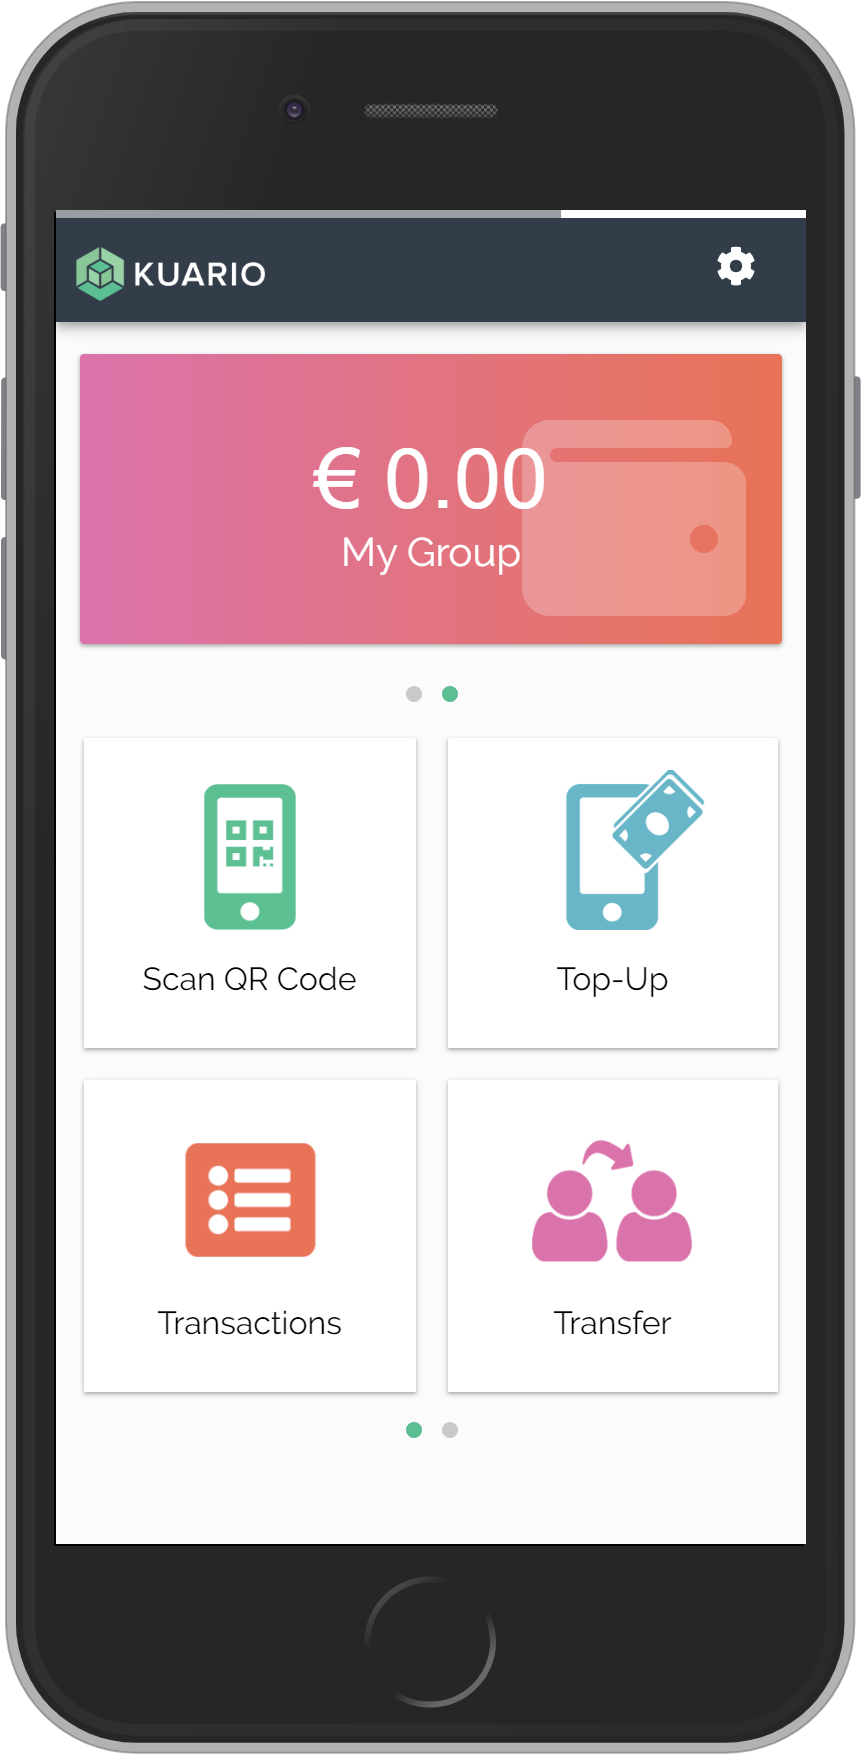
The slider can be used to move to another Wallet.
Click it to go to the
personal Wallet
This is a Group Wallet. A Group Wallet can be started by you and used by anyone that you share it with.
This can be usefull when the activities of a group need to be payed, but only one of the members is making the actual payment.
Like a group of friends going for something to eat or drink at multiple locations.
The owner can invite new members. No one is allowed to tranfer money from the Group Wallet but naturally it can be used for payments.
If you click a Wallet you can set it as you default Wallet.
Click it here for more information
Click on this bar to go back to the main screen or slide to the other wallet
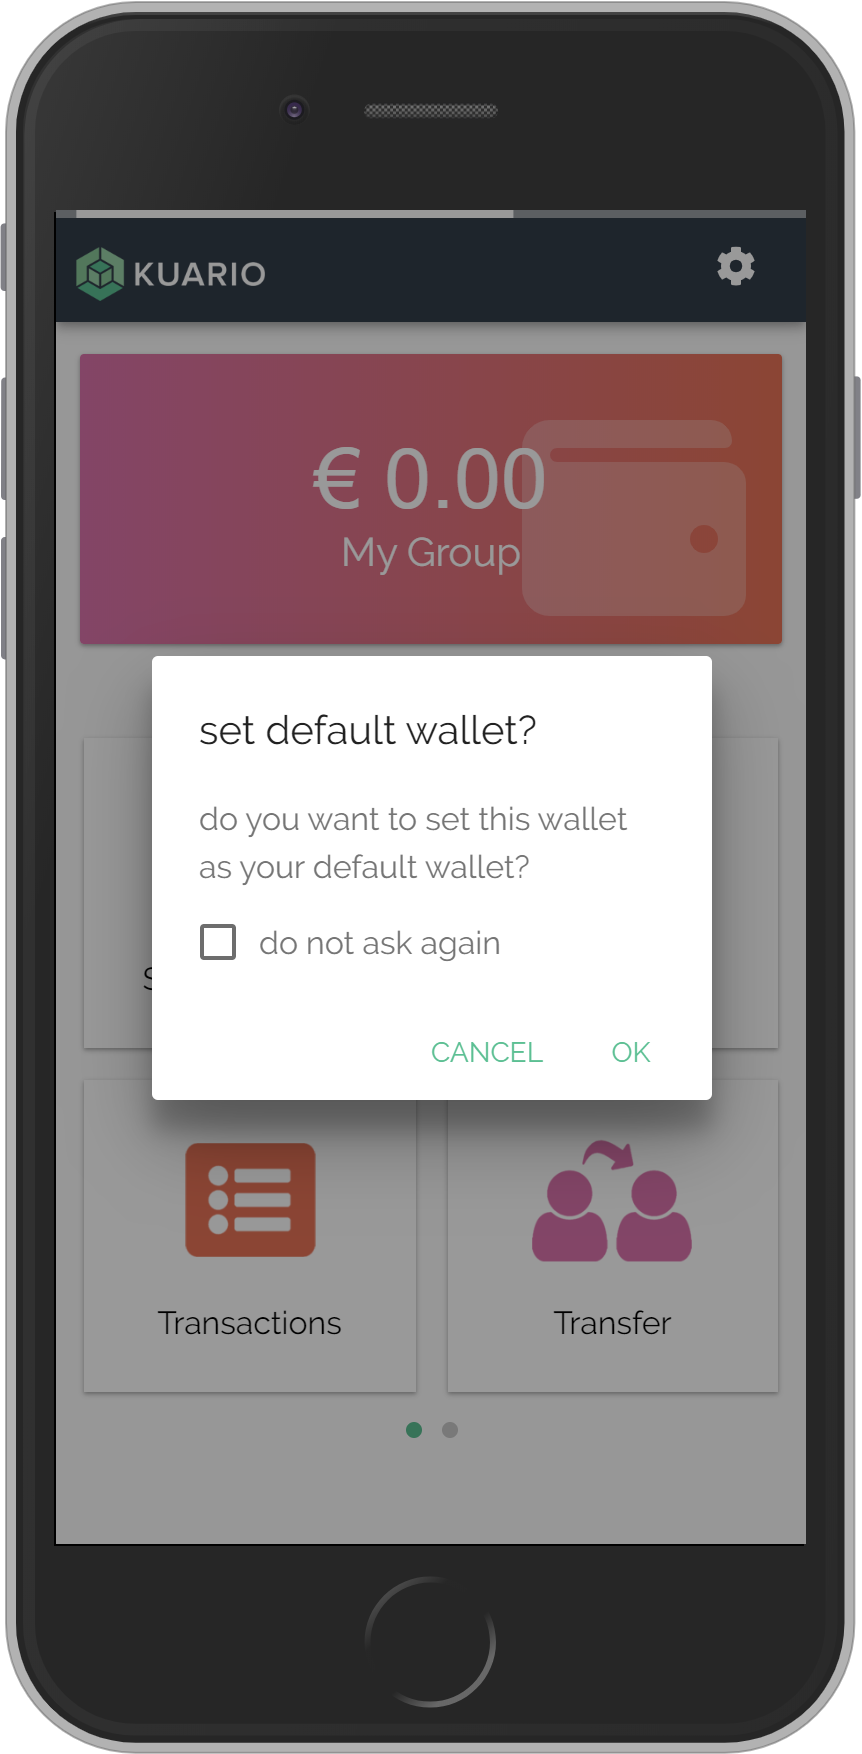
If you click a Wallet you can set it as you default Wallet. Confirm this by clicking OK in this dialog box.
If you also tick the 'do not ask again' box, after which clicking a wallet in the future will immediately set that wallet as the Default Wallet.
Click OK for more information
Click on this bar to go back to the main screen.
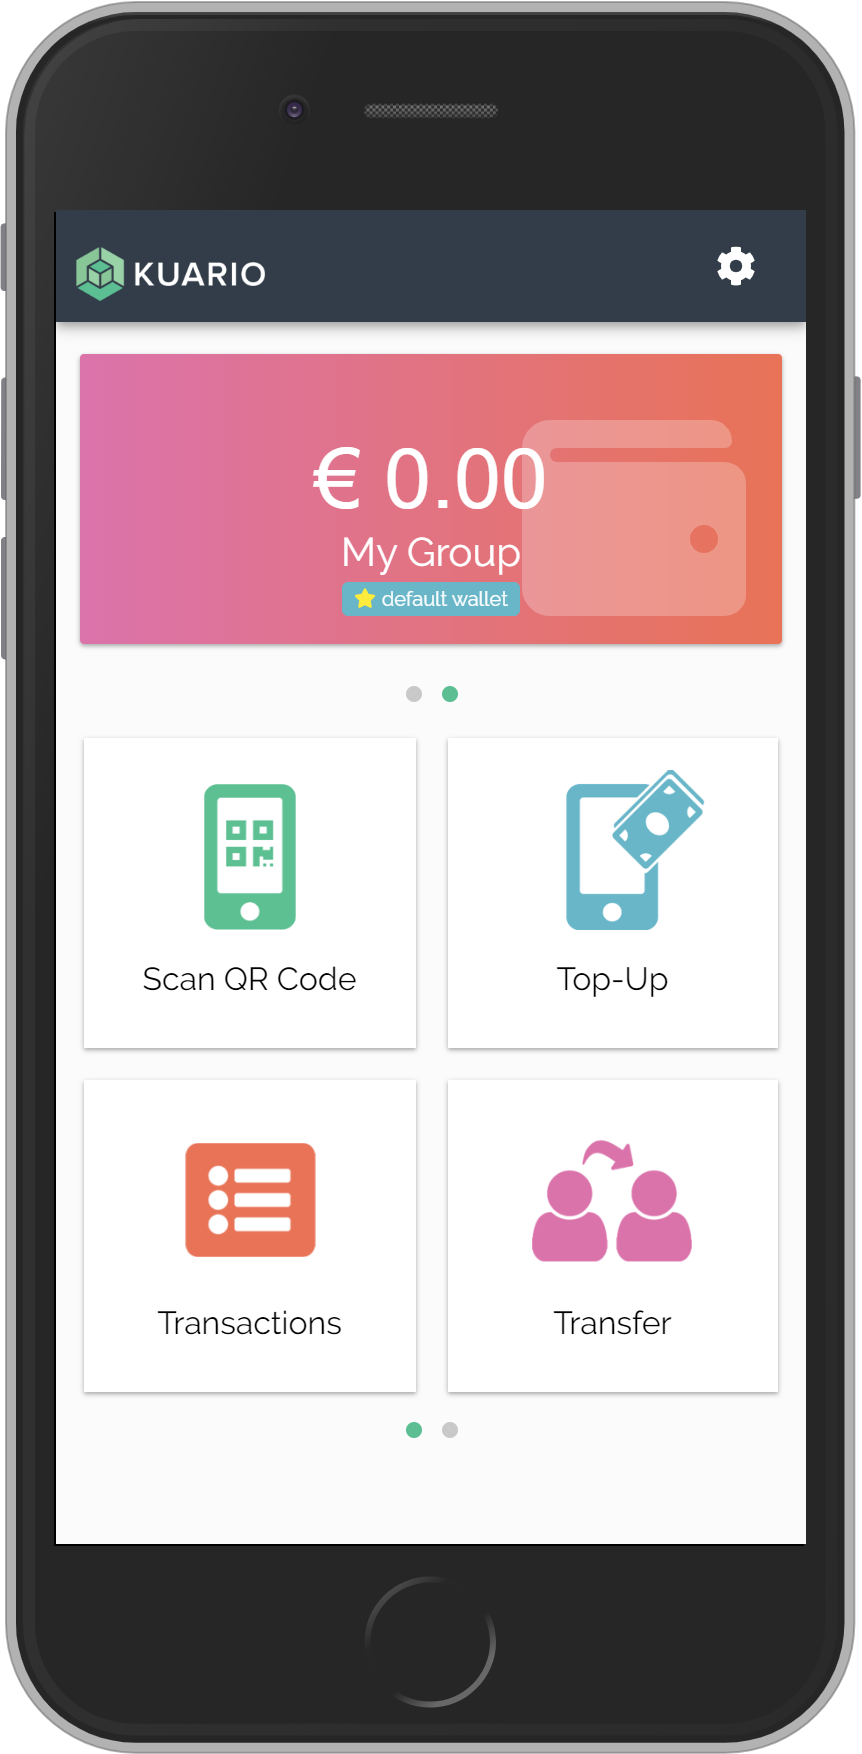
The wallet has now been set set that wallet as the Default Wallet.
Payments will be done from this wallet by default.
Click on this bar to go back to the main screen.
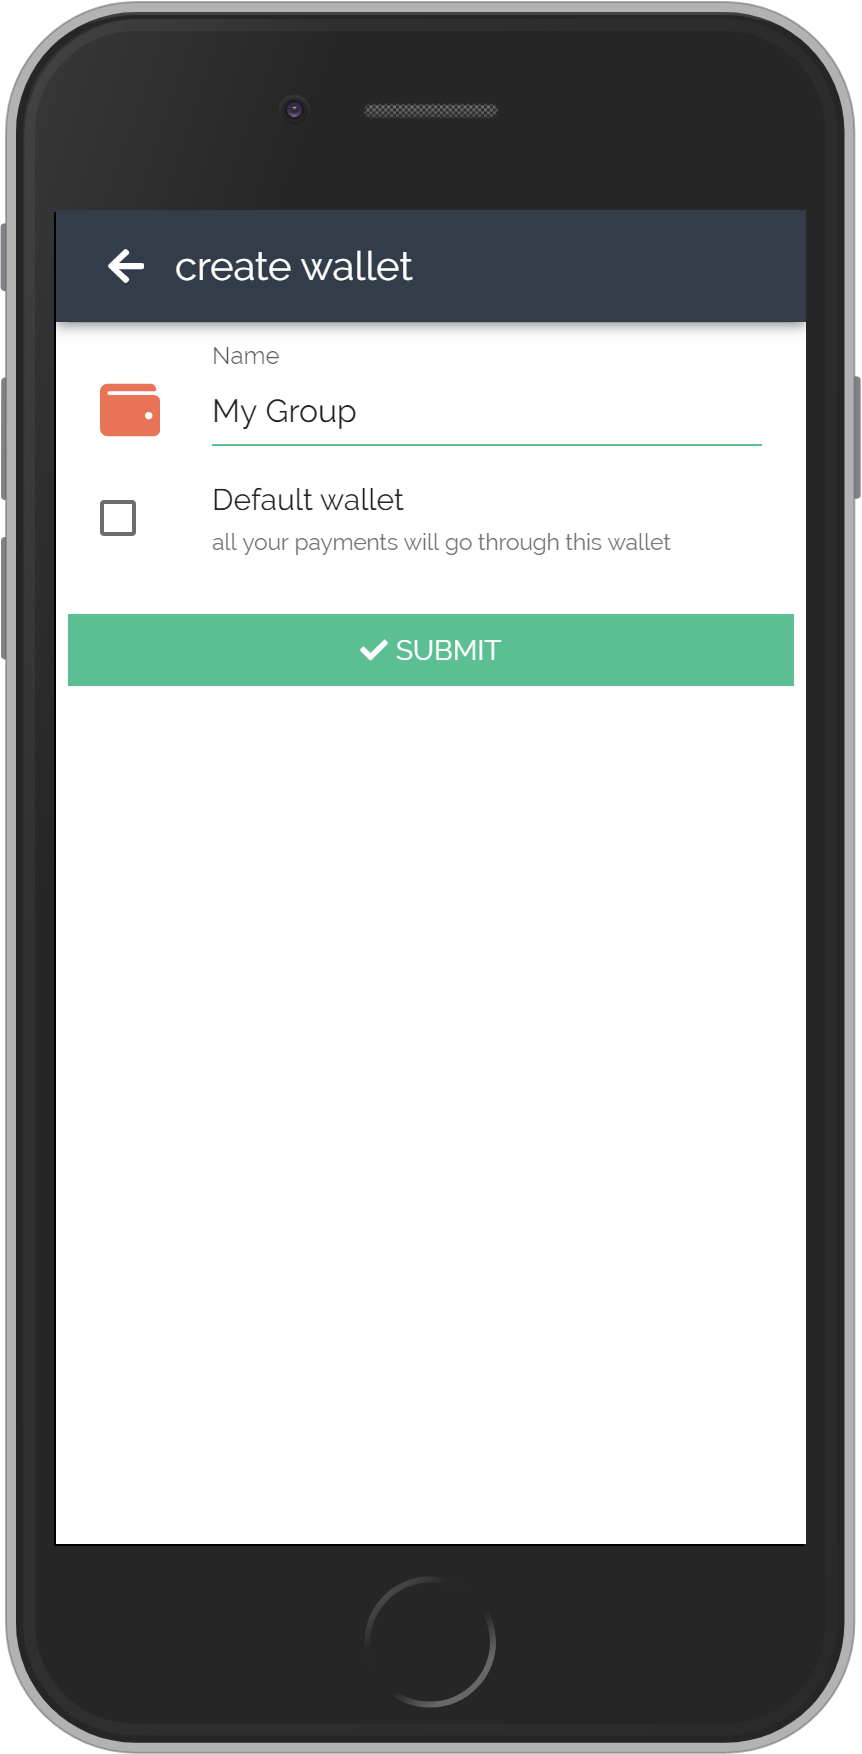
A wallet can be shared with a group of your friend to share the costs of a joined activity.
Give your wallet an appropriate name.
You can make payments from any of your wallets. If selecting a wallet is not posible in a situation, payment will be deducted from your standard wallet.
If you want payments to be deducted from this wallet by default, tick the default wallet box.
Click Submit to create the wallet
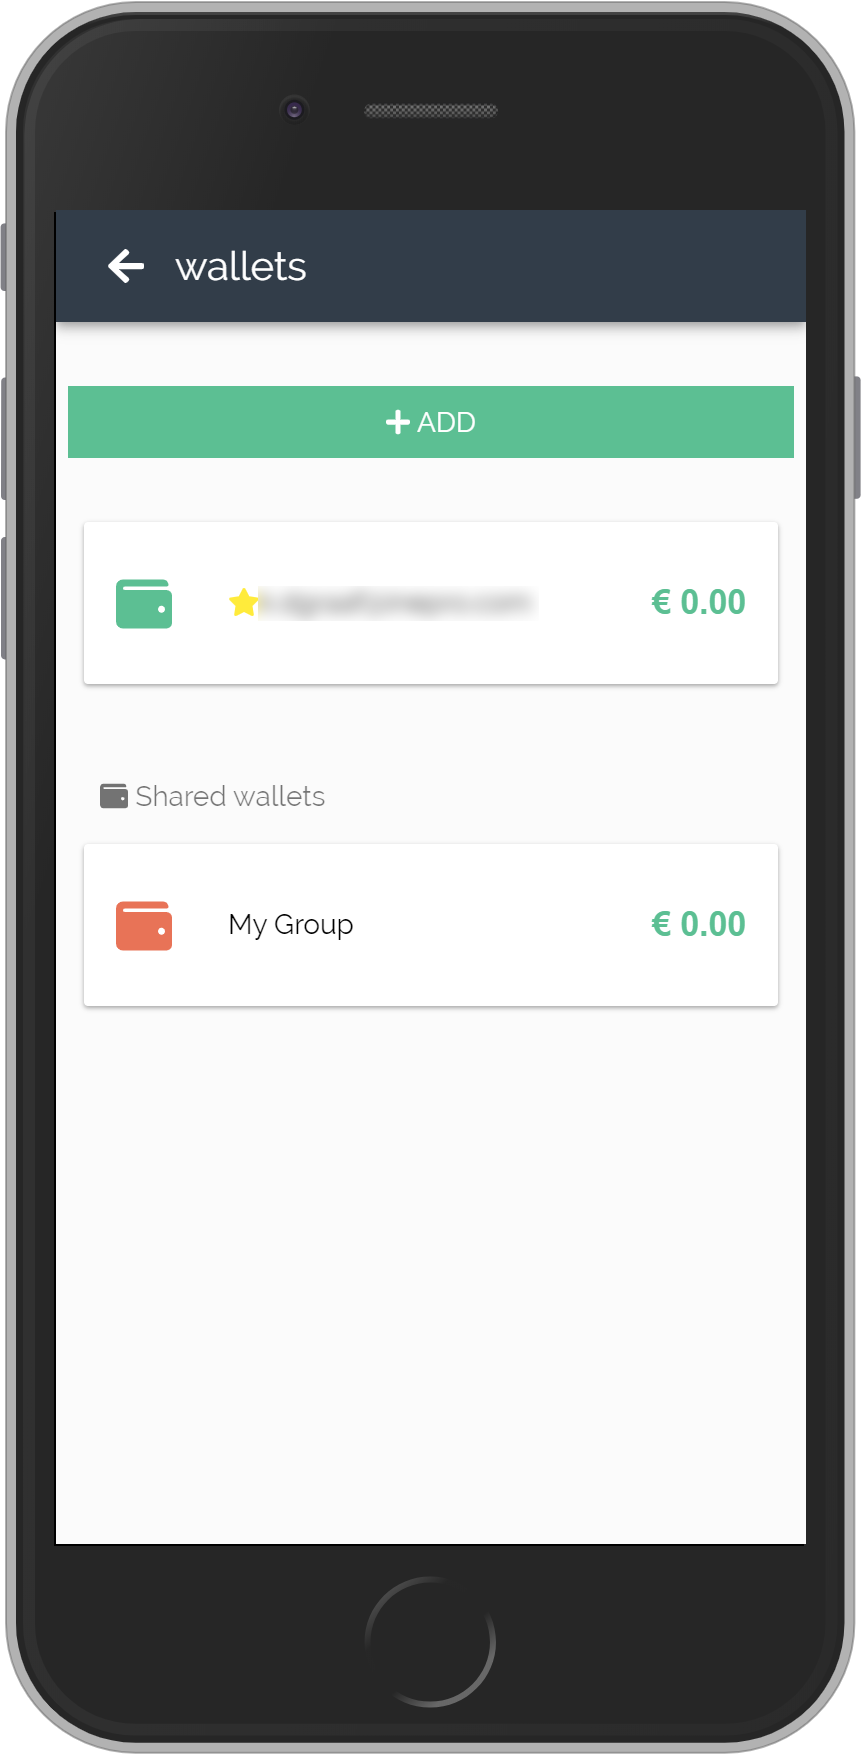
The existing wallet is still here.
The new wallet is now listed under the Share wallets catagory. It can now be used to pay. The owner of the wallet is the only one that can share the wallet with others.
At this point you can only go back. Click on this bar to go to the main screen.

Your refund process has now been started. You will be contacted if it has been finished.
At this point you can only go back. Click on this bar to go to the main screen.

The slider can be used to move to another Wallet.
Click it to go to the
personal Wallet
This is a Group Wallet. A Group Wallet can be started by you and used by anyone that you share it with.
This can be usefull when the activities of a group need to be payed, but only one of the members is making the actual payment.
Like a group of friends going for something to eat or drink at multiple locations.
The owner can invite new members. No one is allowed to tranfer money from the Group Wallet but naturally it can be used for payments.
Click on this bar to go back to the main screen or slide to the other wallet
€ 4. 50
€ 54.50
description
<your KUARIO email>

€ 4. 50
€ 54.50
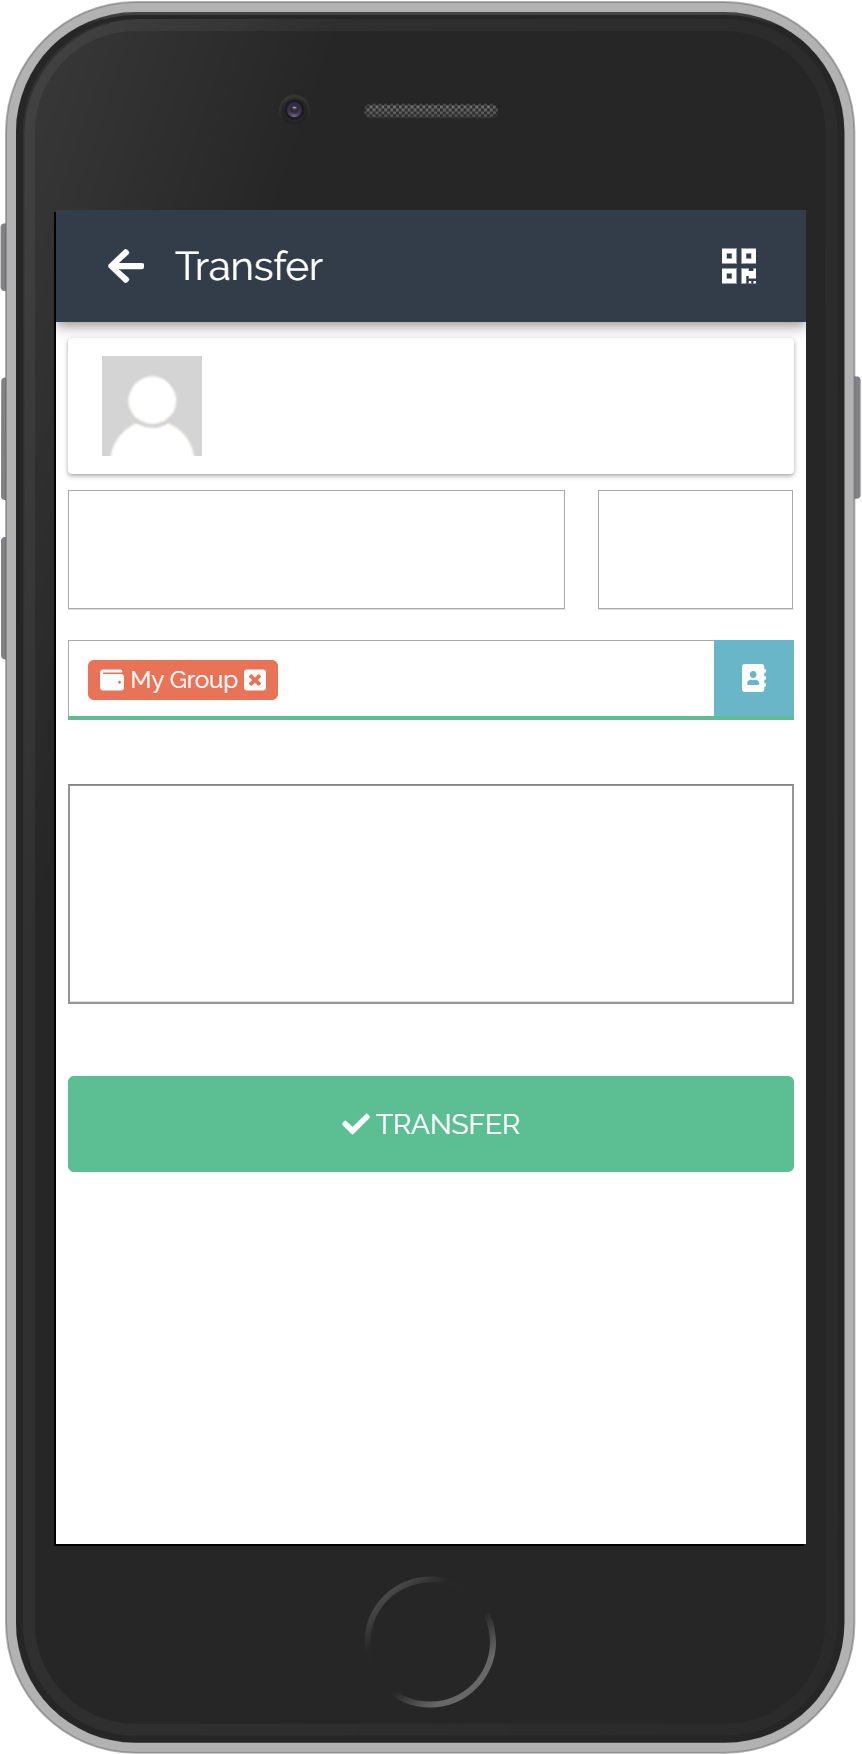
A description for this transfer to make sure you recognise why this transfer was made.
<your KUARIO email>
€ 4. 50
€ 54.50
description
<email address used by KUARIO user>
<your KUARIO email>

€ 4. 50
€ 54.50
A description for this transfer to make sure you recognise why this transfer was made.
<email address used by KUARIO user>
<your KUARIO email>

€ 54.50
€ 0. 00
description
<email address used by KUARIO user>
<your KUARIO email>

€ 4. 50
€ 54.50
description
<email address used by KUARIO user>
<your KUARIO email>

€ 54.50
€ 4. 50
description
<email address used by KUARIO user>
<your KUARIO email>
€ 50.00
My Group
€ 50.00
My Group
€ 6. 50
€ 50.00
iDEAL
My Group
€ 0. 00
€ 50.00
My Group
€ 50.00
My Group
€ 50.00
My Group
€ 50.00
€ 50.00
Click on this bar to go back to the main screen.

€ 56.50

Click on this bar to go back to the main screen.
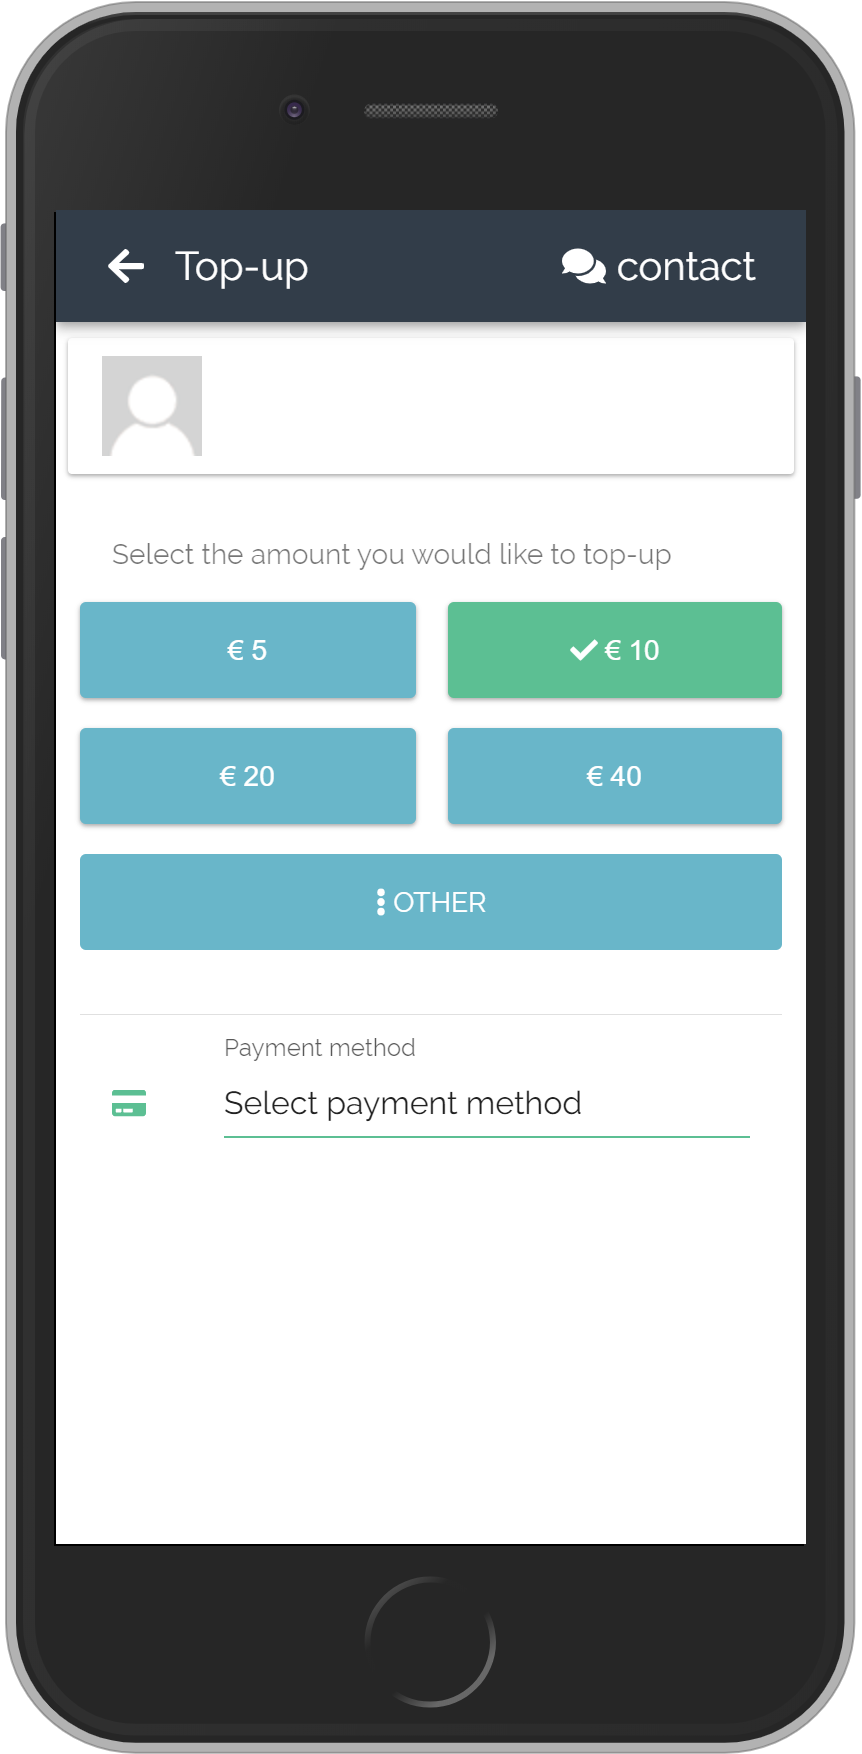
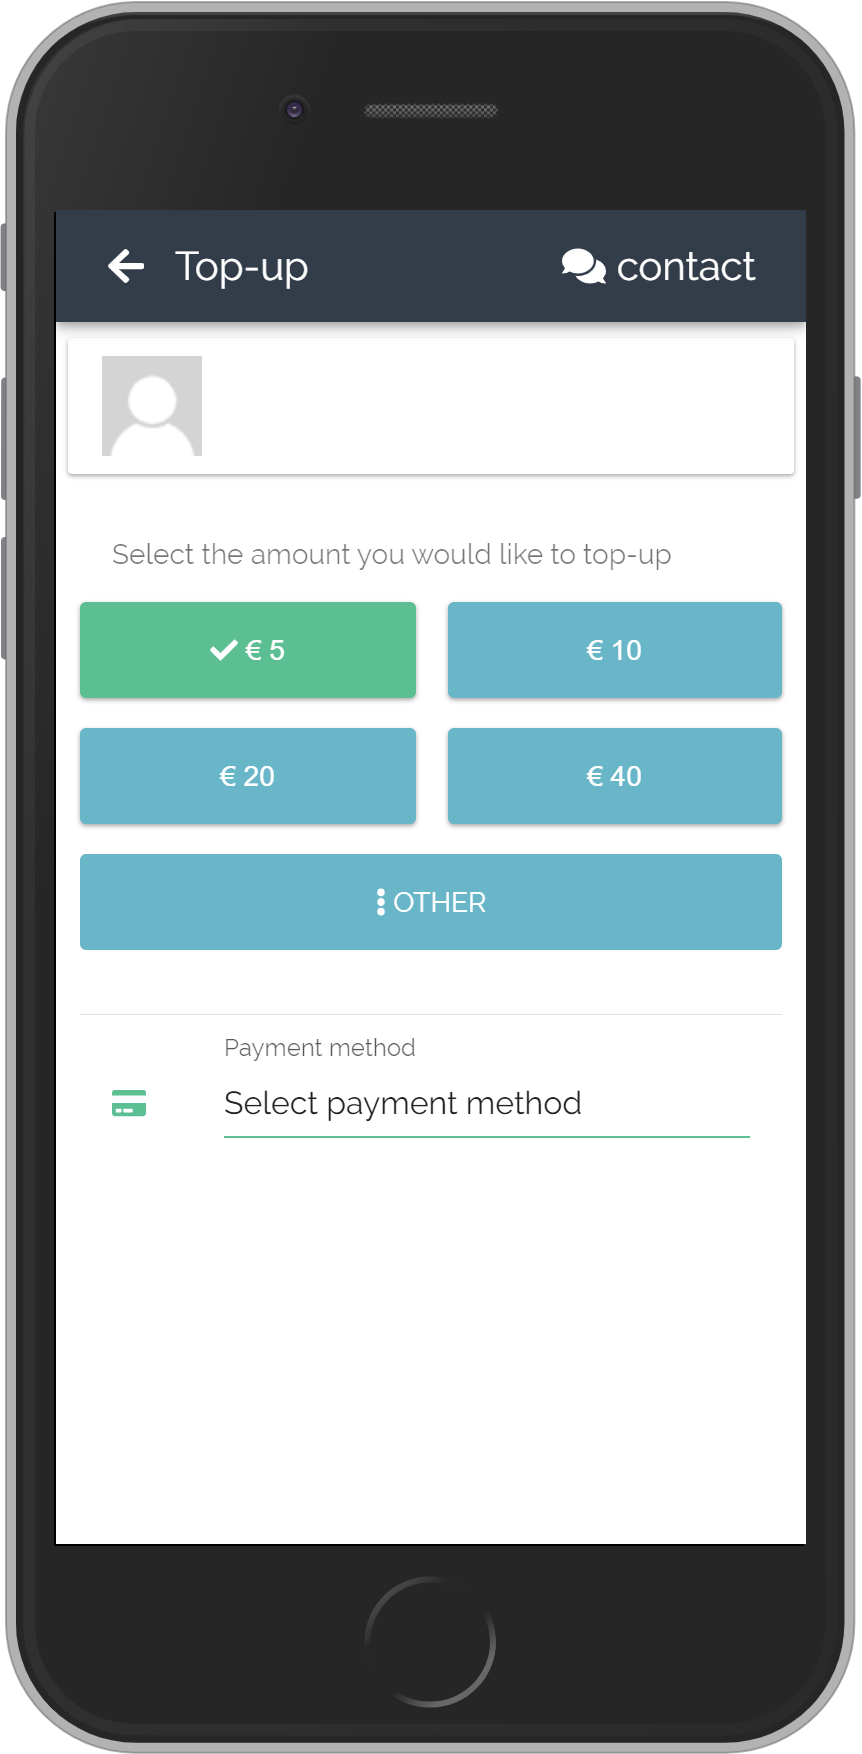
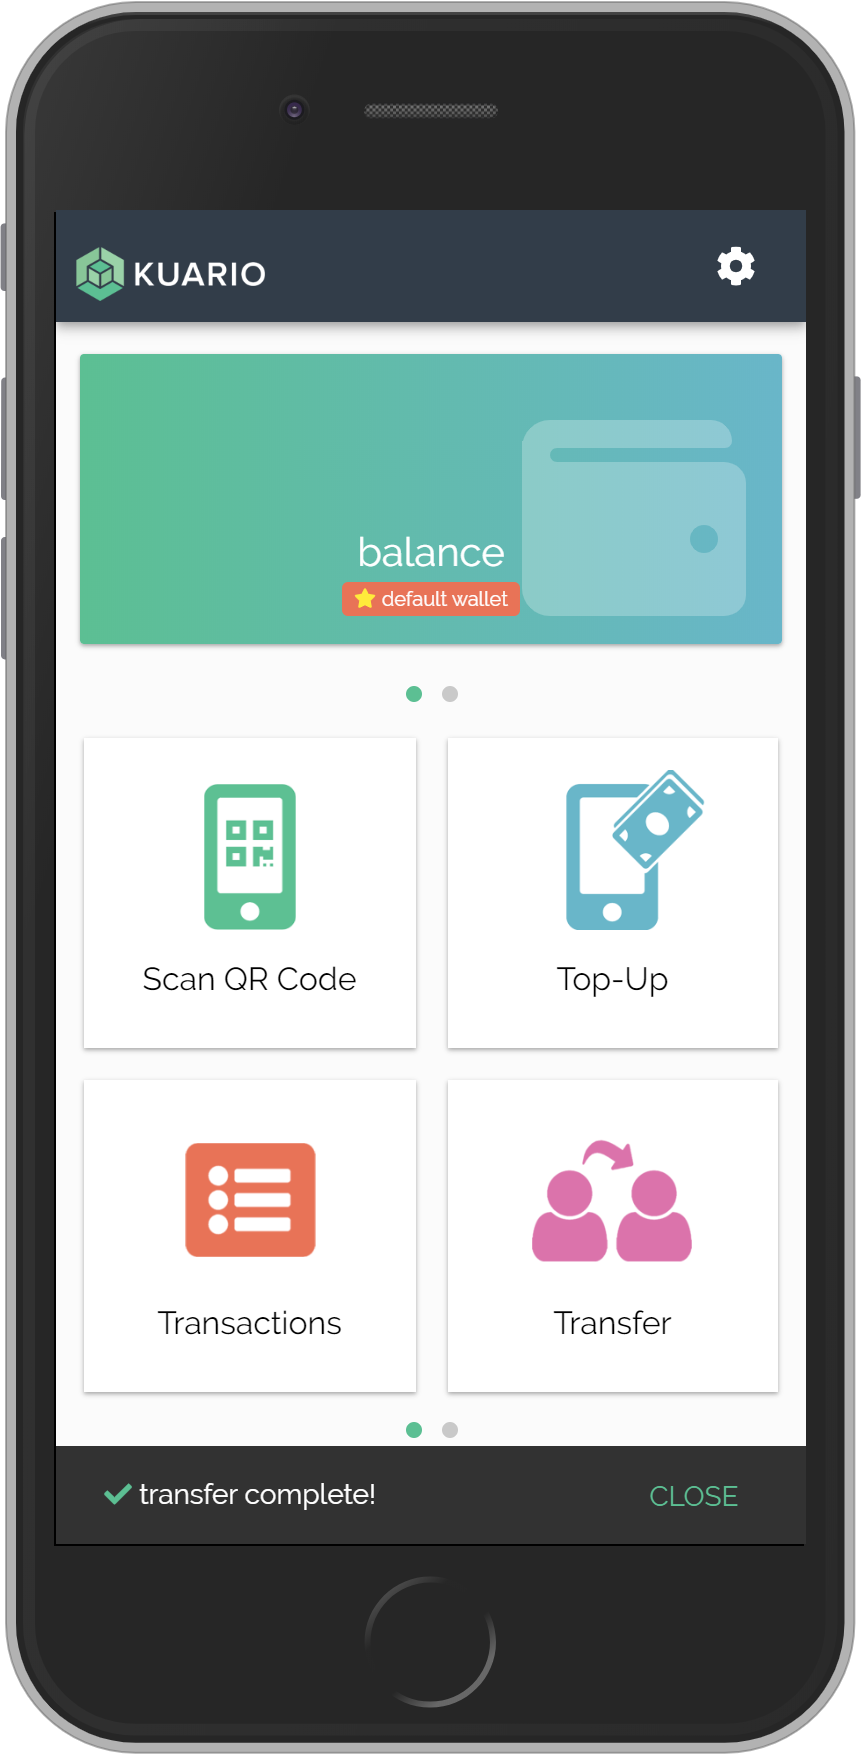
If the top-up was completed successfully a message will be shown.
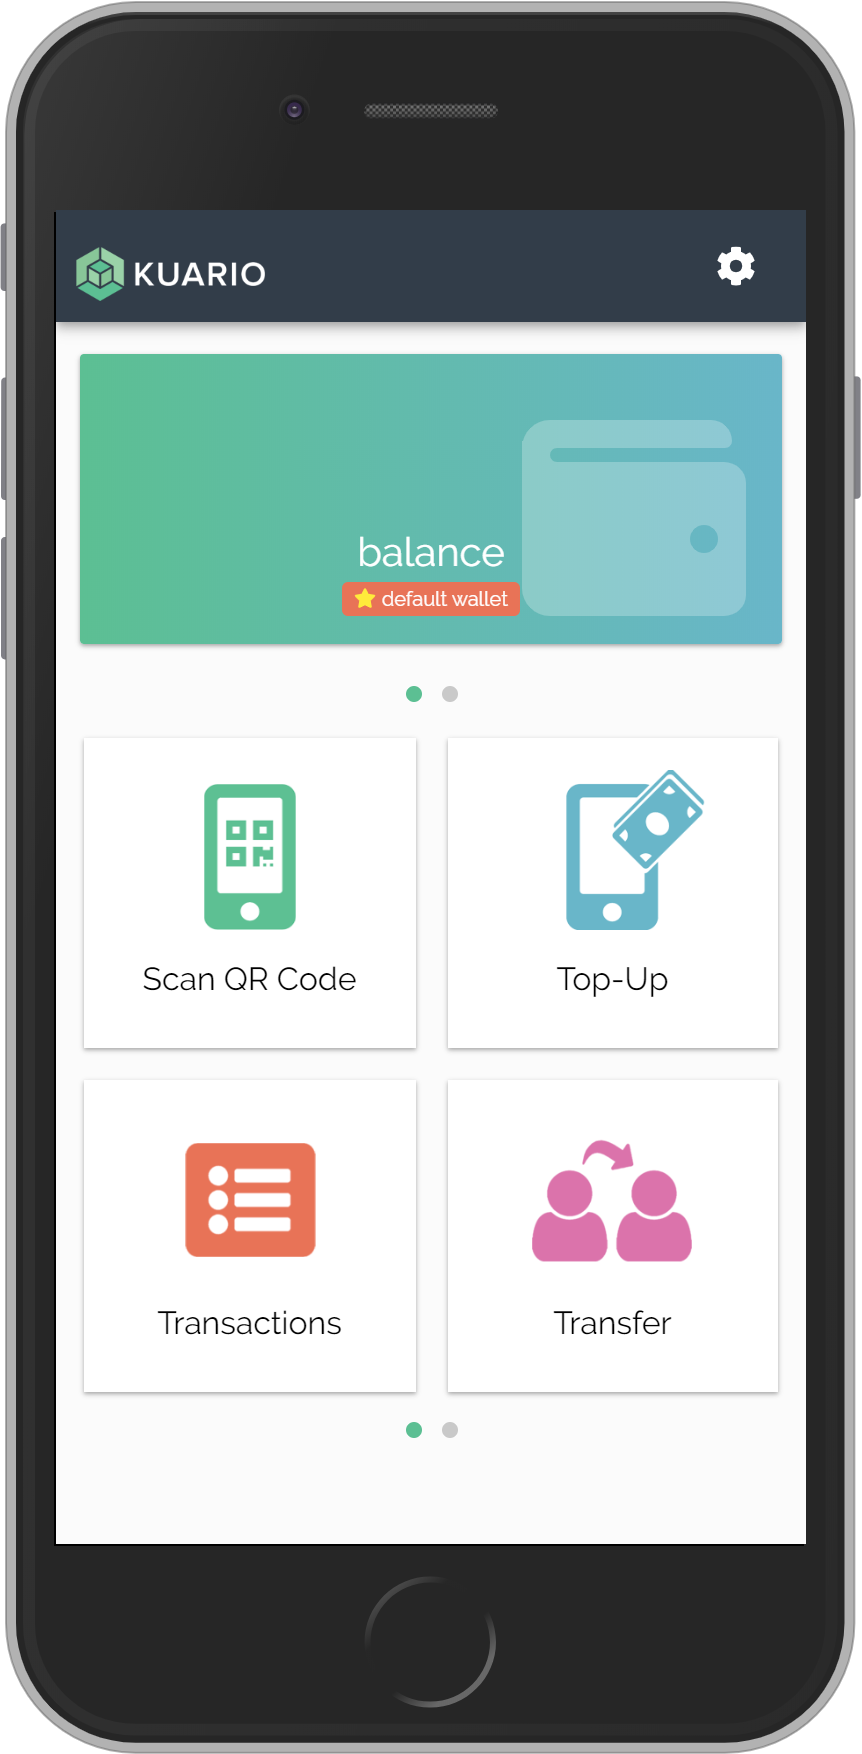
The balance will reflect the top-up changes.

€ 5. 00
€ 50.00
iDEAL
My Group

€ 10. 00
€ 50.00
iDEAL
My Group

€ 20. 00
€ 50.00
iDEAL
My Group

€ 40. 00
€ 50.00
iDEAL
My Group


€ 55.00

Click on this bar to go back to the main screen.
If the top-up was completed successfully a message will be shown.
The balance will reflect the top-up changes.

€ 60.00


Click on this bar to go back to the main screen.
If the top-up was completed successfully a message will be shown.
The balance will reflect the top-up changes.

€ 70.00


Click on this bar to go back to the main screen.
If the top-up was completed successfully a message will be shown.
The balance will reflect the top-up changes.

€ 90.00

Click on this bar to go back to the main screen.
If the top-up was completed successfully a message will be shown.
The balance will reflect the top-up changes.
